How Do You Prepare the Site Before Assembly?
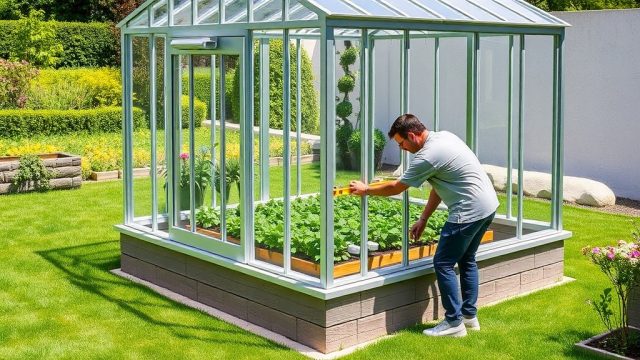
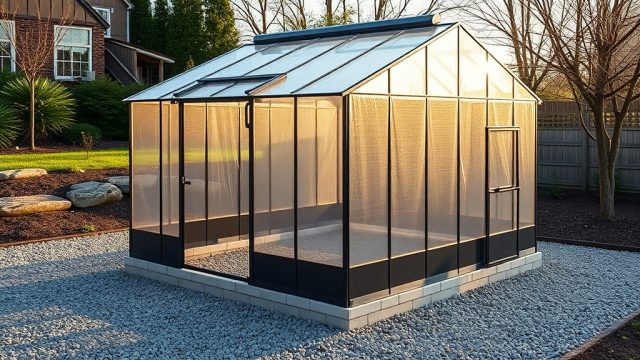
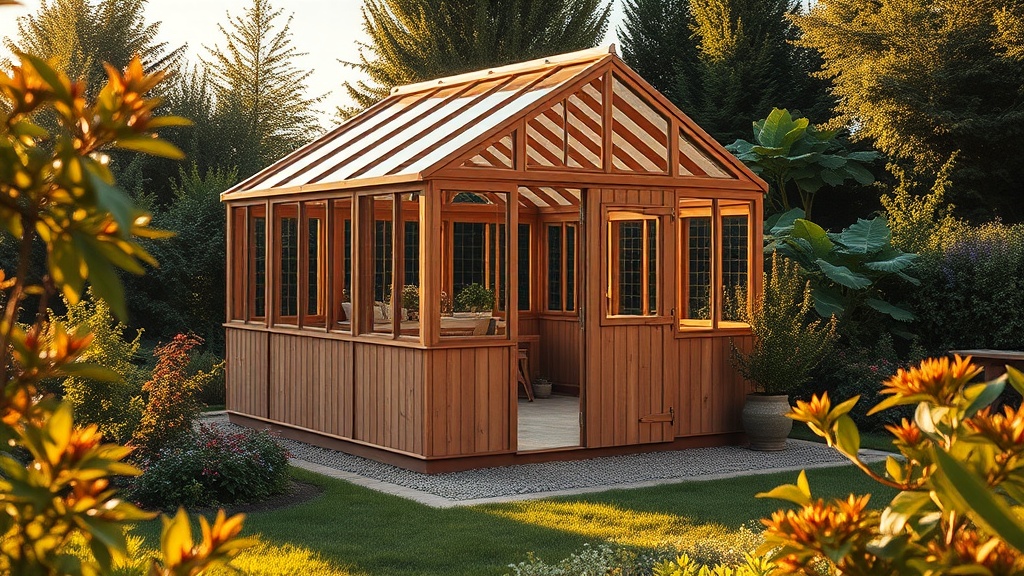
Before you open a single box of the Riverstone 6×8 Wooden Greenhouse, site preparation is the single most critical factor for a successful build. This 6×8-foot structure demands a perfectly level base to prevent structural stress, door misalignment, and premature wood rot. For a wooden greenhouse, any slope greater than a 1-inch over eight feet will cause the frame to twist when glazing is installed.
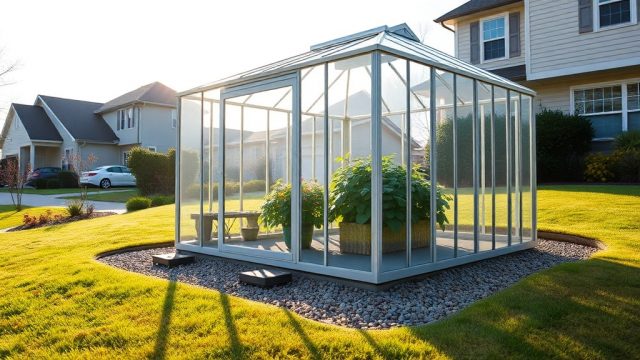
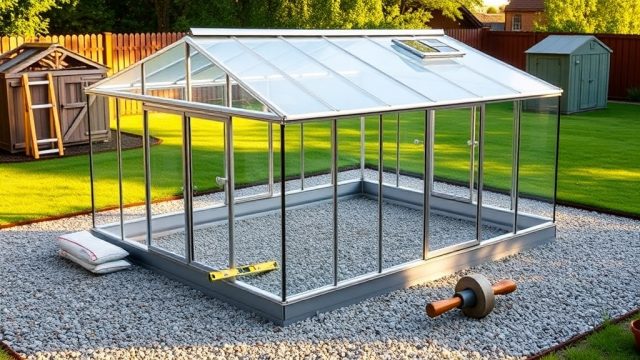
Start by choosing a location that receives maximum southern or southeastern sunlight. Avoid frost pockets at the bottom of hills and areas under overhanging tree branches that can drop limbs or heavy snow. Clear the area to a 7×9-foot footprint, allowing an extra six inches on each side for workspace. Remove all sod and topsoil, then excavate 4 to 6 inches deep. Fill with compacted gravel or crushed stone (Type 3 or 4) and tamp it thoroughly until you have a solid, flat pad.
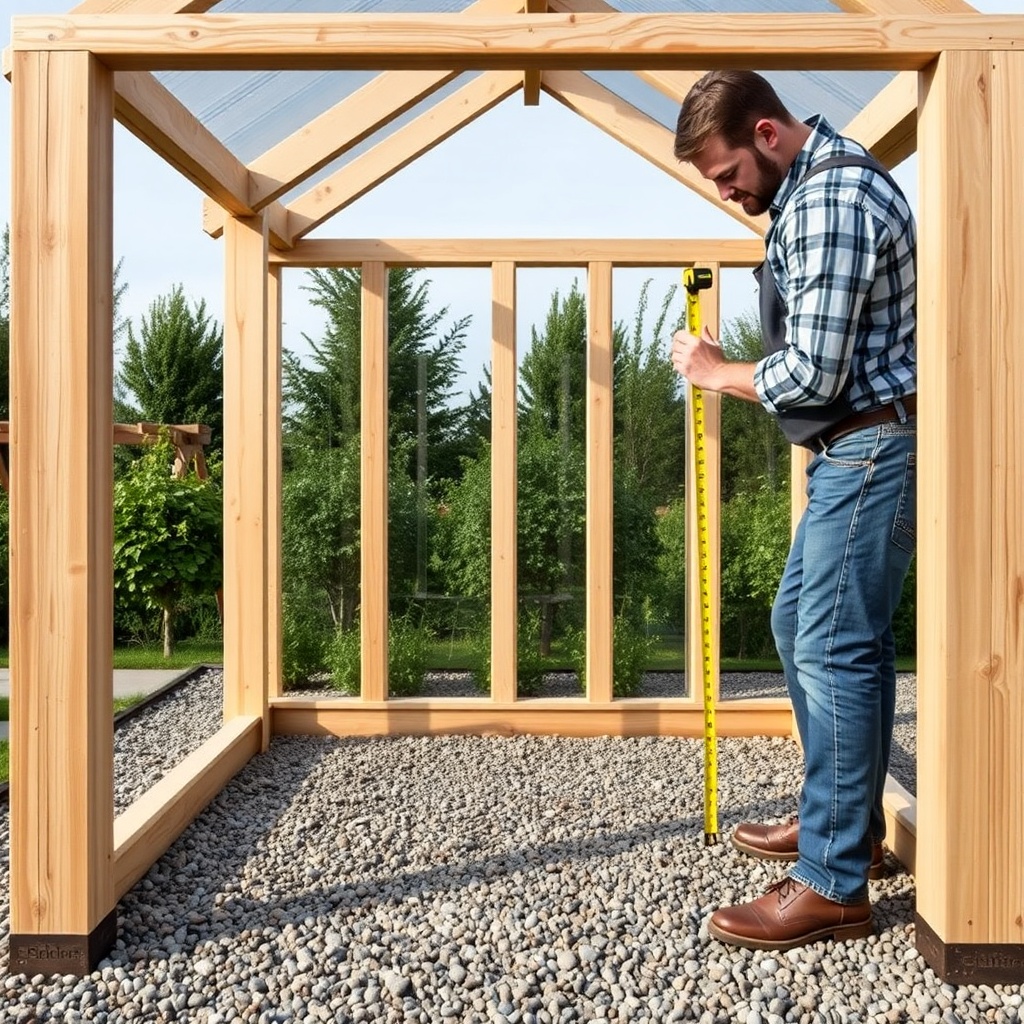
For the base, you have two strong options. A pressure-treated timber frame (4x4s or 2x6s) bolted together and anchored with ground screws is the most DIY-friendly method. Alternatively, a poured concrete slab with anchor bolts set every 24 inches provides the best long-term stability, especially for colder climates where additional heating equipment may be added. Use a 4-foot level in every direction and check for square by measuring diagonals—they should be equal within ⅛ inch. A level base eliminates 80% of future problems with door operation and glass seating.
Which Tools Are Required and What’s Missing From the Kit?
The Riverstone 6×8 Wooden Greenhouse kit includes pre-cut and pre-drilled shiplap cedar or treated pine boards, polycarbonate or horticultural glass glazing panels, all necessary screws, hinges, door furniture, and a detailed instruction manual. However, several essential tools are not supplied. Plan your tool inventory before the delivery day.
- Power drill/driver: A cordless drill with both drill and Phillips/flathead bits (sizes #2 and #3). A low-speed clutch setting prevents over-torquing wood.
- Rubber mallet: For seating tongue-and-groove joints without damaging wood. Never use a steel hammer on cedar or pine.
- Spirit levels: At least one 2-foot and one 4-foot level for vertical and horizontal checks during each wall assembly.
- Step ladder: Minimum 6-foot height for roof assembly and ridge beam installation.
- Caulk gun and exterior-grade sealant: For glazing edges and joints. Silicone or butyl rubber works best.
- Safety glasses and work gloves: Mandatory when handling glass or polycarbonate panels.
- Measuring tape (25-foot), pencil, and carpenter’s square.
Also missing from most kits is any form of vapor barrier or base insulation. You will need to purchase landscape fabric and gravel separately if building on a soil base. Consider buying an extra tube of high-quality outdoor wood sealant to protect cut ends and exposed joints—kits rarely include enough for thorough waterproofing. For long-term winter performance, you may want to review insulation options for year-round growing before assembly starts, as installing insulation during build time is far easier than retrofitting.
What Is the Correct Order of Assembly?
The manufacturer specifies a logical sequence: base frame, back wall, front wall (with door), side walls, roof panels, gable vents, ridge beam, and finally glazing. Deviation from this order can cause fit issues, especially with the tongue-and-groove wall joints. Follow these steps precisely.
1. Assemble the Base Frame: Bolt the base rails together and fix them to your prepared foundation. Ensure it is perfectly square and level before tightening all bolts.
2. Build the Back Wall on the Ground: Lay out the wall frame on a flat surface. Join the studs, top and bottom plates, and diagonal braces. Insert the shiplap boards from bottom to top, tapping them into place with the rubber mallet. Lift the completed back wall onto the base frame and screw it temporarily with scaffolding clamps or long screws. Check for plumb (vertical level) in both directions and brace it with diagonal stakes.
3. Raise the Front Wall (with Door): This wall includes the pre-hung door frame. Assemble it on the ground, fit the shiplap, then carefully lift. The door must be installed entirely at this stage before the roof goes on—retrofitting afterward is nearly impossible without removing glazing. Align the top corners with the back wall and fix it to the base.
4. Insert Side Walls: Each side wall panel slides into the groove of the back and front walls. Fit them one board at a time, working from bottom to top. Secure each board with the provided screws through the side of the framing members.
5. Install Roof Frame and Ridge Beam: The ridge beam sits at the peak and supports the roof rafters. With two people, lift the ridge beam and set it into the pre-cut notches on the front and back gable ends. Install the rafters, which are usually pre-cut to pitch angle. Space them according to the manual (typically 24 inches on center).
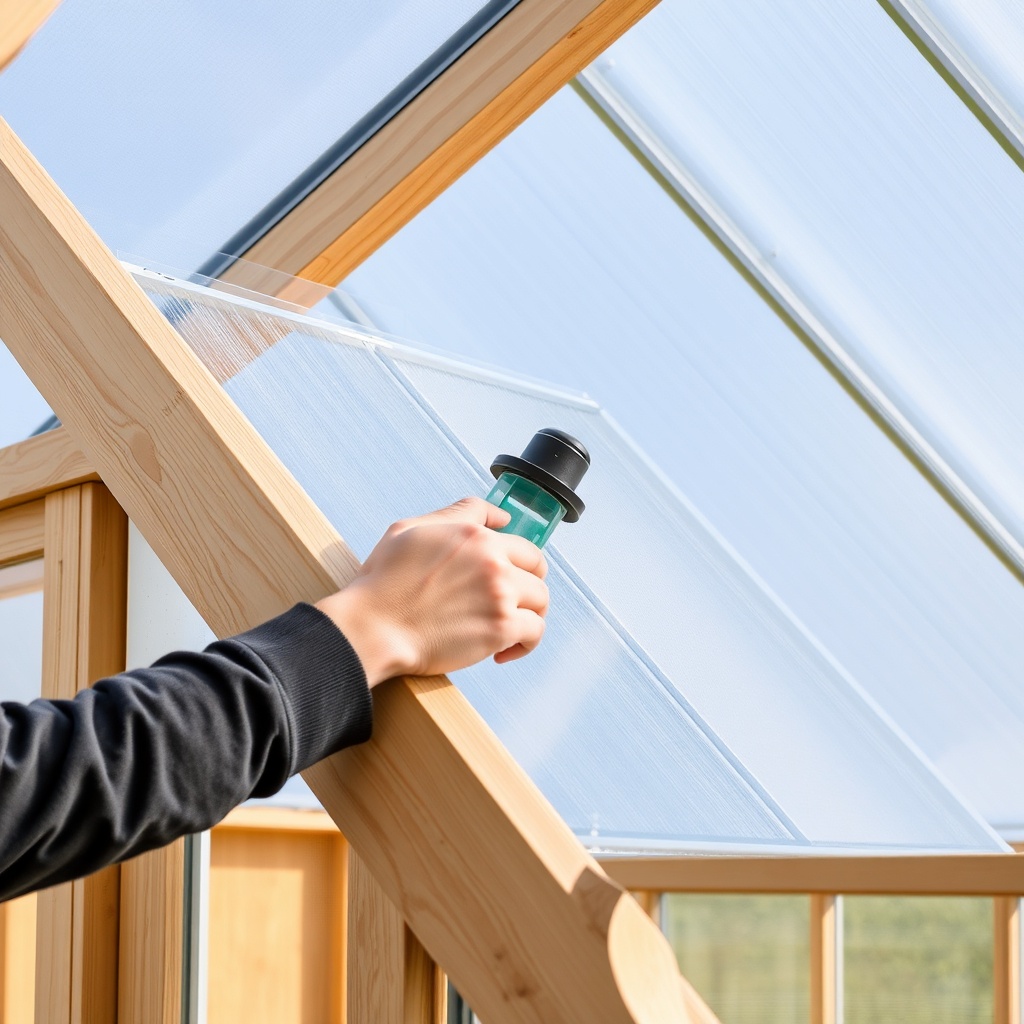
6. Fit Roof Panels and Glazing: Install polycarbonate or glass panels from bottom to top, overlapping each row to shed water. Use the glazing clips and sealant beads generously. The final ridge cap covers the peak joint. This step demands careful work to prevent leaks—consider proper ventilation strategies as you install the optional louvered or roof vents.
Do not panic if fit tolerances seem tight; dry wood in warm weather may swell slightly, but pre-drilled holes should align. If any hole is misaligned by more than ⅛ inch, re-measure the base squareness.
How Do You Handle Glazing—Glass vs. Polycarbonate?
The Riverstone 6×8 Wooden Greenhouse typically ships with either single-pane horticultural glass or 4mm twin-wall polycarbonate. Your choice dramatically affects assembly complexity and long-term performance.
| Feature | Horticultural Glass | Twin-Wall Polycarbonate |
|---|---|---|
| Light Transmission | 90-92% | 80-85% |
| Assembly Difficulty | High (fragile, must handle carefully) | Low (cut with utility knife, lightweight) |
| Breakage Risk | High during install | Very low |
| Thermal Insulation | Poor (R-0.8) | Good (R-1.5 to R-2.0) |
| UV Protection | None (passes UV) | Typically UV-stabilized coating |
| Weight | Heavy (~12kg per sheet) | Light (~3kg per sheet) |
| Cost (per 6×8 kit estimate) | £180-£250 premium | Base kit price (included) |
If you chose the glass version, wear thick gloves and handle each pane by the edges only. Use the zigzag edge clips and apply a 5mm bead of silicone sealant beneath each pane to prevent rattling and moisture ingress. For polycarbonate, ensure the UV-coated side faces outward (usually marked), and do not overtighten the screws—polycarbonate expands and contracts with temperature. Leave 1-2mm gap at each fixing. If you plan to add an automatic roof vent opener, install the vent frame before glazing to prevent needing to cut panels later.
What Are Common Mistakes and How to Fix Them?
First-time builders of the Riverstone 6×8 Wooden Greenhouse often repeat several avoidable errors. Recognizing these in advance saves hours of rework.
- Ignoring the diagonal measurement check: After base assembly and after raising each wall, measure both diagonals. If they differ by more than ⅛ inch, the entire structure will be out of square. Loosen base bolts and shift the offending corner until equal. This is the most common cause of doors that do not close fully.
- Forgetting to dry-fit before applying sealant: Lay each glazing panel or shiplap board in place once without sealant to confirm fit. Sealant is messy to remove if you are forced to disassemble a joint.
- Overtightening shiplap boards: Tongue-and-groove boards must be seated firmly but not forced. If a board does not slide easily, check for debris in the groove. Use a block of wood and mallet to gently tap it home. Splitting the tongue ruins that board and delays the build.
- Not waterproofing cut ends: All wood that you cut (rare with pre-cut kits, but possible for vents or modifications) must be sealed with exterior wood preservative. Unsealed cut ends wick moisture deep into the frame and cause rot within two seasons.
- Rushing the door installation: The door is the most finicky component. Shim it perfectly level and plumb within its frame before securing hinges. Hanging a door on an out-of-plumb frame forces you to plane the door later. Spend 15 minutes aligning it correctly.
If you encounter a warped board (occasionally happens with wood kits), do not force it. Return it to the manufacturer for replacement if within the warranty period—typically 30 days from purchase. Alternatively, use it for the non-structural roof trim where slight bowing is less visible.
What Do Owners Say About the Assembly Experience?
Feedback from Riverstone 6×8 Wooden Greenhouse owners across the UK and Ireland consistently highlights three themes: the quality of wood, the clarity of instructions, and the time investment required. Most owners who rate the assembly difficulty as 3 out of 5 complete it in 12-16 hours with two people. Solo builders report 20-24 hours. The instruction manual is praised for clear diagrams but criticized for occasionally ambiguous fastening order on the roof panels. Several owners recommend sorting all hardware by size before starting—bagged screws are not always labelled consistently.
Common positive remarks: “The cedar smells incredible and looks beautiful in the garden,” and “Even in windy coastal areas, the frame feels solid once fully assembled.” Negative feedback largely focuses on the plastic glazing clips, which some describe as “fragile”—spare clips are available but not always included. A frequent tip: add a bead of silicone behind every clip for insurance. For watering convenience after assembly, many owners install an automated drip irrigation system to avoid carrying watering cans inside the compact 6×8 space.
Owners also caution that the kit does not include shingles or roof covering. You must purchase and install your own heavy-duty greenhouse felt or polycarbonate roof sheets (often included in the kit, but confirm before purchase). Those in snowy regions add extra roof supports—although the standard ridge beam is adequate for 15 cm of wet snow, deeper loads require reinforcement. For extreme winter conditions, additional heating solutions are commonly added.
Frequently Asked Questions
Q: How long does the wood of the Riverstone 6×8 Wooden Greenhouse last before needing treatment?
A: Untreated cedar or treated pine lasts 3-5 years before needing an exterior wood preservative or stain. For maximum longevity (10-15 years), apply a high-quality exterior varnish or microporous paint immediately after assembly. Check the wood annually for splits or lifting grain.
Q: Can one person build this greenhouse solo?
A: Technically yes, but it is strongly discouraged for safety reasons. The back and front walls are heavy (15-20 kg each) and require lifting onto the base frame. Roof components need two people to avoid accidents. Allow 2-3 days solo vs. one solid day with a helper.
Q: What foundation is best for the Riverstone 6×8?
A: A compacted gravel base with a pressure-treated timber frame is the most cost-effective and DIY-friendly option. Concrete slab with anchor bolts is best for permanent placement and heavy snow loads. Avoid simply placing it on bare soil—it will shift and rot the base rails quickly.
Q: Do I need planning permission for this greenhouse?
A: In the UK, most 6×8 greenhouses fall under permitted development rights if they are less than 2.5 meters high, not in a front garden, and not listed property. Confirm with your local council, especially if your home is in a conservation area or you are in Scotland or Northern Ireland where rules differ.
Q: Can I use the greenhouse in winter without heating?
A: The Riverstone 6×8 can extend the growing season by 6-8 weeks in spring and autumn without heating. In winter, without frost protection, temperatures inside will drop to within a few degrees of outside. For sub-zero climates, electric or paraffin heaters are necessary. Review appropriate heating solutions for your zone.
Q: How do I clean the glazing after assembly?
A: Use warm water with a mild detergent and a soft sponge. Avoid abrasive pads or glass scrapers that could scratch polycarbonate. For glass, a squeegee with a long handle is ideal. Clean the roof annually before winter to maximize light penetration for shorter days.