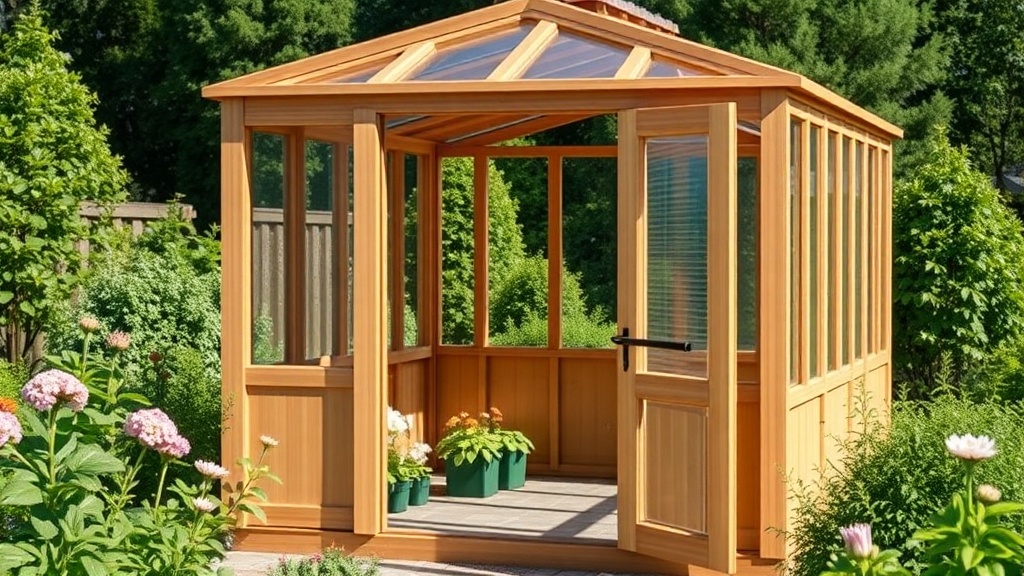
Getting Water to Your Riverstone 6×8 Wooden Greenhouse the Smart Way
Keeping plants consistently hydrated is often the difference between a thriving greenhouse and a disappointing harvest. The Riverstone 6×8 Wooden Greenhouse, with its compact 6×8 footprint, presents a unique opportunity to set up an automatic irrigation system that doesn’t overwhelm the available bench space or require complex plumbing. This guide walks through the practical steps of designing a drip or soaker system tailored to this specific wooden structure, covering components, installation, and common pitfalls to avoid.
How Much Water Does a Riverstone 6×8 Wooden Greenhouse Really Need?
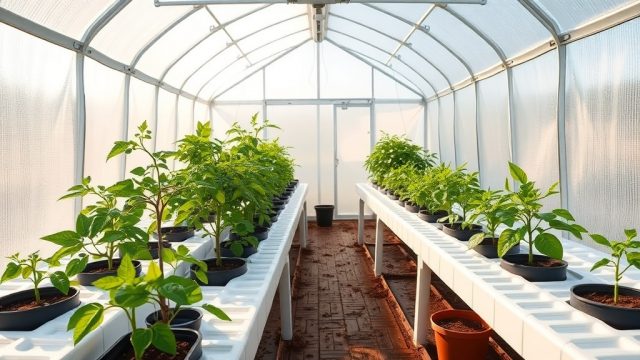
Before buying any tubing or timers, you must calculate your approximate water demand. The Riverstone 6×8 provides about 48 square feet of growing area if you fill it with raised beds or staging. A typical mixed planting—tomatoes, peppers, herbs, and lettuce—will require roughly 0.5 to 1.5 gallons per square foot per week during peak summer, depending on temperature and ventilation. For this size, expect to deliver between 24 and 72 gallons of water weekly. That translates to a drip system with 1/2-inch mainline and emitters rated at 0.5 to 1 gallon per hour (GPH), spaced every 12 to 18 inches. Always oversize your mainline by 20 percent to account for pressure loss, especially if you plan to run multiple zones off a single timer.
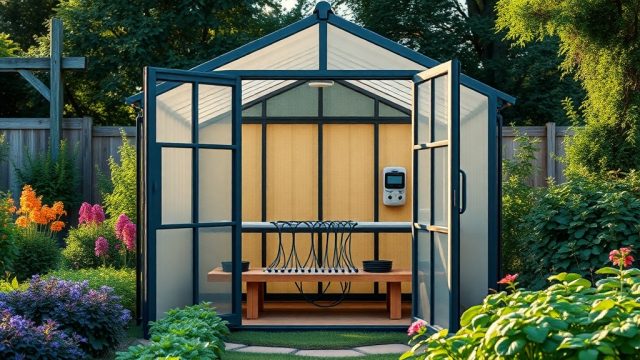
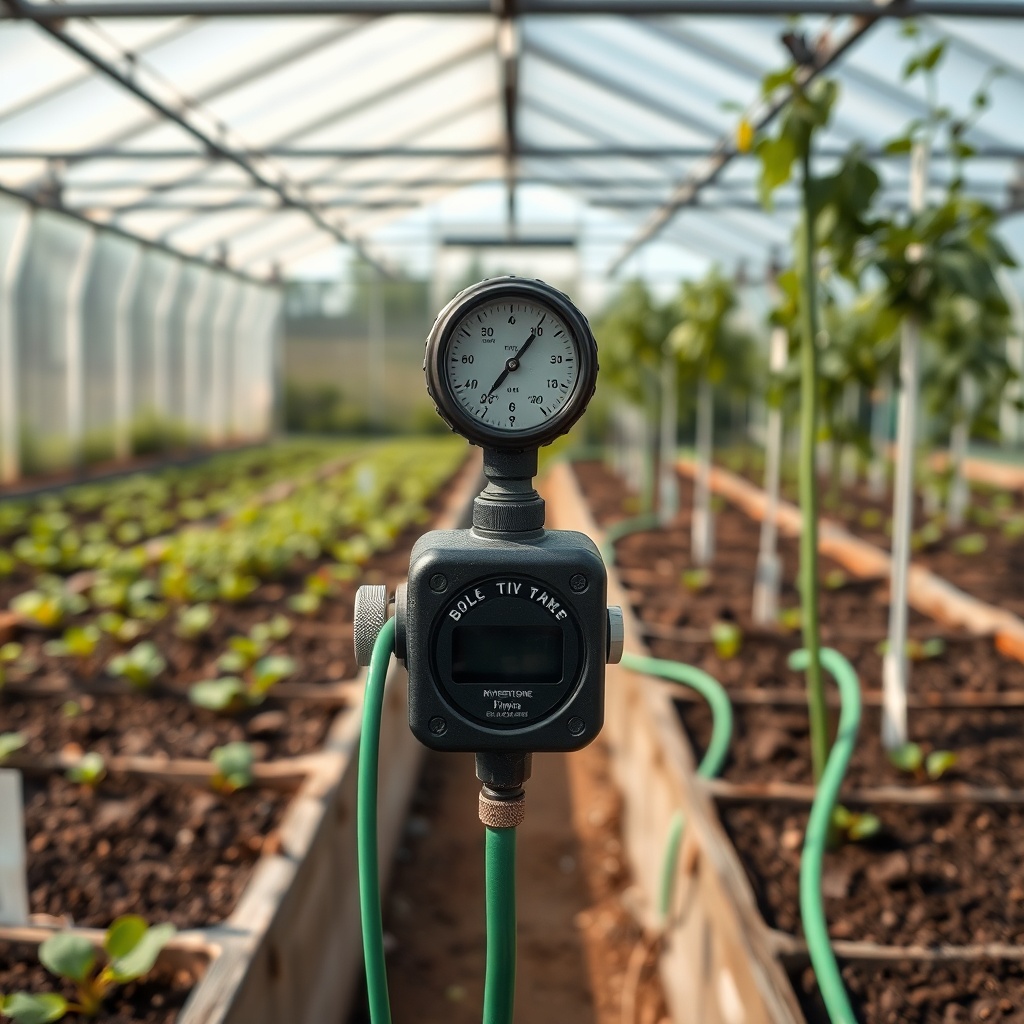
Which Automatic Timer Works Best with the Riverstone 6×8?
Your timer is the brain of the operation. For a greenhouse this size, battery-operated mechanical timers are usually sufficient and cost between £25 and £50. However, the Riverstone 6×8 typically has limited interior electrical access unless you run an outdoor-rated extension cord. If you want Wi-Fi connectivity or more flexibility, consider a digital timer with a weatherproof housing that can handle the humidity inside. Look for models that offer at least two programmable start times per day and allow run times as short as 5 minutes for seed flats. Avoid cheap mechanical timers that use a single dial—they drift over time and can overwater your crop.
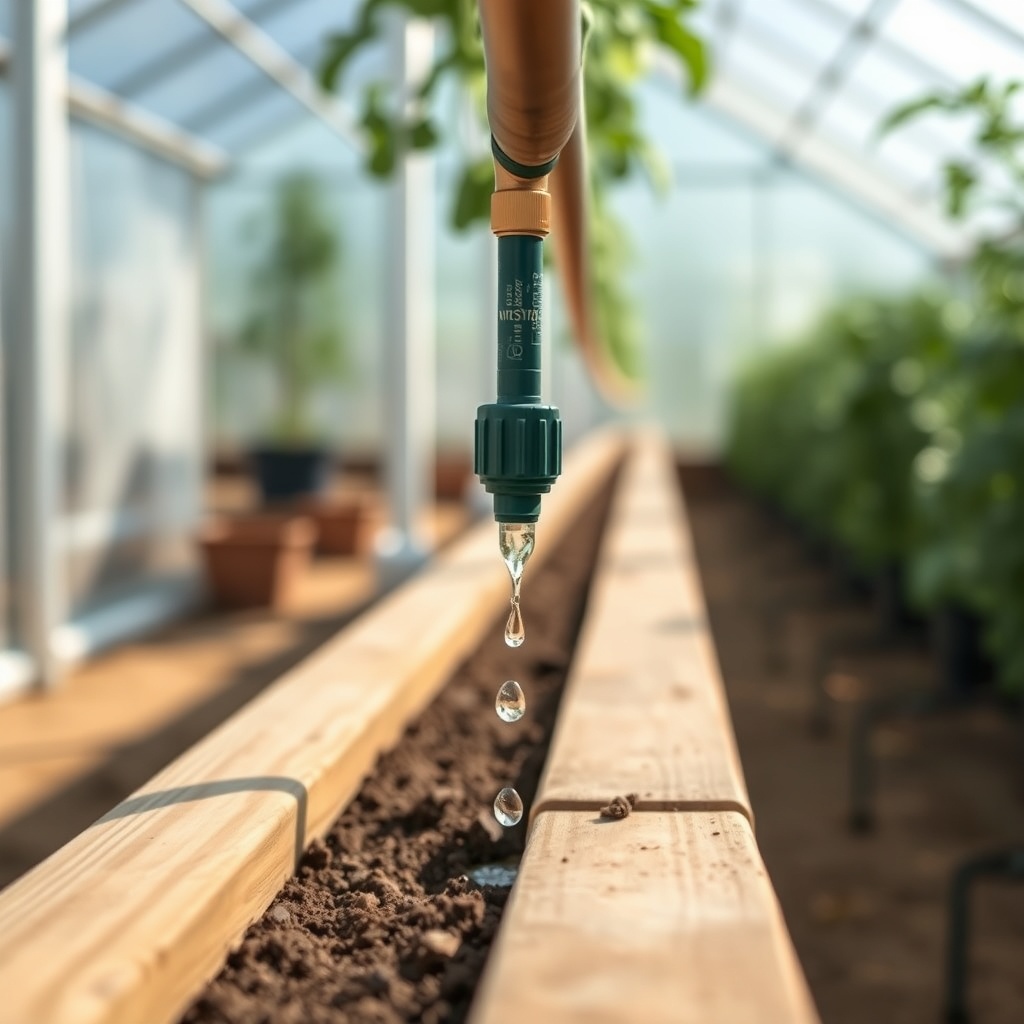
What Pipe Layout Prevents Leaks and Uneven Watering?
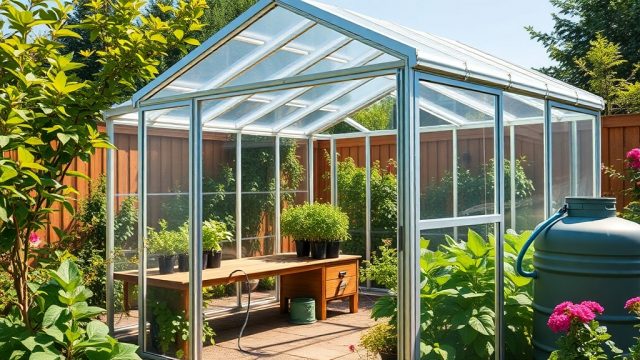
Polyethylene tubing is the standard. Run a 1/2-inch mainline from your water source along the back or side wall of the Riverstone 6×8, securing it with clips every 2 feet to the wooden frame. From the mainline, run 1/4-inch drip tubing to each plant or row. A common mistake is running too many emitters off a single 1/4-inch line—stick to a maximum of 10 emitters per 100-foot roll to maintain consistent pressure. For raised beds inside the greenhouse, use a header system: a 1/2-inch line at the base of the bed, with 1/4-inch spaghetti tubes feeding each plant. This keeps the layout clean and reduces the chance of kinks that starve downstream plants. Always install a pressure regulator set to 25 PSI at the hose bib to protect the tubing and emitters.
| Symptom | Likely Cause | Severity Level |
|---|---|---|
| Some emitters drip, others don’t | Pressure loss due to too many emitters on one line or undersized tubing | Needs attention soon—can be fixed with a larger mainline or adding a manifold |
| Water pools around base of plants | Emitter flow rate too high for soil type or run timer too long | Usually not urgent—reduce timer run time or switch to 0.5 GPH emitters |
| Greenhouse gets foggy after watering | Poor ventilation combined with high humidity from irrigation | Needs attention soon—add a hygrometer and open vents or run a circulation fan |
| Water drips from wooden frame joints | Condensation dripping from roof or leak at connection point | Usually not urgent—check seals and ensure drip line isn’t touching wood |
| Plants wilt despite wet soil | Overwatering causing root rot, or emitter is too close to stem | Needs attention soon—move emitter 2-3 inches from stem and let soil dry |
| Timer doesn’t activate consistently | Battery weak or timer placed in direct sunlight | Often urgent—replace batteries and relocate timer to shaded area |
How Do You Connect the System to a Rain Barrel or Outdoor Tap?
The Riverstone 6×8 is small enough that a single rain barrel (50-60 gallons) positioned near the door can supply water for most of the growing season, especially if you supplement with tap water during dry spells. Use a brass hose connector to attach a standard garden hose from the barrel to the system’s timer. If using a rain barrel, install a fine-mesh filter at the outlet to prevent debris from clogging emitters. For tap water, a simple Y-connector with shutoff valves gives you the flexibility to manually water or bypass the system for deep watering once a week. Keep the connection point at least 12 inches off the ground to prevent mud splatter onto the wood base, which can contribute to rot over time.
Does the Wooden Frame Need Special Sealing Around Water Lines?
Yes. The biggest risk with an automatic system in a wooden greenhouse is moisture damage at entry points. Where the drip line passes through the wooden wall or floor, drill a hole slightly larger than the tubing and insert a rubber grommet or use silicone caulk to seal the gap. This prevents water from wicking into the wood and encourages drainage away from the frame. Also apply a water-repellent sealant to the interior wood surfaces near the irrigation manifold and any areas that may get splashed. You can read more about managing wood moisture in our Riverstone 6×8 Wooden Greenhouse: Troubleshooting Common Rot Issues guide.
What Owners Say
Real owners of the Riverstone 6×8 who have automated their watering note a few recurring observations. First, the compact size means less tubing is needed, so the initial setup cost stays under £100 for a basic drip system with timer. Second, many owners report that they had to reduce the timer run time by 30% compared to their larger greenhouses because the smaller space heats up faster and evaporates less water. Third, a common retrofit is adding a second manifold to split the watering into two zones—one for seedlings on the staging and one for mature plants on the floor—to avoid overwatering young transplants.
Frequently Asked Questions
Can I install a drip system without drilling into the wooden frame?
Yes. You can route the mainline along the floor, tucked under the staging or along the baseboard, and secure it with adhesive clips. Avoid drilling holes in load-bearing beams. For wall penetrations, use the existing vent openings or run the hose under the door gap.
What size drip emitters should I use for seedlings?
Use 0.5 GPH emitters for seed trays or plug trays. Seedlings have shallow roots and overwatering is common. Run the timer for 5-10 minutes daily, then adjust based on soil moisture.
Will the automatic system work during a power outage?
Most battery-operated timers continue to work for a few days. If your timer is AC-powered, consider a battery-backed model or manually water during long outages. The system itself is gravity-fed from a barrel, so it still works as long as the timer valve is open.
How often should I flush the irrigation lines?
Flush the entire system at the start of each growing season and again mid-season if you notice reduced flow. Open the end caps on the 1/2-inch mainline and let water run for 2 minutes. This clears sediment that can clog emitters.
Can I use the same system for rain barrel water and tap water?
Yes, but install a Y-connector with backflow prevention. Switch to tap water only when the barrel runs low. Rain barrel water may contain algae or sediment—a inline filter rated at 150 mesh is recommended to protect emitters.
Should I insulate the irrigation pipes in winter?
If you live in a climate where temperatures drop below freezing, drain the system completely and remove the timer before winter. Even in an unheated greenhouse, standing water in the lines can freeze and crack the tubing. You can find more tips on maintaining your greenhouse in our Riverstone 6×8 Wooden Greenhouse: Best Shelving and Benching Layouts article, which covers winter storage of staging.