How Does the Riverstone 6×8 Wooden Greenhouse Perform in Cold Climates?
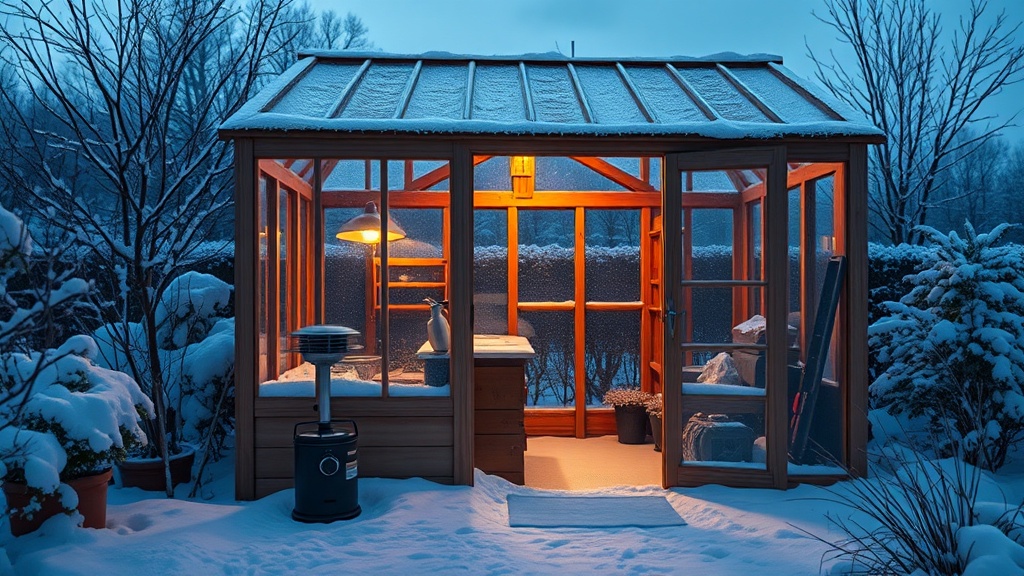
For gardeners in zones 4 through 6, the Riverstone 6×8 Wooden Greenhouse offers a compact 48 square feet of growing space that demands careful heating and insulation planning. This solid wood structure, with its 12mm twin-wall polycarbonate glazing and cedar framing, provides a solid baseline for heat retention, but maintaining temperatures above freezing during harsh winter nights requires deliberate upgrades. Understanding its heat loss characteristics is the first step toward creating a truly four-season growing environment.
The greenhouse’s total surface area of approximately 176 square feet (including roof, walls, and floor) loses heat proportionate to the temperature difference between inside and outside. In a climate where overnight lows drop to -12°C (10°F), you would need approximately 3,500 BTUs per hour just to keep the interior at 4°C (40°F). This requirement can be reduced by up to 40% with proper insulation and thermal mass strategies, making the Riverstone 6×8 a manageable project for anyone willing to invest in targeted upgrades.
What Insulation Upgrades Work Best for the Riverstone 6×8?
Because the Riverstone 6×8 ships with single-layer polycarbonate panels, the largest thermal improvement comes from adding a secondary insulation layer. Bubble wrap greenhouse insulation (with 3/4-inch bubbles) applied to the interior of the polycarbonate can reduce heat loss by 30% and costs roughly £35 for a 10m roll. Use UV-stable clips to attach it to the cedar framing, avoiding direct contact with the glazing to prevent condensation trapping.
Another effective method involves thermal curtains or blackout blinds installed on the roof and north-facing wall. These reduce radiant heat loss at night by up to 50% and double as light control for photoperiod-sensitive plants. For the Riverstone frame, you can mount curtain tracks along the ridge beam and sidewalls, costing about £80–£120 for custom-fitted thermal drapes. Additionally, sealing all gaps with draught-proofing strips around the door and vents—costing less than £20—dramatically cuts cold air infiltration.
A more permanent solution is to install rigid foam insulation boards (25mm XPS or PIR) along the lower 600mm of the greenhouse walls, behind any benching. This reduces heat loss through the ground-level area, where cold air pools, and provides a thermal break between the inside and outside. This upgrade costs roughly £60–£90 and requires cutting the boards to fit between the vertical cedar supports.
Which Heating Systems Are Most Effective for This Small Greenhouse?
The Riverstone 6×8’s modest volume (approximately 384 cubic feet) means you do not need an industrial-grade system—but you do need a heater that can maintain setpoints accurately without overshooting or failing in damp conditions. Below is a comparison of the three most common heating strategies for this structure.
| Heater Type | BTU Output | Approx. Cost (GBP) | Annual Running Cost (GBP)* | Best For |
|---|---|---|---|---|
| Electric fan heater (1.5 kW) | 5,100 BTU/h | £45–£80 | £120–£180 | Frost protection down to -5°C |
| Infrared ceramic panel (800W) | 2,730 BTU/h | £95–£150 | £80–£130 | Low humidity, even radiant heat |
| Gas LPG heater (portable) 3.5 kW | 11,900 BTU/h | £120–£200 | £90–£150 | Very cold snaps below -10°C |
*Estimated based on a 6-month heating season in central England, with heater running 8 hours/night at average £0.30/kWh electricity and £0.12/kWh LPG.
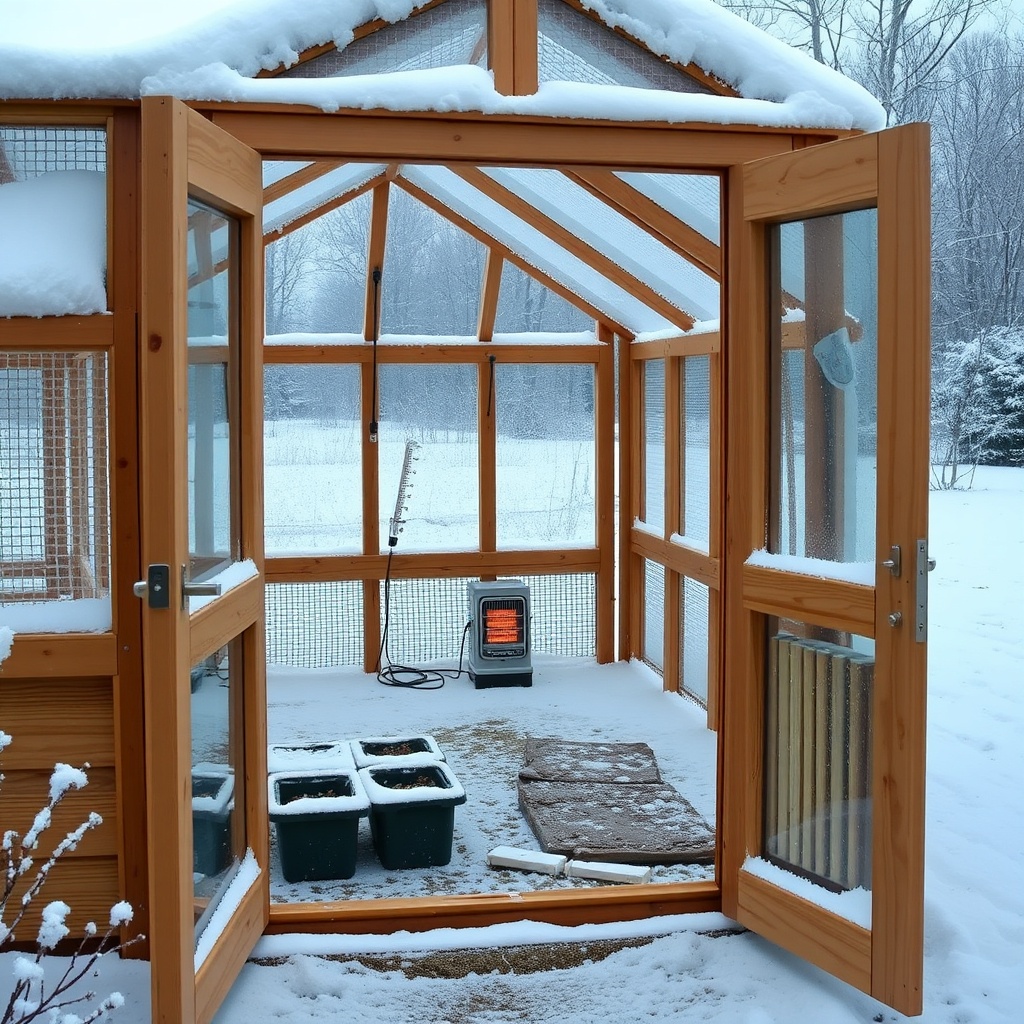
For most owners, an electric fan heater with a built-in thermostat is the simplest and safest option. Place it on a waterproof base near the centre of the greenhouse, directing airflow across the plants to prevent cold spots. Upgrade to a heater with a recessed plug to protect electrical connections from moisture. If you live in a region with prolonged sub-zero temperatures, a gas LPG heater paired with a carbon monoxide alarm is the most powerful solution, but requires refilling canisters and good ventilation during operation.
What Role Does Thermal Mass Play in Passive Heating?
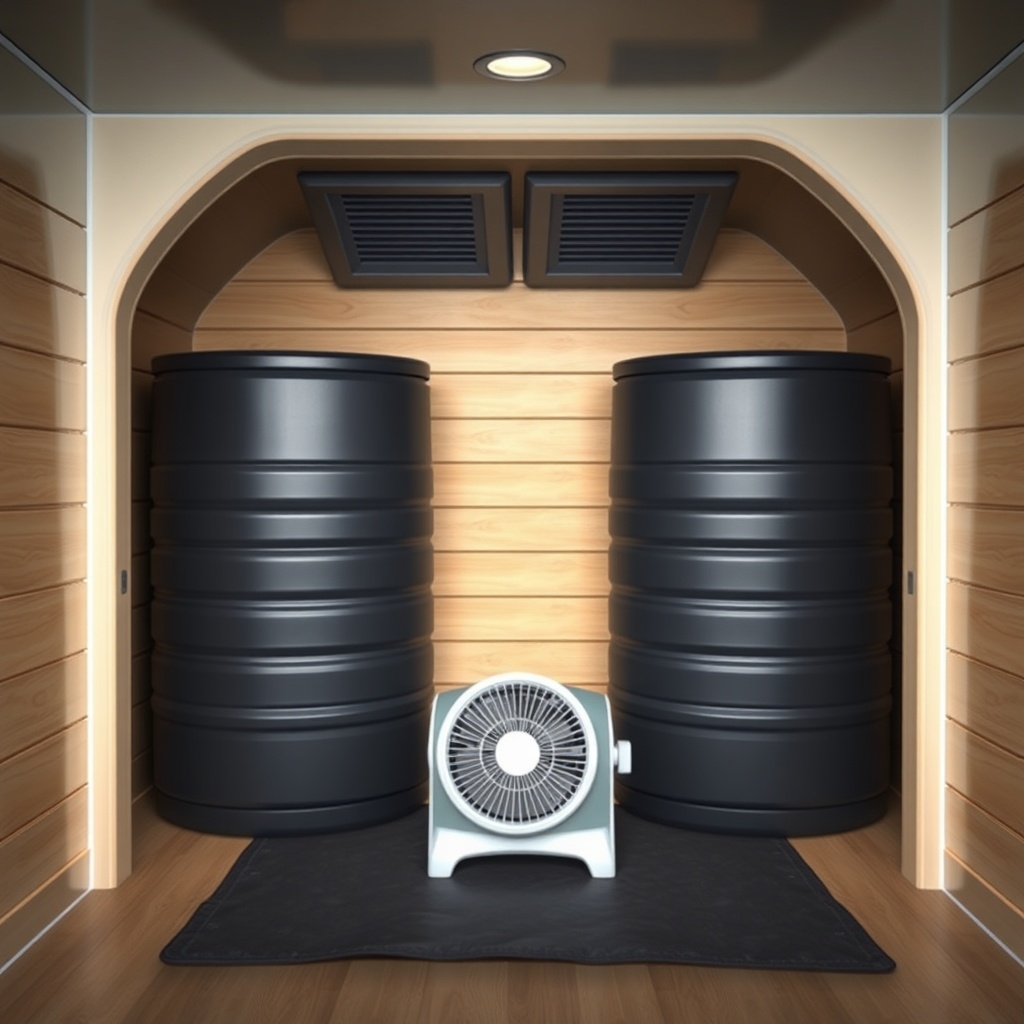
Even with a small heater, incorporating thermal mass into the Riverstone 6×8 can reduce peak heating demand by up to 25%. Water barrels painted a dark, non-reflective colour (black or dark green) absorb heat during the day and release it slowly at night. For this greenhouse size, two 50-gallon (190-litre) barrels, placed along the north wall, provide meaningful thermal storage. Ensure they are elevated on pallets to avoid ground contact, preventing cold bridging.
Alternatively, dense materials like concrete pavers or stone flagstones on the greenhouse floor add thermal mass without taking up bench space. A 10mm layer of pea gravel over the floor also absorbs and releases heat, though less effectively than water or stone. For more advanced setups, phase-change materials (PCMs) like paraffin wax panels (e.g., BioPCM) can be placed on the north wall, providing latent heat storage that releases at a constant temperature. A 32-square-foot PCM panel costs about £120 and replaces 4 barrels.
How Can You Integrate Heating With Irrigation and Ventilation?
A heated greenhouse without proper irrigation and ventilation control is a recipe for mould and root rot. When setting up heating, coordinate your Riverstone 6×8 Wooden Greenhouse: Automatic Irrigation System Setup to avoid cold water shocking roots. Install a thermostatic mixing valve on your irrigation supply so that water enters at 18°C–21°C (65°F–70°F), preventing sudden temperature drops in the root zone.
Ventilation must be maintained even in winter to prevent condensation. Automatic louvre openers (e.g., 100N automatic vent openers) should be set to open at 24°C during sunny winter days, while the heater is set to run at 4°C at night. This prevents heat buildup that could trigger the vents unnecessarily. Pair this with a Riverstone 6×8 Wooden Greenhouse: Best Ventilation Strategies for Healthy Plants guide to fine-tune your airflow. A small oscillating fan running continuously during the day (and cycling on/off with the heater at night) keeps air moving and prevents stagnant pockets where condensation collects.
Additionally, ensure your electrical system is protected from moisture. Install an IP66-rated outdoor socket and route cables through conduits. A heater with a built-in frost setting (usually 5°C) automatically activates when temperatures dip, without needing a separate controller. For more precise control, a Wi-Fi-enabled thermostat (around £40–£60) allows remote monitoring and scheduling via a smartphone app.
What Are the Common Cold-Climate Maintenance Pitfalls?
Operating a Riverstone 6×8 in below-freezing conditions brings unique challenges. One frequent issue is door freezing shut due to moisture accumulation on the cold metal latch. Apply silicone spray or a food-grade lubricant to the door mechanism monthly. Another problem is ice buildup on polycarbonate panels from condensation that freezes overnight. Ensure your heating system is set to maintain at least 4°C, and wipe down panels on sunny mornings to prevent ice damage to the sealant around the edges.
A third concern is heater failure during a power cut. Keep a portable propane heater and a carbon monoxide alarm on hand as a backup, and consider a small generator or a deep-cycle battery with an inverter for critical loads. For long-term health, regularly inspect the cedar framing for dampness—especially around the base—and treat with a clear wood preservative annually. If you notice any warping or soft spots, consult our guide on Riverstone 6×8 Wooden Greenhouse: Troubleshooting Common Rot Issues to address problems early. Finally, ensure the Riverstone 6×8 Wooden Greenhouse: Best Shelving and Benching Layouts does not block heater airflow, keeping benches at least 300mm above the floor to allow warm air circulation.
What Owners Say About Cold-Climate Performance
Owners in northern regions consistently rate the Riverstone 6×8 as capable but requiring additional insulation for true winter use. “I added 25mm foam boards to the lower walls and bubble wrap to the roof—now I can grow leafy greens from November through March with just a 2kW fan heater,” reports one owner from North Yorkshire. Another from Scotland notes, “The cedar construction is solid, but the thin polycarbonate is the weak link. I replaced the roof panels with 16mm twin-wall and doubled my heat retention.”
Several owners mention the importance of a drip tray under the heater to catch condensation, and one recommended switching to LED grow lights that also contribute heat (each 100W LED adds about 340 BTU/h). Overall, the consensus is that with a total investment of £200–£400 in insulation and heating upgrades, the Riverstone 6×8 can reliably support cool-season crops and overwintering tender perennials in climates down to -15°C (5°F).
Frequently Asked Questions
Q: Can I use a paraffin heater in the Riverstone 6×8?
A: Yes, but it is not recommended because paraffin heaters produce water vapour and carbon dioxide, raising humidity and requiring constant ventilation. For a small greenhouse, an electric or LPG heater is safer and more controllable.
Q: How many watts do I need to heat the Riverstone 6×8 to 10°C (50°F) in -5°C (23°F) weather?
A: Roughly 1.5 kWh (about 1,500W) of electric heat is needed per hour when outside temperatures are -5°C. With bubble wrap insulation, this drops to about 1,000W. Use a 1.5kW fan heater as a baseline for worst-case conditions.
Q: Should I use a thermostat with a night-setback feature?
A: Absolutely. Set the heater to maintain 5°C at night and 15°C during the day for most crops. This reduces running costs by 40% compared to a constant 15°C setting.
Q: Can I install a radiant tube heater in this greenhouse?
A: It is possible, but radiant tube heaters are better suited for much larger structures. The Riverstone 6×8’s ceiling height (approx. 2.1m at apex) is too low for safe installation. Stick to fan heaters or infrared panels.
Q: Does the greenhouse come with a base or foundation for cold climates?
A: No, the base is sold separately. For cold climates, pour a concrete slab or use an insulated timber base with a minimum 100mm of rigid foam below. This prevents cold ground from drawing heat out of the greenhouse.
Q: How often should I check the heater during winter?
A: Daily inspection is recommended. Check that the heater is free of dust, the thermostat is calibrated, and there is no ice on the panels or vents. Every two weeks, test the backup heater and the carbon monoxide alarm if using gas.