Why Install a Drip Irrigation System in a Riverstone 6×8 Wooden Greenhouse?
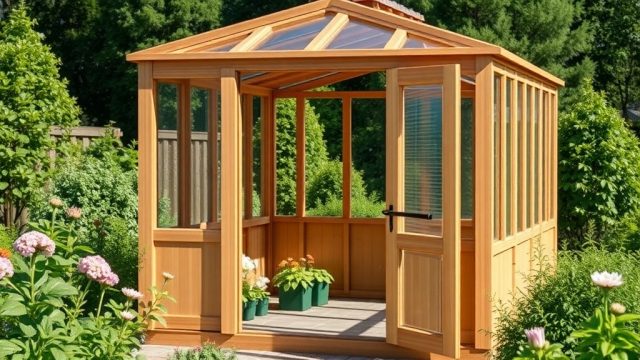
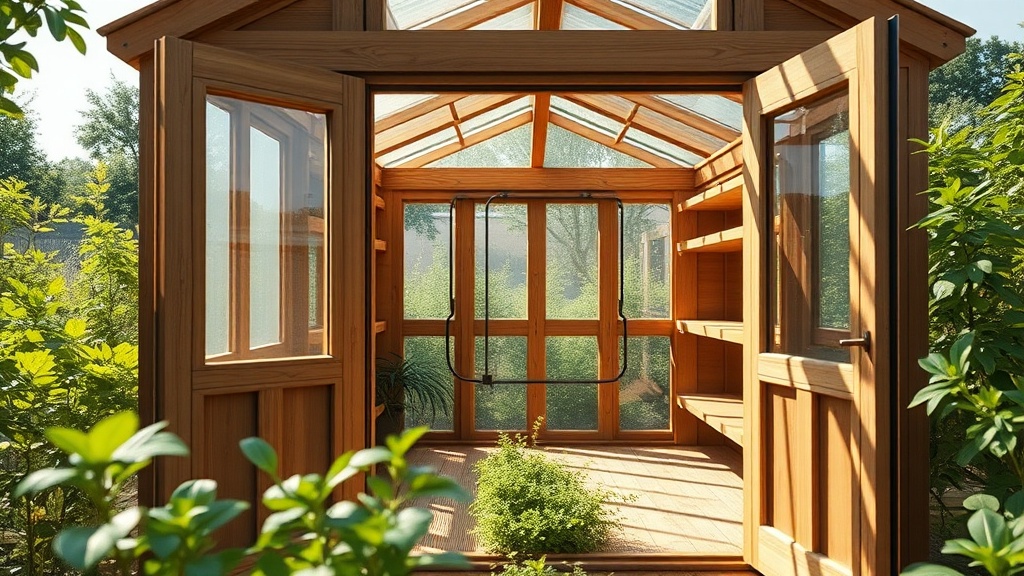
The Riverstone 6×8 wooden greenhouse offers a compact yet robust growing space, but consistent watering can become a chore without automation. A drip irrigation system delivers water directly to the root zone of each plant, reducing waste and preventing common issues like fungal diseases from overhead watering. With the structure’s wooden frame, careful installation of a drip system protects both your plants and the greenhouse materials from excess moisture.
What Are the Key Components of a Drip System for the Riverstone 6×8?
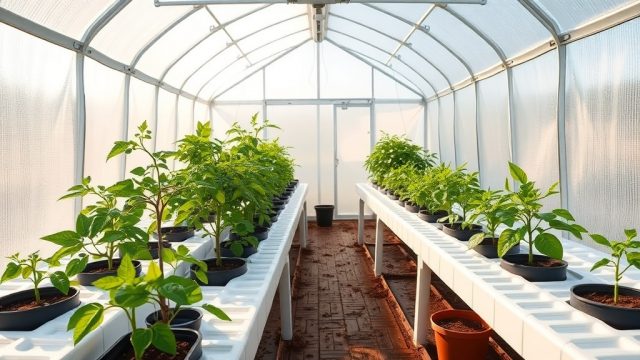
Building an efficient drip irrigation system for a 6×8 greenhouse requires a few essential parts tailored to the space. The average growing area is around 48 square feet, so a system that covers that footprint without overcomplicating matters works best.
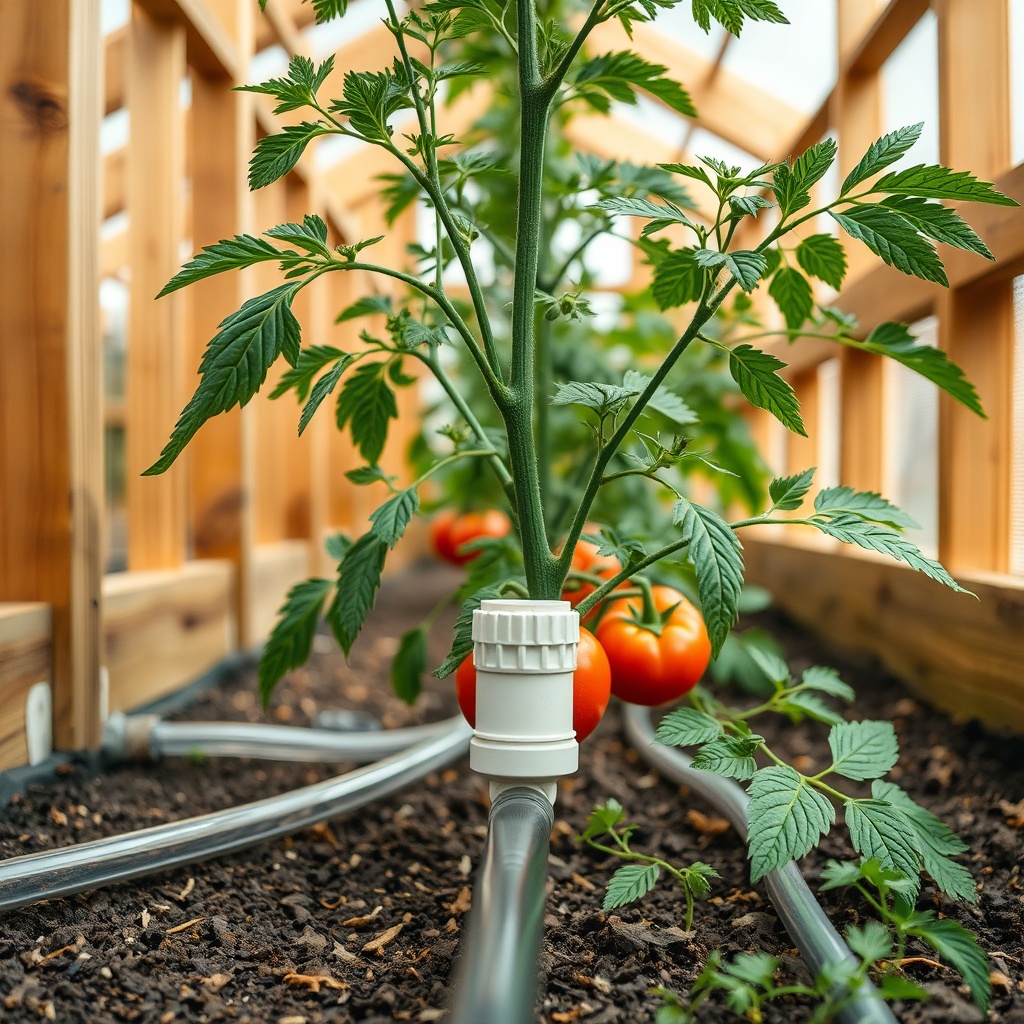
- Main supply line: A 1/2-inch polyethylene tubing runs from a faucet or rainwater barrel to the greenhouse. Standard lengths of 50 feet are common, but for the 6×8, 25 feet may suffice if the source is near.
- Emitters: Choose pressure-compensating drippers rated at 0.5–2 gallons per hour (GPH). For a mixed crop of vegetables and herbs, 1 GPH emitters are a balanced choice.
- Connectors and fittings: T-connectors, elbows, and end caps are needed to split lines to different planting beds or pots. Look for UV-resistant plastic to avoid degradation over time.
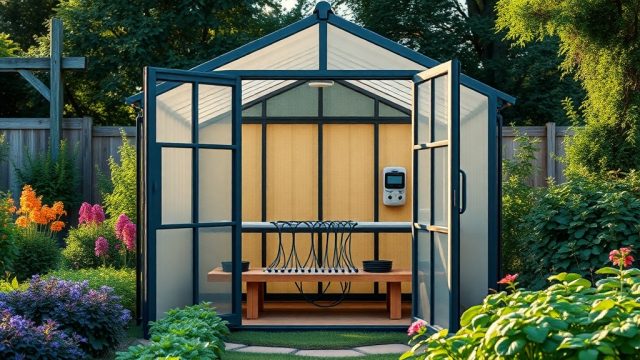
- Timer or controller: A battery-operated or mechanical timer automates watering schedules, costing between $20 and $80 depending on features.
- Filter and pressure regulator: These protect emitters from clogging, especially if using rainwater or a non-filtered tap source.
For the Riverstone 6×8, a single zone system usually works, though you might add a second zone if you have distinct watering needs (e.g., cacti vs. moisture-loving ferns). The total cost for a basic setup, including tubing and emitters, typically ranges from $100 to $250 USD, depending on brand and extras.
How to Route Tubing Without Damaging the Wooden Frame
The wooden structure of the Riverstone 6×8 requires care during installation. Directly stapling tubing to the frame can trap moisture against the wood, leading to rot over time—a key issue covered in Riverstone 6×8 Wooden Greenhouse: Troubleshooting Common Rot Issues. Instead, use these methods to secure tubing safely:
- Use clip-on supports: Plastic or metal clips that attach to the wooden frame with small screws (not staples) hold tubing a quarter inch away from the wood surface, allowing air circulation.
- Run tubing along the floor: Lay the main line along the ground between planting beds, anchoring it with ground stakes that keep it off the wood entirely.
- Avoid overhead runs: Overhead lines can drip onto wooden rafters, so keep all water-carrying components at or below waist height.
- Seal any penetration holes: If you must drill through a wooden beam to pass tubing, apply exterior-grade silicone caulk around the hole to prevent moisture ingress.
These precautions ensure your irrigation system doesn’t compromise the integrity of the greenhouse. The Riverstone’s cedar or pine frame lasts longer when kept dry, so take the extra time to install correctly.
| Component | Specification | Average Cost (USD) | Notes |
|---|---|---|---|
| 1/2″ Polyethylene tubing, 50 ft | 80–100 psi rating, UV-stabilized | $15–$25 | Can be cut to custom lengths |
| Pressure-compensating emitters (1 GPH) | Flow rate +/- 10% accuracy | $0.30–$0.50 each | Buy a pack of 50 for ~$20 |
| Battery-powered timer | 2 to 4 watering cycles per day, manual override | $25–$55 | Alkaline batteries last a season |
| Digital controller (advanced) | Multiple zones, rain delay, Wi-Fi optional | $80–$150 | Overkill for 6×8 but useful for remote adjustments |
| Y-filter with pressure regulator | 100 mesh screen, reduces to 20–30 psi | $15–$30 | Essential for well or rainwater |
| Installation kit (connectors, stakes, end caps) | Includes 10 T-joints, 5 end caps, 25 stakes | $20–$35 | Pre-bundled saves shopping time |
Should You Integrate a Rain Barrel With the Drip System?
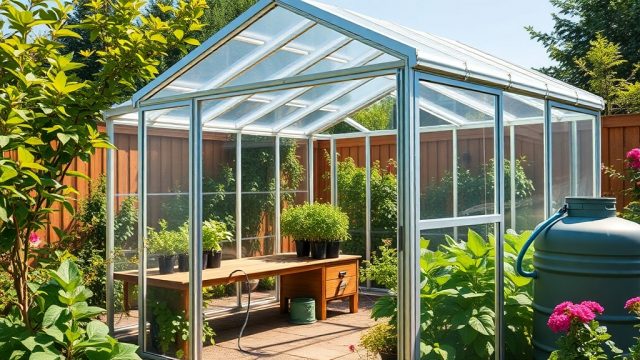
The Riverstone 6×8’s roof collects rainwater effectively, especially with a gutter system added. Connecting a rain barrel to your drip irrigation reduces water bills and provides untreated water that plants love. However, gravity-fed systems need careful planning because the pressure from a barrel at ground level is too low for most emitters.
- Elevate the barrel: Place the rain barrel on cinder blocks or a stand to achieve at least 2–3 feet of head height. This generates about 1–2 psi, which works with certain low-pressure emitters.
- Use a small pump: A 12-volt submersible pump (around $50–$80) can boost pressure to 20 psi, matching a tap-fed system.
- Filter the barrel outlet: Install a fine mesh screen at the barrel spigot to prevent debris from clogging emitters.
- Bypass the timer: If using a pump, integrate a float switch or a timer that activates the pump only when the barrel is full.
For the Riverstone 6×8, a 55-gallon rain barrel provides roughly two weeks of water for a full planting of vegetables, depending on climate. This sustainable approach pairs well with the greenhouse’s natural wood aesthetics. Check out Riverstone 6×8 Wooden Greenhouse: Automatic Irrigation System Setup for more tailored automation ideas.
How to Design a Zone Plan for Different Plant Types in the 6×8 Space
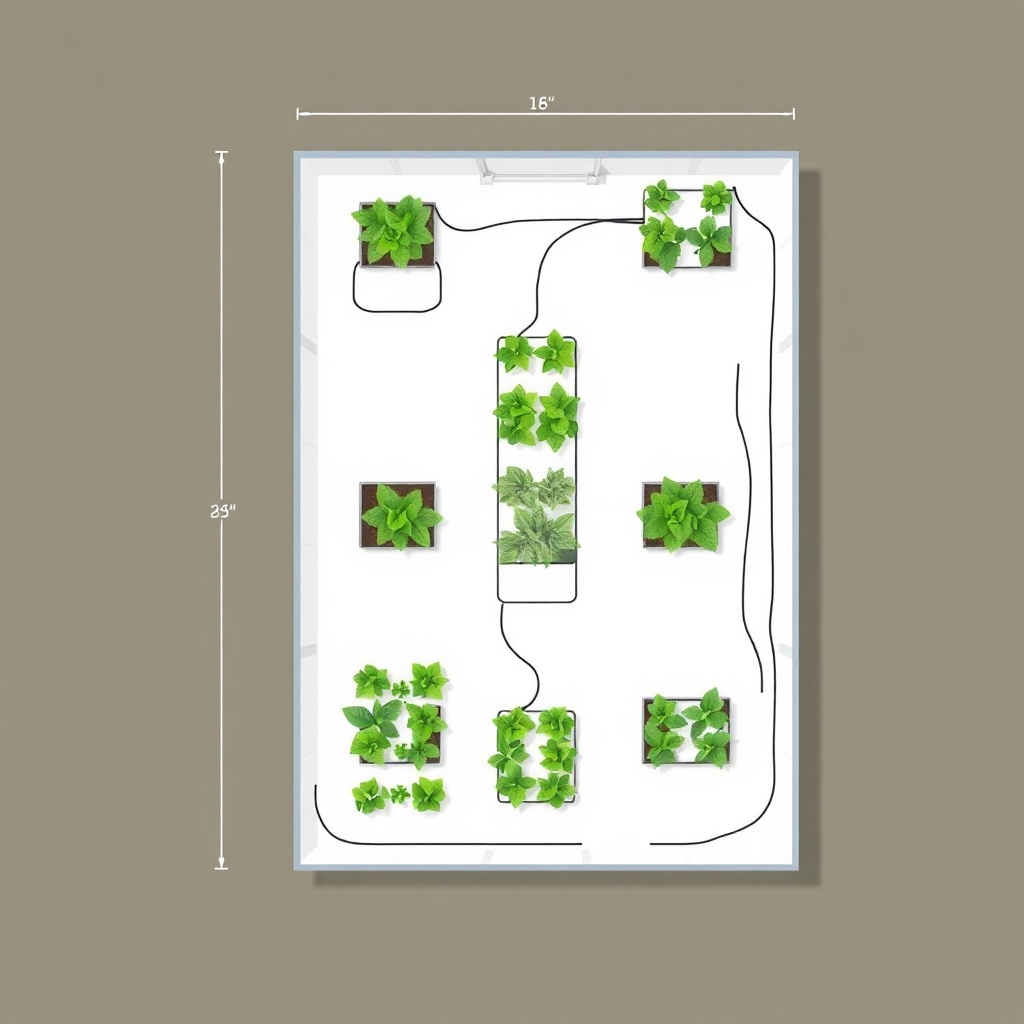
Not all plants have the same thirst. A single drip zone can drown succulents while underwatering tomatoes. For the Riverstone 6×8, dividing the floor into three zones based on watering needs maximizes efficiency.
- Zone 1 – High moisture: Place plants like lettuce, cucumbers, and ferns near the back wall of the greenhouse (often shadier). Use 2 GPH emitters on a daily schedule of 15–20 minutes.
- Zone 2 – Moderate moisture: Tomatoes, peppers, and squash occupy the middle area. Run 1 GPH emitters for 10–15 minutes every other day, adjusting based on temperature.
- Zone 3 – Low moisture: Herbs like rosemary, thyme, and succulents sit near the door for air circulation. Use 0.5 GPH emitters for 5-minute waterings twice a week.
Label each zone clearly on your timer and check soil moisture weekly with a finger test. This zoning approach prevents overwatering while catering to diverse crops inside a compact footprint. To optimize plant layout further, read Riverstone 6×8 Wooden Greenhouse: Best Shelving and Benching Layouts for shelving ideas that complement drip systems.
What Owners Say About Drip Irrigation in the Riverstone 6×8
Greenhouse owners who install drip irrigation in their Riverstone 6×8 models report significant improvements in plant health and reduced labor. Sarah M., a hobbyist from Oregon, noted: “I used to water every morning with a watering can. After installing a basic drip system with a timer, I spent weekends pruning instead of watering, and my tomatoes stopped getting leaf spot.” Another owner, James K., highlighted the wood preservation benefit: “Keeping water off the floor and away from the walls means my Riverstone is still solid after four years.”
Common praise points include the ease of installation due to the greenhouse’s upright design and the ability to run lines under a bench without kinking. Some owners wish the kits came with more fittings for the compact layout, but supplementary parts from local hardware stores fill the gap. Overall, the investment pays for itself within a single growing season through healthier yields and time savings.
Frequently Asked Questions
1. Can I use a soaker hose instead of drip emitters in my Riverstone 6×8?
Yes, soaker hoses work for row crops but distribute water less precisely than emitters. They also release more moisture into the air, which can increase humidity and risk of rot—especially near wooden walls. Drip emitters are recommended for targeted watering.
2. How do I prevent drip lines from freezing in winter inside the greenhouse?
Drain the system completely before freezing temperatures arrive. Remove timers and batteries, and blow out lines with compressed air if possible. The Riverstone 6×8’s sheltered position helps, but unheated greenhouses still see pipe cracking below 32°F (0°C). For cold-climate tips, see Riverstone 6×8 Wooden Greenhouse: Best Heating Solutions for Cold Climates.
3. What size tubing should I use for the main line in a 6×8 greenhouse?
1/2-inch poly tubing is standard for runs up to 100 feet, which covers the 6×8 easily. For very small setups, 1/4-inch micro-tubing can serve short branches, but 1/2-inch is more durable and easier to find.
4. How often should I replace the drip emitters?
With proper filtration, pressure-compensating emitters last 3–5 years. Replace them if you see uneven water flow or mineral buildup. Clean them annually by soaking in vinegar solution to remove deposits.
5. Is it possible to add a drip system to an existing Riverstone 6×8 without disassembling shelving?
Absolutely. Run the main line along the perimeter or under benches, using offset risers to reach plants on shelves. The Riverstone 6×8 Wooden Greenhouse: Best Shelving and Benching Layouts article explains how to route lines around shelving brackets without causing clutter.
6. What humidity level does drip irrigation maintain in the Riverstone 6×8?
Drip irrigation typically keeps humidity at 50–60%, lower than overhead misting (which can exceed 80%). This range is ideal for most vegetables and reduces mold risks. Ventilation strategies further control humidity—read Riverstone 6×8 Wooden Greenhouse: Best Ventilation Strategies for Healthy Plants for pairing systems.