Palram Canopia Harmony 6×8: Troubleshooting Common Assembly Mistakes
Assembling a Palram Canopia Harmony 6×8 greenhouse is a rewarding weekend project, yet even experienced gardeners encounter pitfalls. This guide pinpoints the most frequent assembly errors, helping you avoid wasted time and materials. From alignment issues to panel fastening problems, we cover practical fixes to ensure your greenhouse is sturdy and ready for planting.
Why Does the Frame Seem Twisted After Assembly?
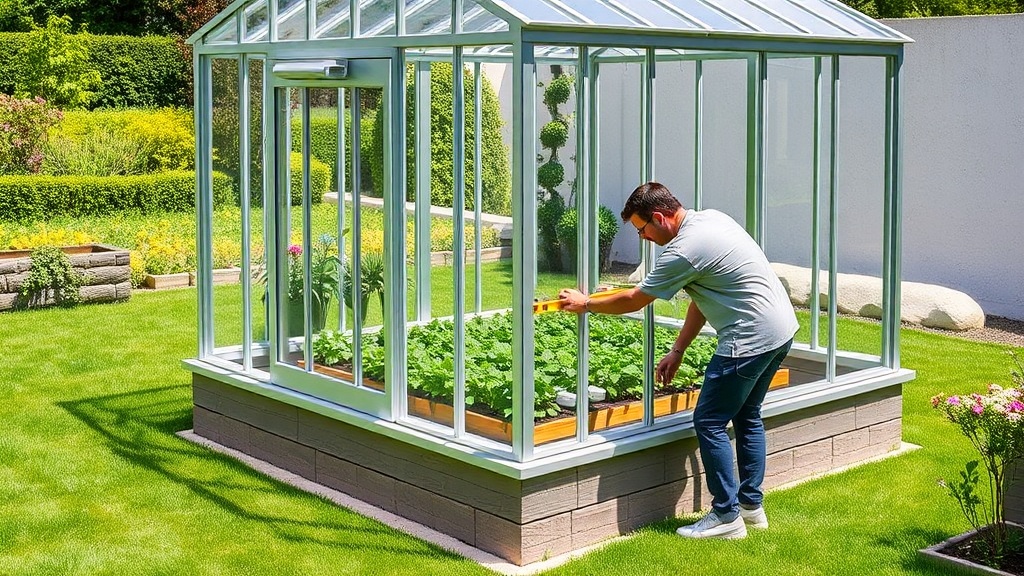
A twisted frame is the most common complaint when erecting the Palram Canopia Harmony 6×8. This typically occurs because the base is not level. Before any vertical assembly, check the foundation with a 4-foot spirit level. A difference of just 5 mm across the 8-foot length will transfer into racking at the ridge.
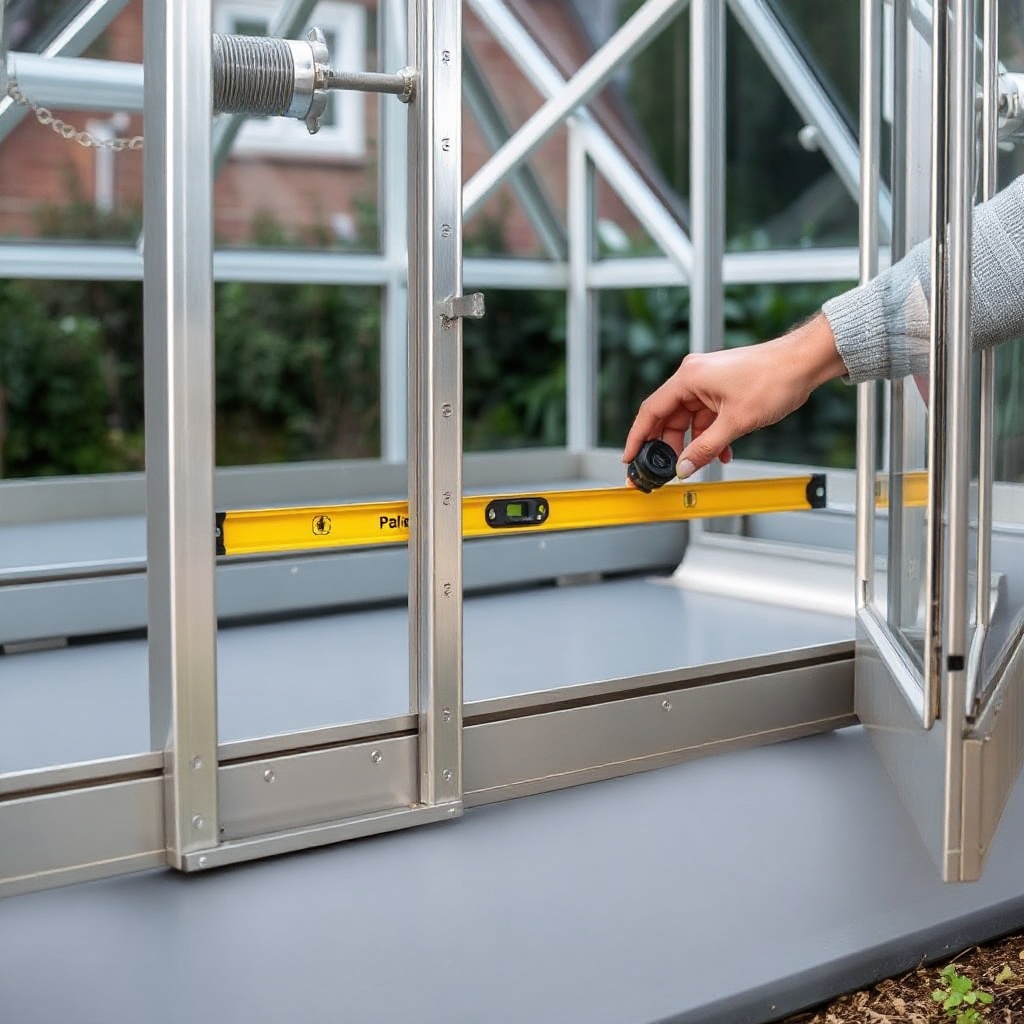
Another culprit is over-tightening the aluminium profile screws before all components are loosely connected. Always hand-tighten the bolts until the entire skeleton is assembled, then go back with a wrench. If you already have a twist, loosen all corner and ridge connectors, realign the frame, and retighten in a star pattern.
Finally, ensure the ground anchor plates are fully seated. If the greenhouse sits on soil, the posts can sink unevenly. Use Palram Canopia Harmony 6×8: Sealing Polycarbonate Panels for Leak Prevention to address any gaps caused by a slightly skewed frame, but fixing the twist first prevents future leaks.
How Do I Prevent Polycarbonate Panels From Popping Out?
Panels popping out of their grooves is a frustrating assembly mistake, often due to incorrect panel insertion depth. Each polycarbonate sheet must slide fully into the aluminium channel until you feel a positive stop. If the panel is only partially seated, wind pressure will push it loose.
Also, check that the rubber glazing gasket is not bunched up. When installing the panel caps, pull the gasket taut from end to end. A wrinkled gasket reduces friction and allows movement. Use a plastic wedge tool (often included) to push the gasket into the corner of the channel before locking the cap.
For panels that persistently dislodge, you can add a dab of clear silicone at the channel midpoint—but only after verifying alignment. Better yet, read our guide on Palram Canopia Harmony 6×8: Upgrading to Twin-Wall Polycarbonate Glazing for Better Insulation if you are considering thicker panels, as they require different clip spacing.
Why Does the Door Misalign After a Week?
A door that hangs perfectly on day one but sags after a week usually points to loose hinge screws or an un-squared front frame. The Palram Canopia Harmony 6×8 uses sliding or hinged doors; both rely on the front wall being exactly square. Measure diagonals: they should differ by less than 3 mm.
If the door is hinged, reinforce every hinge screw with the included thread-locking compound or a drop of clear nail polish. For sliding doors, the top roller track must be perfectly horizontal. Use shims under the track if needed. A common mistake is skipping the door brace; the manual shows a diagonal brace that must be installed before the panels.
After fixing alignment, lubricate the rollers with a dry PTFE spray. Sticky rollers can cause the door to jump the track. If you plan to automate the door, see Palram Canopia Harmony 6×8: Automatic Vent Opener Installation and Benefits for compatible hardware.
Where Should I Place the Base to Avoid Drainage Issues?
Base placement errors lead to standing water inside the greenhouse. The Palram Canopia Harmony 6×8 has a low threshold; if the ground slopes toward the door, rainwater will flow inward. Grade the site to slope away at 2% (about 2 cm per metre). Install a French drain if your soil is clay-heavy.
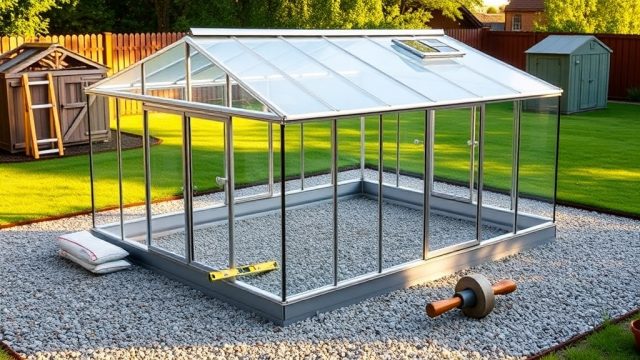
Another assembly mistake is not removing turf or organic matter beneath the base. Grass decomposes, creating a dip that misaligns the frame. Excavate 10 cm of topsoil, fill with compacted crushed stone, and then lay pavers or concrete blocks. The base must be a continuous, level surface, not just corner supports.
For seasonal protection, consider combining proper drainage with passive heating. Our article Palram Canopia Harmony 6×8: Passive Solar Heating Methods to Extend Your Growing Season explains how water barrels inside can help, but only if the floor stays dry.
How Tight Should the Screws Be in the Aluminium Profiles?
Screw tension is a frequent source of error. Over-tightening strips the threads in the soft aluminium channels, while under-tightening leaves the frame wobbly. Use the torque that a standard hand screwdriver provides when you turn until resistance increases sharply—then add a quarter turn.
The table below summarises recommended tightening levels for critical connections:
| Connection Point | Recommended Torque | Risk of Over-Tightening | Cost of Replacement Part |
|---|---|---|---|
| Corner bracket bolts | Hand-tight + 1/4 turn | Stripped aluminium thread | £8.99 per bracket |
| Ridge connector screws | Hand-tight + 1/2 turn | Bent connector plate | £12.50 per connector |
| Panel cap screws | Just snug (no crank) | Cracked polycarbonate | £22.00 per sheet |
| Door hinge screws | Firm, with thread lock | Stripped hinge plate | £15.00 per hinge kit |
Always use the provided Allen key or a socket driver with a torque-limiting handle. If a screw spins freely, back it out, fill the hole with a toothpick dipped in wood glue (for aluminium it is a temporary fix), or order a replacement bracket.
What Is the Correct Order for Installing Roof Panels?
The roof panel installation sequence trips up many builders. The Palram Canopia Harmony 6×8 roof uses overlapping panels that must go from bottom to top—like roof shingles. Start at the lower eaves and work upward toward the ridge. If you install the top panel first, the lower one cannot slip underneath it, which forces gaps.
Each roof panel has a UV-protected side facing outward (usually marked by a protective film). Do not remove both film layers until after installation. The film protects the polycarbonate from UV degradation during assembly. Peel the inner film only after all panels are secured.
Also, verify that the eaves profile has drainage slots facing down. Some builders invert the profile, trapping water. After assembly, seal the panel ends with the proprietary aluminium tape to prevent dust and insects. For more tips on sealing, see Palram Canopia Harmony 6×8: Sealing Polycarbonate Panels for Leak Prevention.
What Owners Say
Feedback from actual builders reveals recurring themes. One user from Manchester reported that their door misaligned after a month due to skipping the base level step. Another in Cornwall praised the clear instruction diagrams but wished the manual had mentioned how tight to set the roof screws. Several owners emphasised that assembling on a concrete pad rather than grass reduced the twist problem significantly.
Positive remarks centre on the greenhouse’s light transmission and ease of panel replacement. One gardener noted that after fixing their initial frame twist, the structure has survived three winters without sagging. A common tip from owners is to photograph each step so you can backtrack if something feels off.
For those who want to maximise interior space, many owners recommend Palram Canopia Harmony 6×8: DIY Vertical Gardening Setup for Space Optimization to use the vertical area wasted due to uneven frames.
Frequently Asked Questions
Q: Can I assemble the Palram Canopia Harmony 6×8 alone?
A: It is possible but not recommended. The roof panels and ridge beam are heavy for one person. At least two adults are needed for safe handling.
Q: How long does assembly typically take?
A: Expect 8 to 12 hours for a first-time builder. Weekend projects are common, with one person reading the manual and another building.
Q: What tools do I need beyond what is included?
A: You need a Phillips screwdriver, a spirit level, a rubber mallet, and a 10 mm socket wrench. Optional: a drill with a low-torque setting, but use caution to avoid stripping screws.
Q: Will the polycarbonate panels yellow over time?
A: The Palram panels have a UV coating. With proper orientation (coated side outward), they should remain clear for 10–15 years. Harsh climates can accelerate yellowing.
Q: Can I mount shelves directly on the aluminium frame?
A: Yes, but avoid drilling into the grooved channels—use self-tapping screws only into the flat surfaces. Better yet, attach shelves to the base or use wire shelves that hang from the ridge.
Q: Why does my roof leak even though I followed the manual?
A: Likely cause is gaps at the roof-to-wall junction where the ridge cap meets the eave. Check that the rubber seals are continuous and that the roof panels overlap the wall panels by at least 5 mm.