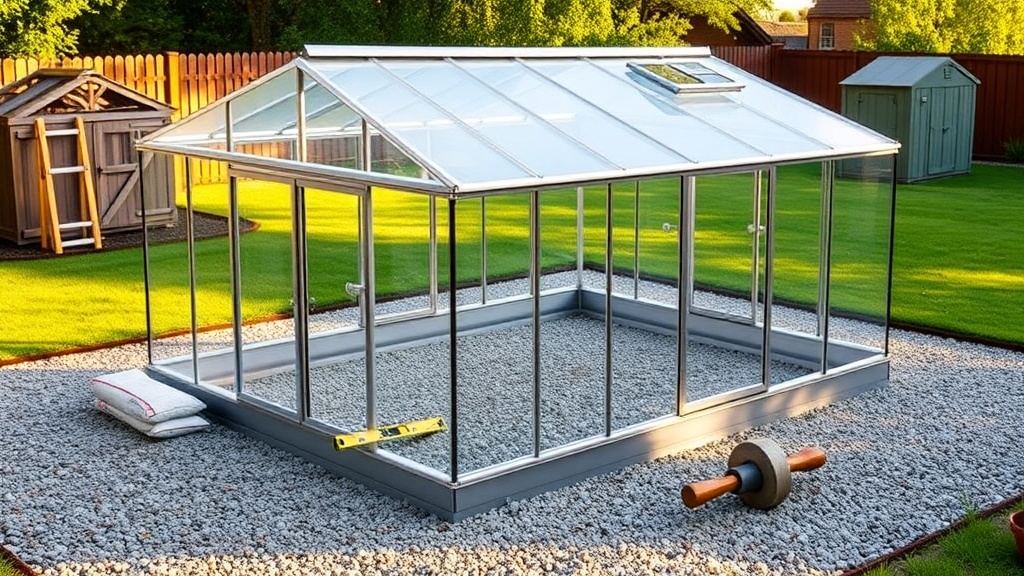
Why Does Ground Preparation Matter for a Palram Canopia Harmony 6×8?
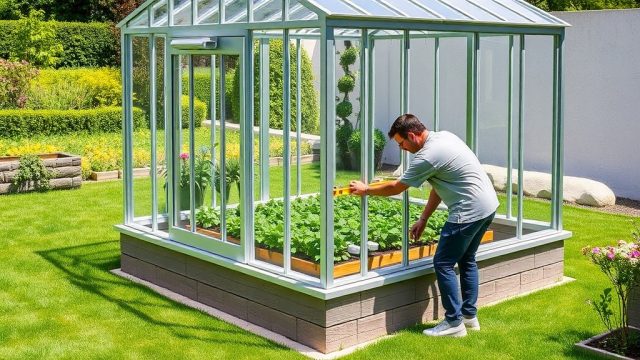
Setting up a greenhouse on uneven terrain is one of the most common challenges gardeners face, especially with a popular model like the Palram Canopia Harmony 6×8. This 6-foot by 8-foot polycarbonate structure relies entirely on a flat, level foundation for its aluminum frame to align correctly, doors to slide smoothly, and panels to seal without gaps. Without proper ground preparation, you risk twisting the frame, cracking the polycarbonate, or creating air leaks that undermine temperature control. This guide will walk you through the specific steps needed to prepare a suitable base for the Harmony 6×8 on uneven ground, drawing on real-world installation experiences and best practices for DIY builders.
What Are the Signs That My Ground Is Too Uneven for This Greenhouse?
Before you break ground, you need to assess the severity of the slope or unevenness. A difference of even 1 to 2 inches across the 8-foot length can cause door misalignment and panel stress. Use a 4-foot level and a long straight board or a string line with a line level to check the site. Look for these indicators:
- Visible slope: Water runs in one direction across the site after rain.
- Rocks or root bumps: High spots that prevent the base rails from sitting flush.
- Soft or low spots: Areas that sink when you walk on them or collect standing water.
- Old garden bed remnants: Uneven soil from previous planting that hasn’t settled.
If you measure a height difference greater than 1.5 inches from corner to corner, you will need to either excavate the high side, build up the low side with compacted gravel, or—for severe cases—construct a raised timber or concrete base frame. Remember: the Palram Canopia Harmony 6×8 base measures roughly 72 inches by 96 inches; the frame’s screw holes and corner brackets expect a flat surface within about 1/4 inch tolerance.
Which Base Materials Work Best for the Palram Canopia Harmony 6×8 on Sloped Soil?
For most uneven sites, a compacted gravel base is the most forgiving option, followed by a concrete slab or pressure-treated timber frame. Here’s a comparison table to help you decide based on your site conditions and budget:
| Base Type | Cost (Approx., £ / $) | Leveling Difficulty | Drainage | Best For |
|---|---|---|---|---|
| Compacted Gravel (1-2 inches) | £80–£140 ($100–$175) | Moderate | Excellent | Slight to moderate slopes (up to 2 inches) |
| Concrete Slab (4-inch thick) | £300–£500 ($375–$625) | High (requires forms) | Good (with slope) | Severe slopes, permanent installation |
| Timber Frame (4×4 treated) | £60–£120 ($75–$150) | Moderate | Fair (line with gravel) | Mild slopes, easy DIY removal |
| Paver Stones (interlocking) | £150–£250 ($190–$315) | High (requires full excavation) | Good (if spaced) | Flat sites with minor dips |
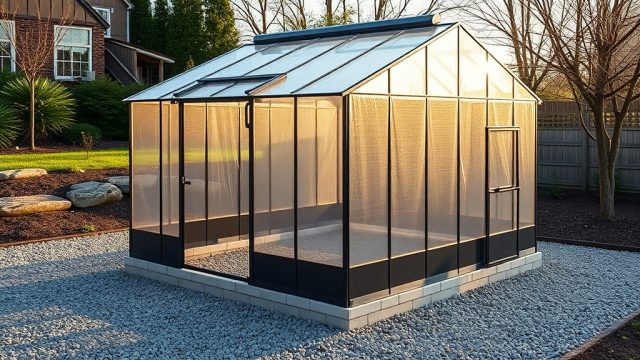
Gravel is the cost-effective winner for most DIY builders because it allows you to adjust the thickness per corner. Spread 3-4 inches of crushed stone (type 1 or 2-inch clean gravel) over the low areas, then screed it level. For the Palram Canopia Harmony 6×8, avoid using loose soil or sand alone—they shift over time and will let the base sag. If you are building on clay, consider adding a woven geotextile fabric to separate the gravel from the soil and prevent mixing.
How Do I Mark and Excavate the Site for a Level Foundation?
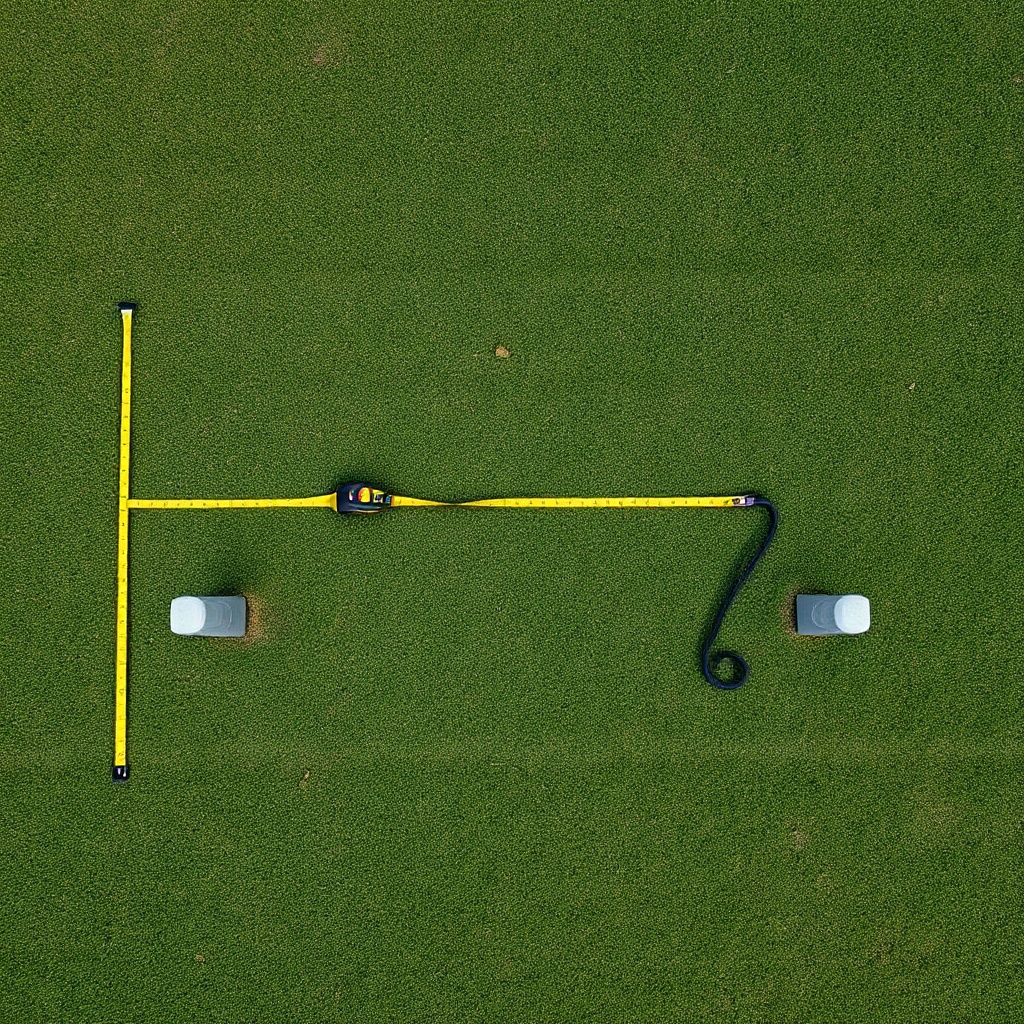
Precise marking is essential. Start by clearing the area of grass, weeds, and rocks. Then drive four stakes at the corners of a 7-foot by 9-foot rectangle (adding 6 inches extra on each side for working room). Tie a string line between the stakes at the height of the highest corner’s natural grade. Use a line level to check that the string is perfectly horizontal. Now measure down from the string to the ground at each stake—the measurement differences tell you exactly how much to dig on the high side or add on the low side.
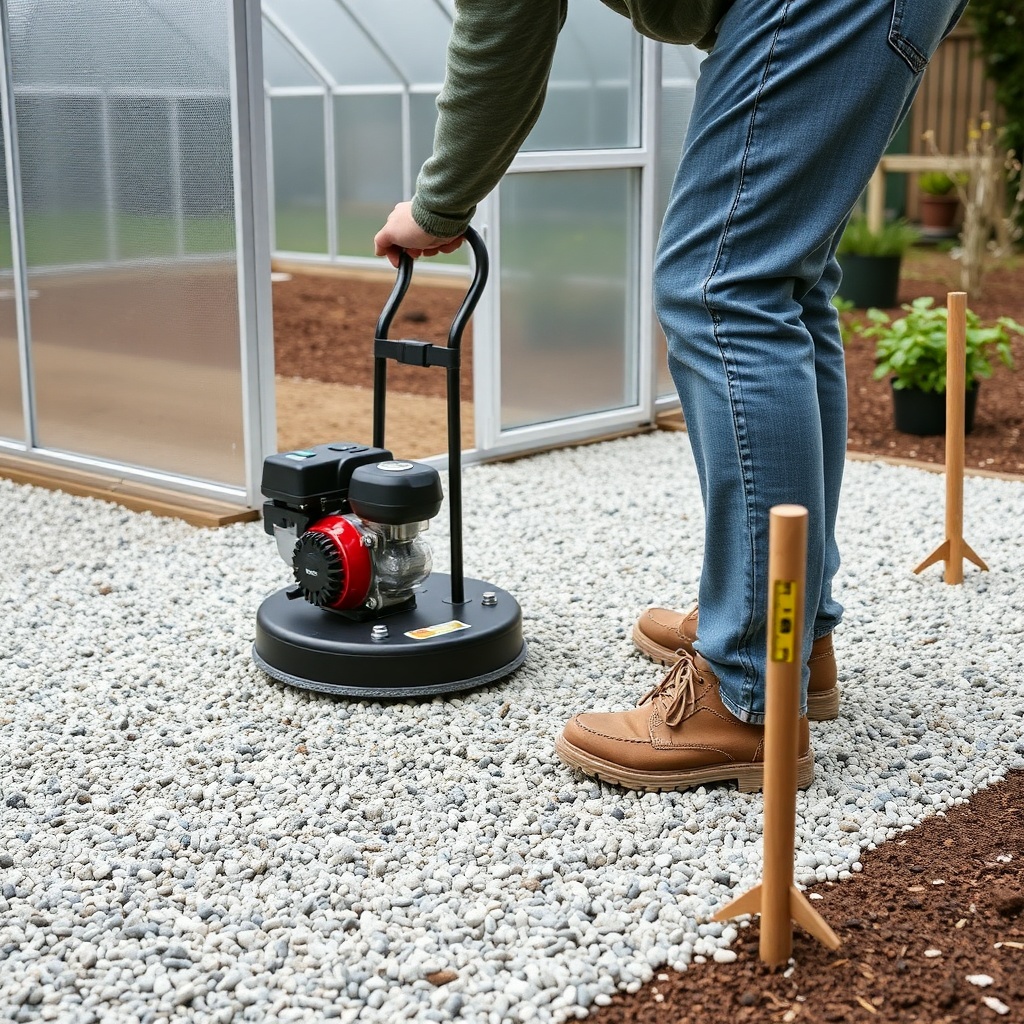
Excavate the high side first, removing the top 2 to 4 inches of soil until the depth from the string line is consistent around the perimeter. If the low side requires fill, bring in crushed gravel and compact it in 2-inch layers with a hand tamper or plate compactor. For a site that dips more than 3 inches across the 8-foot length, you may need to build a low retaining wall using landscaping timbers on the downhill side to hold the gravel. Check every few passes with the level—a mistake here will be hard to fix after the aluminum frame is assembled.
Can I Use the Palram Base Frame as a Leveling Template?
Yes—and many experienced builders recommend this trick. After you have the ground roughly level (within 1 inch), you can loosely assemble the aluminum base frame of the Harmony 6×8 (the four rails that connect via corner brackets) and place it directly on the prepared gravel. This gives you a real-world check for flatness. Put a carpenter’s level on the long rails and short rails. Add or remove gravel under specific corners until the bubble is centered along both axes. This method accounts for any slight manufacturing tolerances in the frame itself.
However, do not fully tighten the corner bracket screws at this stage—leave them snug but not locked. Once the base is perfectly level, mark the anchor points (the pre-drilled holes in the base rails) by pushing a screwdriver or spray paint through them onto the gravel. Then remove the frame, install ground anchors or concrete screw bolts at those marks, and reinstall the base for permanent attachment. This two-step process is the most reliable way to ensure your Palram Canopia Harmony 6×8: DIY Assembly Tips for First-Time Builders goes smoothly without frame twisting.
What About Frost Heave or Seasonal Soil Movement?
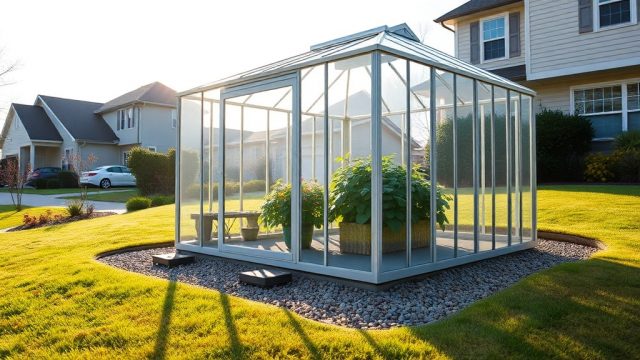
Uneven terrain often hides underlying soil that expands and contracts with freezing and thawing. If you live in a region with winter temperatures below freezing, you need to protect the Palram Canopia Harmony 6×8 from frost heave. The best approach is to dig a shallow perimeter trench (4 to 6 inches deep) around the base and backfill it with coarse gravel. This acts as a French drain that wicks water away from the foundation. For extra security, use concrete deadmen or helical ground anchors that reach below the frost line (typically 12 to 24 inches deep, depending on your area).
Another tip: avoid placing the greenhouse directly on bare soil, as moisture wicks up into the aluminum base and can promote corrosion over years. A gravel base with a vapor barrier (6-mil polyethylene sheet) underneath is ideal. If you opt for a concrete slab, ensure it is poured on a 4-inch gravel sub-base and reinforced with wire mesh to prevent cracking. For more on maintaining panel integrity after setup, read Palram Canopia Harmony 6×8: Proper Cleaning and Maintenance for Polycarbonate Panels.
What Do Owners Say About Setting Up on Uneven Ground?
Reviews from gardeners who own the Palram Canopia Harmony 6×8 consistently highlight that “leveling the base was the single most important step.” One owner reported struggling with a 2-inch slope in their backyard: after skipping the gravel compaction step, the door jamb began rubbing within two months. Another shared online that using a 4×4 timber frame filled with pea gravel solved their uneven lawn problem permanently. The consensus is clear—do not rush the ground prep. As one user put it: “Spend a weekend getting the base right, and the rest of the assembly is a breeze.”
Several owners also note that the low profile of the Harmony 6×8 (only 6.5 feet tall) makes it even more sensitive to base movement compared to larger models. If you are installing on a mild slope, consider orienting the greenhouse so the 8-foot length runs along the contour line, reducing the effective drop. For shelves and internal organization after leveling, check out Palram Canopia Harmony 6×8: DIY Custom Shelving Plans for Small Greenhouses.
Frequently Asked Questions
Q: Can I assemble the Palram Canopia Harmony 6×8 directly on grass?
A: No. Grass will rot, shift, and create an uneven surface. The aluminum base requires a firm, level foundation like gravel, concrete, or pavers.
Q: What is the maximum slope the Harmony 6×8 can tolerate without a custom base?
A: The manufacturer recommends a maximum slope of 1/4 inch over the entire base footprint. Anything greater requires leveling work.
Q: Do I need a building permit for this greenhouse?
A: This depends on your local codes. Typically, a 6×8 structure under 7 feet tall often falls under “shed exemption,” but check with your municipality.
Q: Can I use sand instead of gravel for leveling?
A: Sand compacts well initially but can wash out or erode over time. A mix of 1/2 crushed stone and sand is more stable than sand alone.
Q: How long does ground preparation take for a DIY builder?
A: Expect 8 to 12 hours for excavation, gravel filling, and compaction—longer if the slope is severe. It is the most time-consuming part of the entire assembly.
Q: Will adding Palram Canopia Harmony 6×8: Optimizing Air Circulation with Fans help with condensation if my base is uneven?
A: Good air circulation helps, but it cannot fix structural issues from an uneven base. Always level first, then add fans for ventilation performance.