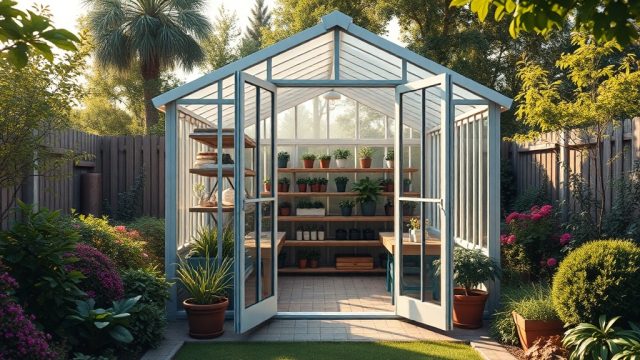
Riverstone 6×8 Wooden Greenhouse: Maximising Space With Strategic Shelving and Benching Layouts
Careful shelving and benching layouts turn a standard Riverstone 6×8 wooden greenhouse into a highly productive growing space. Without a thoughtful plan, you risk overcrowding seedlings, blocking light to lower shelves, and making daily watering a chore. This guide covers practical layouts, material choices, and common pitfalls to help you get the most from every square foot of this compact structure.
What Are the Key Dimensions and Weight Limits of Stock Shelving Units in the Riverstone 6×8?
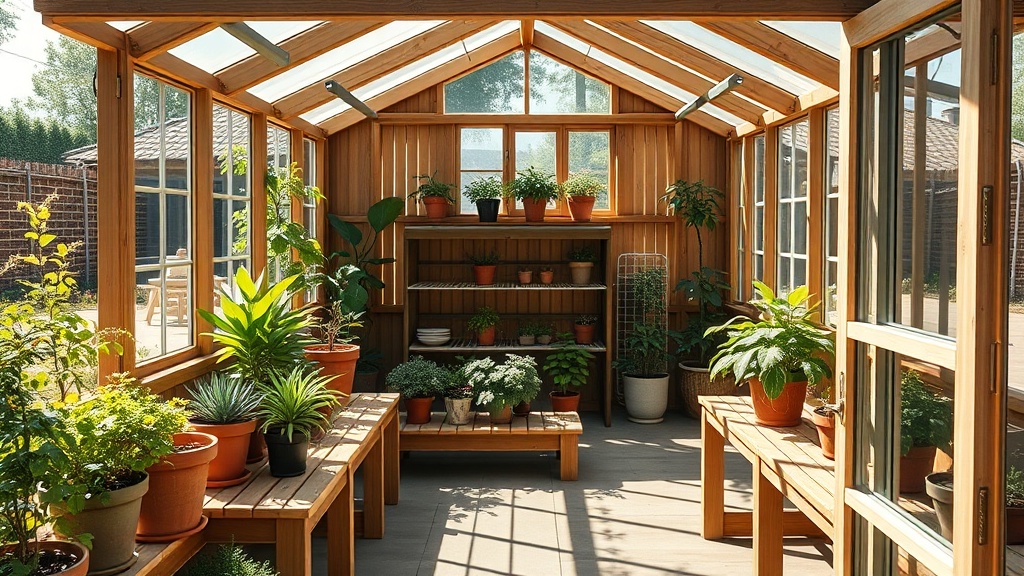
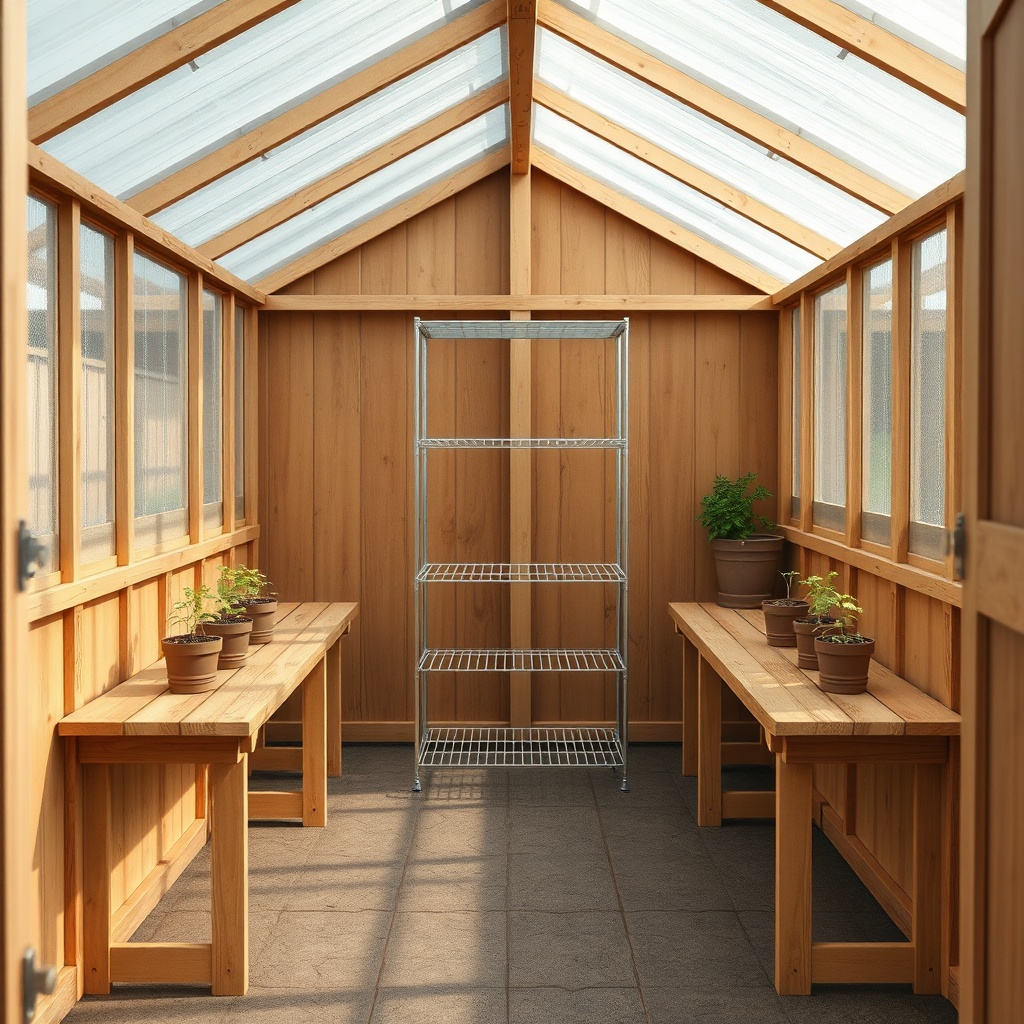
The Riverstone 6×8 wooden greenhouse ships with two fixed side benches, each measuring roughly 120 cm (47 inches) long by 30 cm (12 inches) deep. These are made from pressure-treated pine slats, spaced 10 mm apart for drainage. Each shelf can support about 15–20 kg (33–44 lb) evenly distributed. The central staging area is roughly 180 cm by 70 cm (71 by 28 inches), though many owners remove this to gain floor space for larger pots.
If you add aftermarket wire shelving (common models from brands like Keter or Palram), you can increase vertical capacity significantly. Standard adjustable shelves in this greenhouse footprint handle up to 25 kg (55 lb) per shelf. Just avoid placing heavy grow bags or water reservoirs on the upper tiers, as the wooden frame’s brackets are not designed for top-heavy loads.
How Should I Prioritise Light Distribution When Planning Bench Heights?
Light is the limiting factor in a 6×8 greenhouse. Most Riverstone models have a ridge height of about 2.1 metres (6.9 feet), with eaves at roughly 1.5 metres (4.9 feet). If you place tall shelving along the south-facing wall (in the Northern Hemisphere), you’ll cast shadows over the central benches. A better approach is to use lower benches (60–75 cm / 24–30 inches high) on the sunny side, and taller tiered shelving (up to 120 cm / 47 inches) on the north wall.
For seed starting, consider a dedicated 50 cm (20 inch) high staging table placed crosswise in the middle. This keeps flats close to the glass but still allows airflow. For over-wintering plants, a 90 cm (35 inch) high bench along the north wall works well for succulents or herbs that need less intense direct light.
What Are the Best Materials for Shelving and Benching That Resist Humidity and Rot?
The Riverstone 6×8 wooden greenhouse uses pressure-treated timber for the frame, but internal shelving often gets exposed to 80–90% relative humidity during summer months. Avoid untreated MDF or particleboard, as they will warp and crumble within two seasons. Instead, consider three proven options:
- Powder-coated aluminium mesh: Lightweight, resists rust, and allows excellent air circulation. Typical cost: £30–45 per 1.2m x 0.6m shelf.
- Marine-grade plywood (18 mm): With two coats of exterior polyurethane varnish, this holds up for 5+ years. Cost: about £25–35 per sheet.
- Galvanised steel wire shelving: Very strong (up to 35 kg per shelf), but watch for sharp edges. Cost: £40–60 for a four-tier unit.
Regardless of material, leave 5–10 mm gaps between slats or mesh to let water drain. Also, install a vapour barrier (a simple sheet of 6 mil polyethylene) under wooden benches if you’re storing bags of compost or potting mix on the ground.
Can I Combine a Propagator and Benching in the Same Layout?
Yes, and many serious growers do. A heated electric propagator (typically 50–60 cm / 20–24 inches wide) needs a stable, level surface near a power source. The best spot is the centre of the greenhouse, on a low bench about 45 cm (18 inches) high. This keeps the propagator within easy reach and prevents cold drafts from the door or vents.
Leave at least 30 cm (12 inches) of clearance above the propagator lid for inserting tall humidity domes or for LED grow lights. If your propagator is 60 cm wide, you can flank it with two 60 cm wire shelves on each side for small pots and trays. Just avoid placing any shelving directly above the propagator, as heat rises and can damage plants on upper tiers.
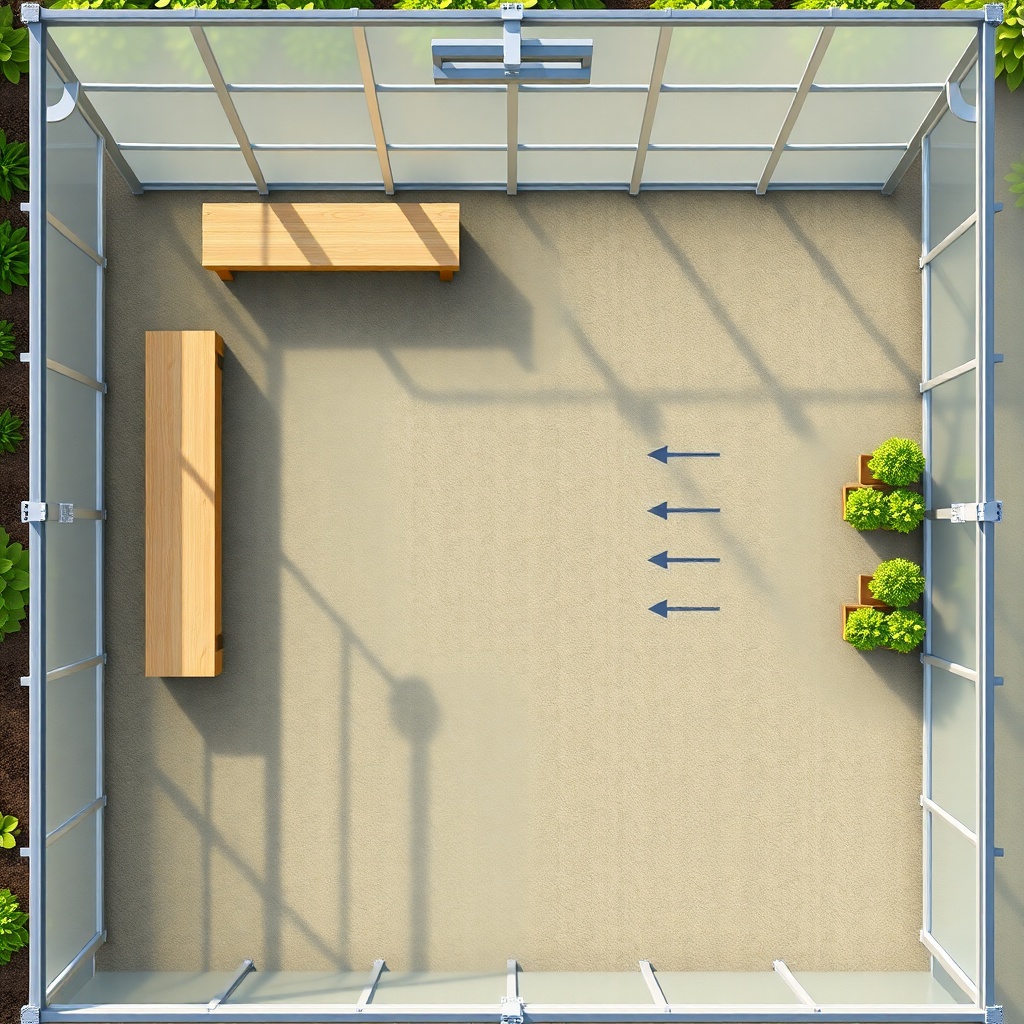
A typical arrangement for a Riverstone 6×8:
| Zone | Recommended Setup |
|---|---|
| Propagator area (centre) | Low bench 45×120 cm, power strip on waterproof bracket |
| South-facing wall | One tier of aluminium mesh shelves at 60 cm height |
| North-facing wall | Two-tier galvanised wire shelves (75 cm and 120 cm high) |
| Door side | Hooks for hanging pots, keep floor clear for access |
This arrangement also leaves enough room to roll a Riverstone 6×8 Wooden Greenhouse: Automatic Irrigation System Setup micro-drip kit along the centre bench, saving you hours of hand-watering.
How Can I Prevent Shelving From Damaging the Wooden Frame Over Time?
Even pressure-treated wood can suffer from moisture wicking where shelf brackets meet the frame. Without a buffer, condensation on the timber can lead to fungal growth or rot within three to four years. Follow these precautions:
- Place nylon or rubber washers between metal brackets and the wooden frames.
- Use stainless steel screws (at least 4 mm diameter) instead of zinc-plated ones; they resist corrosion better.
- Leave a 2–3 mm air gap between the back of any shelf and the greenhouse wall. This prevents trapped moisture.
- Annually inspect bracket holes for black discolouration or soft wood—if you spot either, consult the Riverstone 6×8 Wooden Greenhouse: Troubleshooting Common Rot Issues guide immediately.
A simple mod: glue a thin strip of closed-cell foam tape along the top edge of each bench support. This stops water from pooling between bench and frame, and also reduces vibration if you use a fan for air circulation.
Should I Use Fixed or Modular Shelving for Seasonal Crop Rotation?
Modular shelving wins for flexibility. Fixed benches are fine for permanent plants (like a lemon tree or overwintering geraniums), but if you change crops from tomatoes to strawberries to chillies each season, adjustable components let you reconfigure in 20 minutes.
Look for systems with tool-free shelf clips (common on brands like GrowIT or VivoSun). With a 6×8 footprint, you can typically fit two 60 cm wide modular units on each side wall. In winter, lower the shelves to 30 cm height and stack seed trays—come summer, raise them to 75 cm for tall tomato plants trained on strings.
One note: modular wire units are often 46 cm (18 inches) deep, which mirrors the depth of the stock benches. That depth is ideal because you can reach the back without stepping inside the greenhouse—just lean over the doorway threshold.
What Owners Say
“I fitted two 60 cm galvanised wire shelves on the north wall and one aluminium mesh unit on the south. My tomato seedlings get great light, and the lower shelves stay dry even after a heavy hose-down in August.” — Helen, Norfolk
“The stock benches are okay, but after I added a 45 cm high central staging table for my heated propagator, my germination rate jumped 30%. Just triple-check the waterproofing on any wood you cut—I had a small rot spot near a bracket, but the troubleshooting guide sorted it.” — Mark, Devon
Frequently Asked Questions
Can I install a shelf above the door of the Riverstone 6×8?
Yes, but keep it shallow (20 cm deep max) and use it only for lightweight items like seed packets or empty pots. Ensure there’s at least 190 cm headroom to avoid hitting your head.
What’s the best shelf height for a standard plastic seed tray?
A 45 cm (18 inch) bench height works well. This puts the tray at waist level, reducing back strain, and leaves 30–40 cm clearance under the roof for grow lights.
Can I use heavy clay pots on the stock wooden benches?
Only up to about 15 kg per linear foot. Distribute weight evenly, and reinforce the bench with a 6 mm plywood sheet if you plan to place multiple heavy pots in one spot.
How many shelves can I safely fit in a 6×8 without blocking airflow?
Three vertical tiers on each side wall, plus one central bench. That’s seven potential shelf surfaces. Stick to two full-height tiers on opposite walls to maintain good air movement.
Will magnetic shelving strips work on the aluminium frame?
No. The frame is timber, not metal. Use adhesive hook strips (rated for 1 kg) on glass panes only. For heavy hanging baskets, screw a galvanised steel bracket into the wooden rafters.
Should I leave a gap between the bench and the greenhouse door?
Absolutely. Keep at least 60 cm (24 inches) of clear floor space in front of the door. This allows you to turn with a wheelbarrow or to move large pots without damaging the frame.