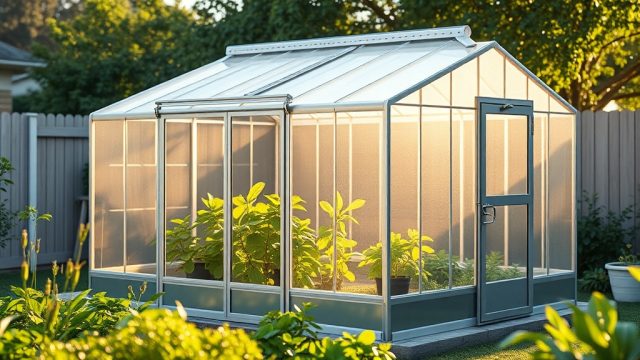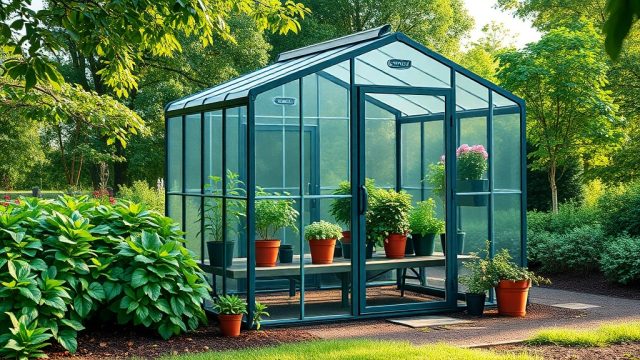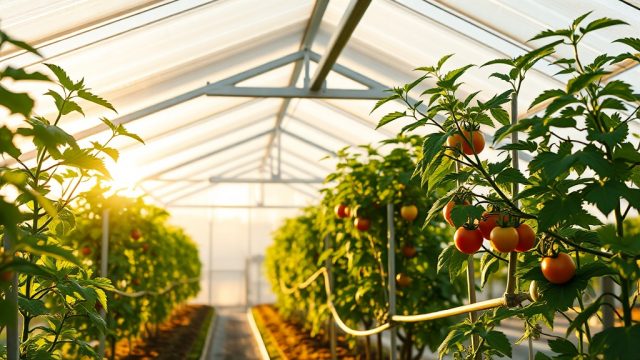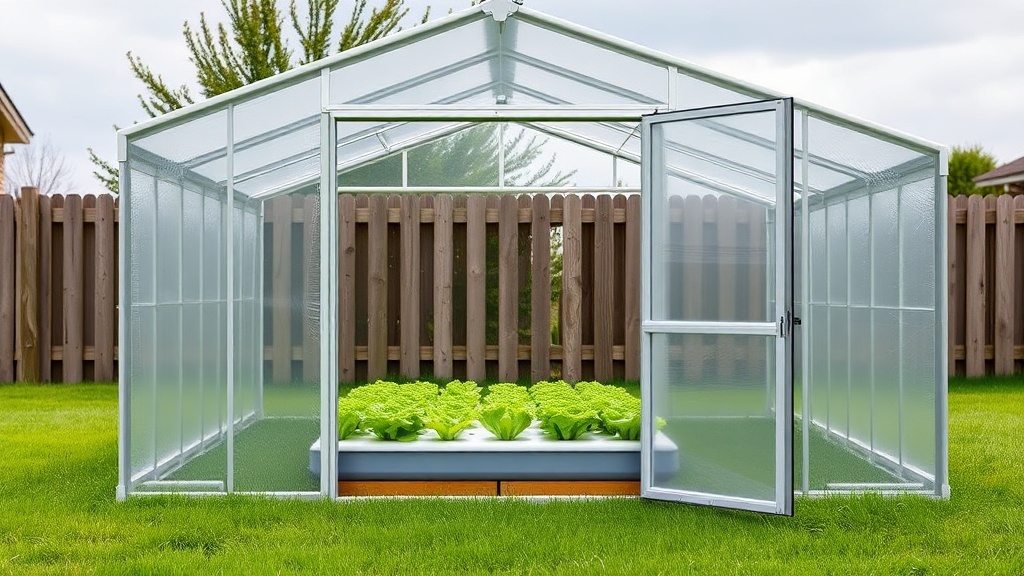
For greenhouse growers seeking to maximize yield and efficiency, integrating a hydroponic system into a Palram Canopia Harmony 6×8 structure can be a game-changing upgrade. This 6×8-foot model, with its sturdy aluminum frame and clear polycarbonate panels, offers an ideal platform for soilless cultivation, provided the irrigation setup is properly planned and installed. In this guide, we will walk through the specific steps, component requirements, and practical benefits of retrofitting a DIY hydroponic system into the Palram Canopia Harmony 6×8, focusing on watering precision and resource conservation.
Why Choose the Palram Canopia Harmony 6×8 for a Hydroponic Irrigation Setup?
The Palram Canopia Harmony 6×8 presents several structural advantages that make it a preferred choice for hydroponic gardeners. Its dual-wall polycarbonate glazing, while standard on most models, provides excellent light diffusion and temperature stability, both critical for sensitive root zones. The 6×8 footprint (approximately 48 square feet of floor space) is large enough to accommodate a medium-scale deep water culture (DWC) or nutrient film technique (NFT) system without feeling cramped, yet compact enough to maintain stable temperature and humidity levels. Additionally, the aluminum frame is resistant to corrosion from nutrient solutions and high humidity, a common concern in hydroponic environments. Ventilation is handled by two roof vents and one door vent, which can be automated to maintain optimal airflow around the nutrient reservoir. For growers looking to extend their season with passive heating, the clear panels allow maximum light penetration, boosting photosynthesis and nutrient uptake efficiency.
Before installing any irrigation lines, it is essential to consider the greenhouse’s floor base. The Palram Canopia Harmony 6×8 includes a universal base kit, but for hydroponics, a level, waterproof floor—such as a concrete slab or compacted gravel with a pond liner—is recommended to prevent water damage and simplify drainage. For more detailed insulation upgrades, see our guide on Palram Canopia Harmony 6×8: Upgrading to Twin-Wall Polycarbonate Glazing for Better Insulation.
What Components Are Required for a DIY Hydroponic System in This Greenhouse?
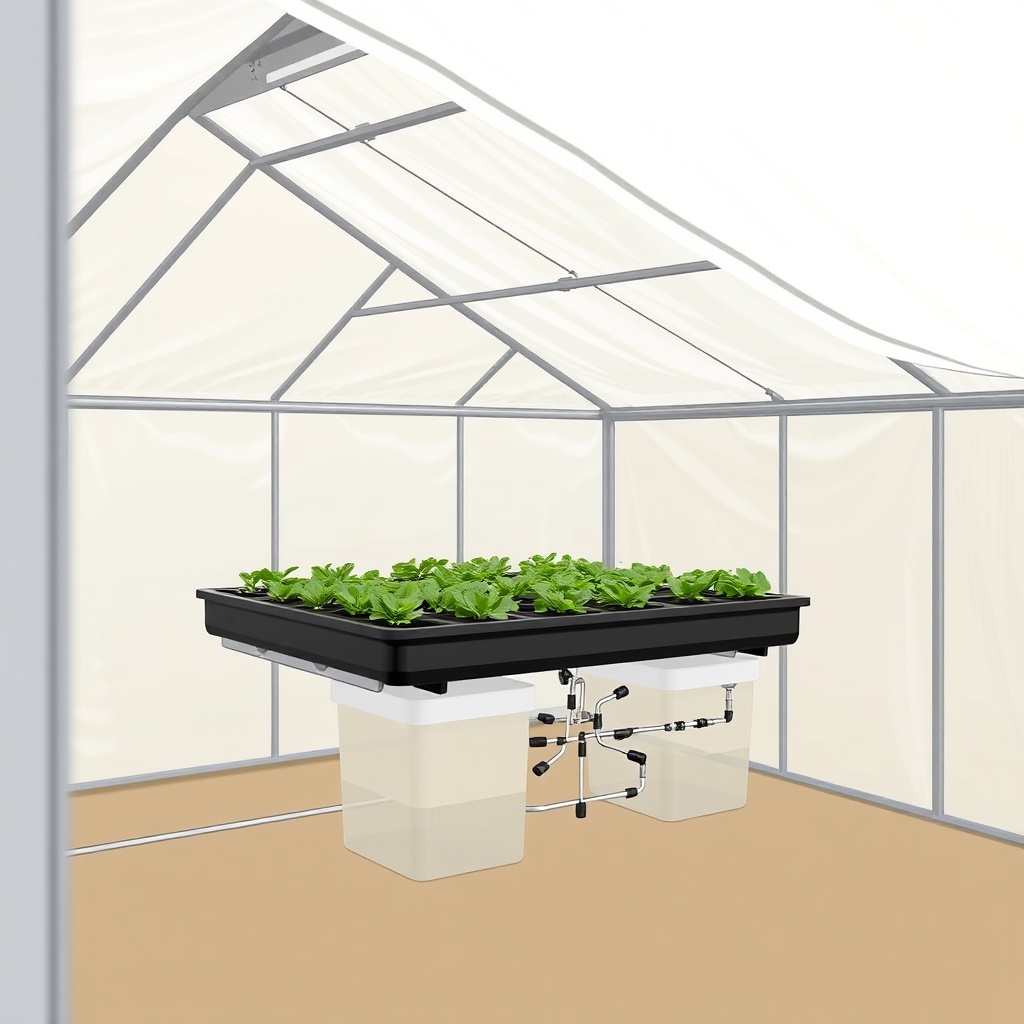
A successful hydroponic irrigation installation in the Palram Canopia Harmony 6×8 requires careful selection of components that fit the space and electrical capacity. Here is a basic parts list for a nutrient film technique (NFT) system, one of the most popular choices for this greenhouse size:
- Grow Channels: 6-inch PVC or vinyl channels (4 to 6 pieces, each 4 feet long) to fit the 6×8 floor plan.
- Nutrient Reservoir: A 20- to 30-gallon food-grade plastic tote, placed under a shelf or outside the greenhouse to minimize temperature fluctuation.
- Submersible Pump: A 400-600 GPH pump with a 1/2-inch outlet, capable of lifting water at least 4 feet.
- Irrigation Tubing: 1/2-inch black polyethylene main line and 1/4-inch drip tubing for each plant site.
- Drip Emitters: Adjustable drip emitters (2-4 GPH) for precise watering of each plant.
- Timer: A programmable 24-hour timer with multiple on/off cycles (e.g., 15 minutes on, 45 minutes off during peak growth).
- Air Pump & Air Stones: For oxygenating the nutrient solution (optional but recommended).
- Trellis Netting or Vertical Supports: To support climbing plants; for space optimization, refer to Palram Canopia Harmony 6×8: DIY Vertical Gardening Setup for Space Optimization.
The total cost for a basic DIY setup ranges from $150 to $300 USD, excluding the greenhouse itself. The Palram Canopia Harmony 6×8 is priced around $600 to $800 USD, making the entire hydroponic greenhouse investment approximately $750 to $1,100 USD.
How to Install the Nutrient Reservoir and Pump System Inside a 6×8 Greenhouse?
Placement of the nutrient reservoir is critical to maintain stable temperature and avoid tripping hazards. The Palram Canopia Harmony 6×8 features a 5-foot-9-inch height at the center, which limits headroom for tall reservoirs. A 20-gallon tote (approximately 18 inches tall) fits comfortably under a 30-inch-high shelf or bench along the side wall. For best results, follow these steps:
- Prepare the Base: Lay a rubber mat or plastic sheet on the greenhouse floor to isolate the reservoir from cold ground. In winter, consider insulating the reservoir with foam board to prevent nutrient solution from dropping below 60°F.
- Mount the Pump: Place the submersible pump inside the reservoir, attached to a 1/2-inch hose that runs through a grommet hole in the lid. Use a check valve to prevent backflow.
- Run Main Line: Route the 1/2-inch main line along the side wall of the greenhouse, using zip ties to secure it to the aluminum frame. Avoid kinking the line by using 90-degree elbows.
- Connect Channels: For an NFT system, attach the main line to a 1/2-inch manifold that feeds each channel. Place channels at a slight incline (1-inch drop per 8 feet) for proper nutrient flow back to the reservoir via a collection tray.
- Install Drip Emitters: Insert 1/4-inch tubing into the main line at each plant site, terminating with adjustable drip emitters. Test flow rates to ensure uniformity.
The pump timer should be placed in a waterproof enclosure and connected to a GFCI outlet. The Palram Canopia Harmony 6×8 does not include electrical outlets, so an extension cord from an external source is needed—ensure it is rated for outdoor use. For automated ventilation that supports humidity control during irrigation cycles, see Palram Canopia Harmony 6×8: Automatic Vent Opener Installation and Benefits.
What Are the Watering Benefits of a Hydroponic System in This Greenhouse?
Transitioning from soil to hydroponics within a Palram Canopia Harmony 6×8 offers several irrigation-specific advantages. First, water usage is reduced by up to 90% compared to traditional soil gardening, as nutrient solution is recirculated rather than lost to drainage. This is especially valuable in regions with water restrictions or high utility costs. Second, the precision of drip irrigation allows for targeted watering at the root zone, minimizing evaporation and reducing the risk of fungal diseases on foliage—a common issue in humid greenhouses. Third, the consistent moisture supply accelerates plant growth; many growers report 20-30% faster growth rates for leafy greens and herbs like lettuce, basil, and kale. Finally, the closed-loop system enables precise pH and EC (electrical conductivity) control, ensuring optimal nutrient availability throughout the growing cycle.
Below is a comparison of irrigation efficiency for a typical 6×8 soil garden versus a hydroponic setup in the Palram Canopia Harmony:
| Metric | Soil Garden (6×8) | Hydroponic System (6×8) |
|---|---|---|
| Water usage per week (peak season) | 60-80 gallons | 5-10 gallons (recirculated) |
| Water loss to evaporation/drainage | 30-50% | <10% (closed system) |
| Nutrient waste | High (leaching) | Minimal (recirculated) |
| Time spent watering per day | 15-20 minutes | 5 minutes (monitoring only) |
| Typical yield per sq. ft. (leafy greens) | 0.5-1 lb | 1.5-2 lbs |
| pH/EC management difficulty | Low (soil buffers) | Moderate (requires testing) |
As the table shows, the hydroponic system dramatically improves water efficiency while increasing productivity, making it an excellent upgrade for serious growers.
How Does the Greenhouse Design Affect Nutrient Solution Temperature?
The Palram Canopia Harmony 6×8’s single-wall polycarbonate glazing (standard model) has a U-value of approximately 1.1 W/m²K, which provides moderate insulation but allows solar heat to build up quickly. On sunny days, internal temperatures can exceed 90°F (32°C), which can raise nutrient solution temperature above the ideal range of 65-75°F (18-24°C). Hot nutrient solution (>80°F) reduces dissolved oxygen levels and promotes root rot pathogens like Pythium. To mitigate this, growers should:
- Insulate the reservoir: Wrap it in reflective bubble wrap or use a polystyrene cooler.
- Place the reservoir in the shadiest area: The Palram Canopia Harmony 6×8’s north side (in the Northern Hemisphere) receives less direct sunlight.
- Add a water chiller: For precision control, a 1/10 HP chiller can be plumbed inline (cost: $200-$400 USD).
- Use automated ventilation: Roof vents can be fitted with automatic openers (see Palram Canopia Harmony 6×8: Automatic Vent Opener Installation and Benefits) to vent hot air before it heats the reservoir.
For passive solar heating that helps maintain solution temperature during cold nights, refer to Palram Canopia Harmony 6×8: Passive Solar Heating Methods to Extend Your Growing Season.
What Owners Say About Hydroponic Irrigation in the Palram Canopia Harmony 6×8
User feedback from greenhouse forums and product reviews consistently praises the Palram Canopia Harmony 6×8 for its suitability for hydroponic conversions. John M., a grower from Texas, notes: “The 6×8 size is perfect for a 4-channel NFT system. I added a 30-gallon reservoir under a shelf, and the drip lines run cleanly along the frame. My water usage dropped from 70 gallons a week to about 8—and my lettuce yields doubled.” Another owner, Sarah K. from Oregon, highlights the importance of the base: “The floor kit wasn’t waterproof, so I poured a small concrete pad. Now I have zero issues with spills from the reservoir. The greenhouse structure itself has held up well despite high humidity from the hydroponics.”
Common advice from long-term owners includes using anti-algae additives in the nutrient solution, as the clear polycarbonate panels can promote algae growth in exposed tubing. Many also recommend upgrading to twin-wall polycarbonate for better insulation, as described in Palram Canopia Harmony 6×8: Upgrading to Twin-Wall Polycarbonate Glazing for Better Insulation. Overall, the satisfaction rate is high, with owners citing ease of assembly (with a second person) and the ability to customize irrigation as key benefits.
Frequently Asked Questions
Can I run a hydroponic system in the Palram Canopia Harmony 6×8 without a concrete floor?
Yes, but you must ensure the floor is level and waterproof. A compacted gravel base with a heavy-duty pond liner works, but a concrete pad is recommended for stability and to prevent moisture from seeping into the ground.
What is the maximum number of plants I can grow hydroponically in this greenhouse?
With an NFT or DWC system, you can comfortably fit 30-50 plants (e.g., lettuce or herbs) in the 6×8 footprint, depending on spacing and plant size. Vertical shelves or trellises can double that number—see our vertical gardening guide.
How do I prevent algae growth in the nutrient lines?
Use opaque tubing (black polyethylene) and cover the nutrient reservoir lid tightly. Add a small amount of hydrogen peroxide (3% solution at 1 teaspoon per gallon) weekly to suppress algae without harming plants.
Do I need to reinforce the greenhouse frame for hydroponic equipment weight?
No, the aluminum frame of the Palram Canopia Harmony 6×8 supports up to 200 lbs of hanging equipment. A full reservoir (30 gallons of water weighs ~250 lbs) should sit on the floor or a reinforced bench, not hung from the frame.
What is the ideal irrigation schedule for tomatoes in this setup?
For tomatoes in a drip system, run the pump 2-3 times daily for 10-15 minutes each, adjusting based on plant size and climate. Use a timer with a battery backup to maintain schedule during power outages.
How do I winterize the hydroponic system in the Palram Canopia Harmony 6×8?
Drain and disconnect all tubing and the reservoir. Clean components with a mild bleach solution (1:10 ratio) and store indoors. Insulate the greenhouse with bubble wrap and add a small heater to keep the interior above freezing. For passive heating methods, see our dedicated guide.