Palram Canopia Harmony 6×8: Best Heating Options for Winter
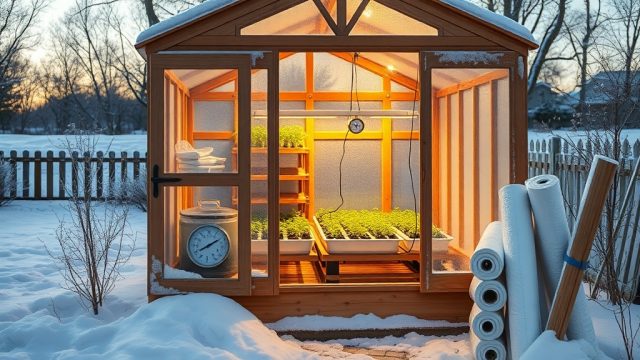
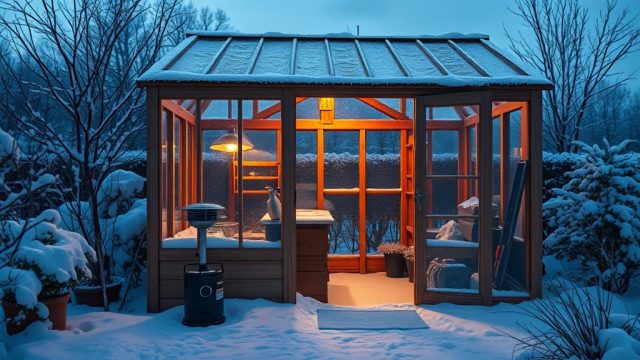
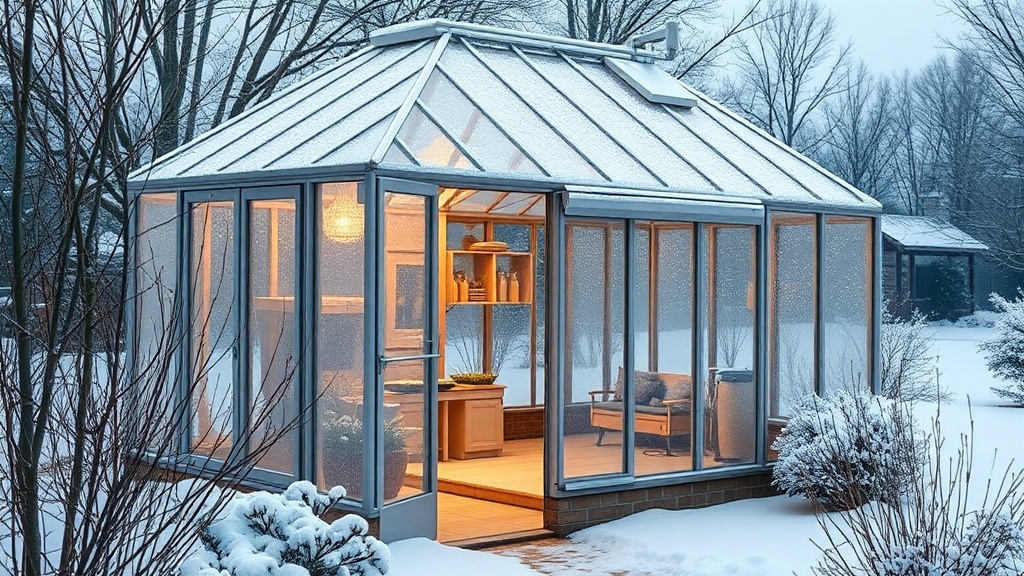
Keeping your Palram Canopia Harmony 6×8 greenhouse productive through the cold months requires a strategic approach to heating and insulation. This 6×8 model, with its twin-wall polycarbonate panels and aluminum frame, offers a solid starting point, but without supplemental heat, internal temperatures can still drop below freezing. Below, we explore the most effective heating solutions and insulation upgrades to extend your growing season well into winter.
What Are the Most Efficient Heating Options for the Palram Canopia Harmony 6×8?
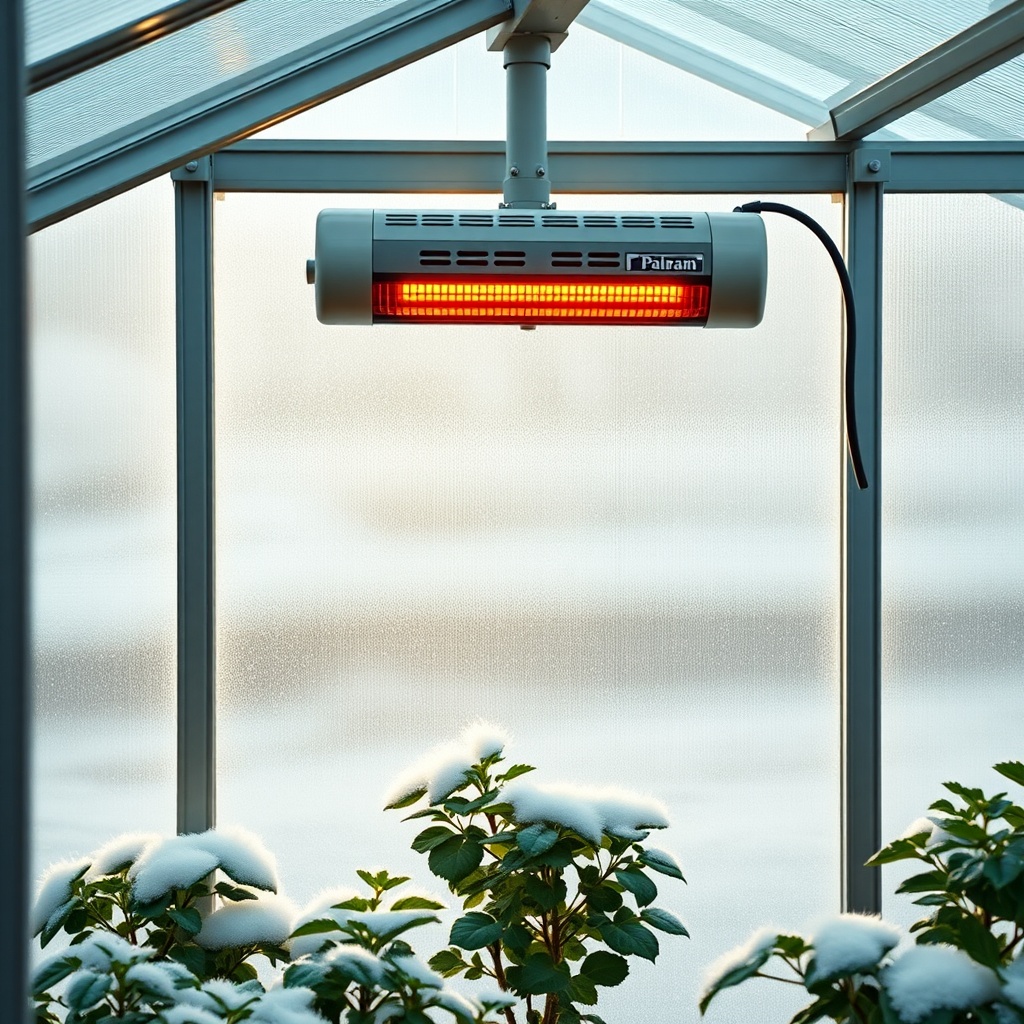
The Harmony 6×8 measures about 35.5 cubic feet of interior volume, meaning a small tubular heater (e.g., 80W to 120W) is often sufficient for frost protection. For more active growers, a 500W fan heater with a built-in thermostat provides rapid warming, but running costs vary significantly. Below is a comparison of common heating methods for this greenhouse size:
| Heating Method | Typical Power | Annual Operating Cost (approx.) | Best For |
|---|---|---|---|
| Tubular Heater (thermostatic) | 80W – 120W | $25 – $40 | Frost protection (5°C) |
| Fan Heater (thermostatic) | 500W – 1000W | $60 – $120 | Active growth (10°C–15°C) |
| Propane Gas Heater | 1.5 kW – 2.5 kW | $50 – $80 (fuel only) | Off-grid or emergency heating |
| Electric Mat (soil warming) | 15W – 25W | <$10 | Seedling roots only |
For the Harmony 6×8, a 120W tubular heater combined with a thermostatic controller is the most cost-effective solution for maintaining a frost-free environment. If you aim to grow winter greens like lettuce or spinach, upgrade to a 500W fan heater.
How Can Insulation Maximize Heat Retention in the Harmony 6×8?
The twin-wall polycarbonate panels on the Harmony 6×8 already provide about 40% better insulation than single glass. However, cold bridges—especially at the base and around the aluminum frame—can steal up to 20% of your heat. The most impactful insulation upgrades include:
- Bubble wrap or double-sided foil insulation on the north-facing wall (cut to fit between frame struts)
- Soil-level insulation: Lay rigid foam boards (1-inch thick) along the base perimeter, buried 6 inches deep, to reduce heat loss into the ground
- Draught seals around the sliding door and roof windows—use silicone strips or draft excluder tape
- Thermal curtains or insulating film that can be drawn over the under-bench area at night
These measures can reduce heating demand by 30–50%, making even a small 80W heater sufficient for most winter nights. For a deeper dive on the glazing itself, see our guide on Palram Canopia Harmony 6×8: Polycarbonate Glazing vs Glass – Which Is Better?
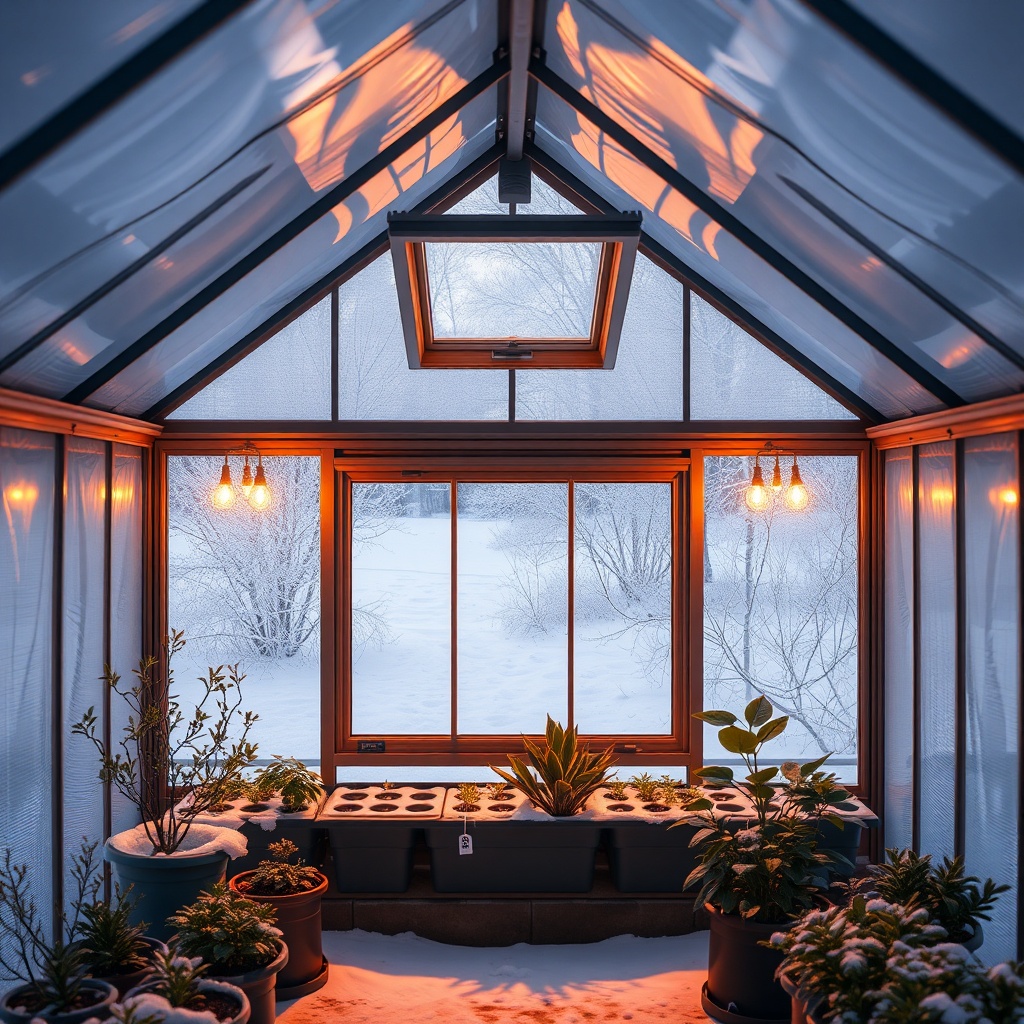
What’s the Best Way to Use the Roof Sliding Windows for Winter Ventilation?
Balancing humidity and warmth is critical. Excessive condensation on the polycarbonate panels encourages mold and damping-off diseases. The Harmony 6×8 features two roof sliding windows that should be opened 1–2 inches during sunny winter days (above 10°C) to release humid air. On sub-zero nights, keep them fully closed and consider adding a small extraction fan (12V, low power) that runs for 15 minutes every hour to exchange air without losing all heat. For full details on window operation, visit our Palram Canopia Harmony 6×8 Ventilation: Roof Sliding Windows Review.
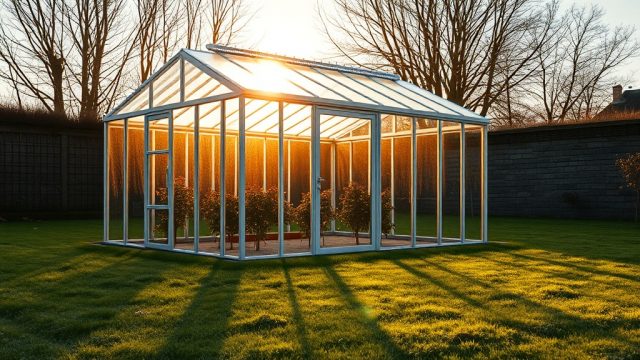
How Strong Is the Aluminum Frame Under Heavy Snow Loads?
The Palram Canopia Harmony 6×8 uses a powder-coated aluminum frame rated for a snow load of approximately 30 kg/m² (65 lb/ft²) for most models. While this is sufficient for typical winter snowfalls in temperate zones, heavy drifts require proactive clearing. The aluminum structure itself is corrosion-resistant and lightweight, but the polycarbonate panels can flex under extreme loads. Always sweep accumulated snow from the roof after each storm, especially near the eave area. For a technical analysis of the frame, read our article on Palram Canopia Harmony 6×8 Frame: How Strong Is the Aluminum Structure?
What Do Owners Say About Winter Performance?
Owners of the Palram Canopia Harmony 6×8 consistently report that the greenhouse retains heat better than expected for its price point. A common positive observation is that the twin-wall panels reduce condensation compared to glass greenhouses, and that a 100W tubular heater keeps frost at bay even during -8°C nights. Some mention that the sliding door seal could be improved—adding a rubber sweep at the bottom solves most drafts. A few users note that the roof windows can ice shut; applying a silicone spray to the tracks before winter prevents this. Overall, the consensus is that with modest insulation upgrades and a small heater, the Harmony 6×8 is viable for winter growing in USDA Zones 7–9.
Frequently Asked Questions
Q: What is the recommended minimum heater wattage for the Palram Canopia Harmony 6×8 in winter?
A: For frost protection down to -5°C, a 100–120W tubular heater is sufficient. For active growth at 10°C, use a 300–500W fan heater.
Q: Can I use a paraffin (kerosene) heater inside this greenhouse?
A: Yes, but only in well-ventilated conditions. The Harmony’s sliding roof windows must be partly open to avoid carbon monoxide buildup. Electric heaters are safer and easier to thermostat.
Q: Does the polycarbonate glazing block enough light for winter plants?
A: The twin-wall panels transmit about 80–85% of available light. In deep winter at high latitudes, supplemental LED grow lights are recommended for short-day plants.
Q: How long does it take to assemble the greenhouse before winter?
A: Most owners report 6–10 hours for the 6×8 model. For a detailed timeline, see our Palram Canopia Harmony 6×8 Assembly: Step-by-Step Guide and Time Estimate.
Q: Should I insulate the foundation base?
A: Absolutely. Adding rigid foam boards (2-inch thick) around the perimeter, buried at least 8–10 inches deep, stops cold bridging and saves up to 30% on heating costs.
Q: What’s the best way to seal gaps around the aluminum frame?
A: Use clear silicone caulk or foam insulation tape (½ inch wide) along all seams between the aluminum frame and polycarbonate panels. Pay special attention to corners where the roof meets the wall.