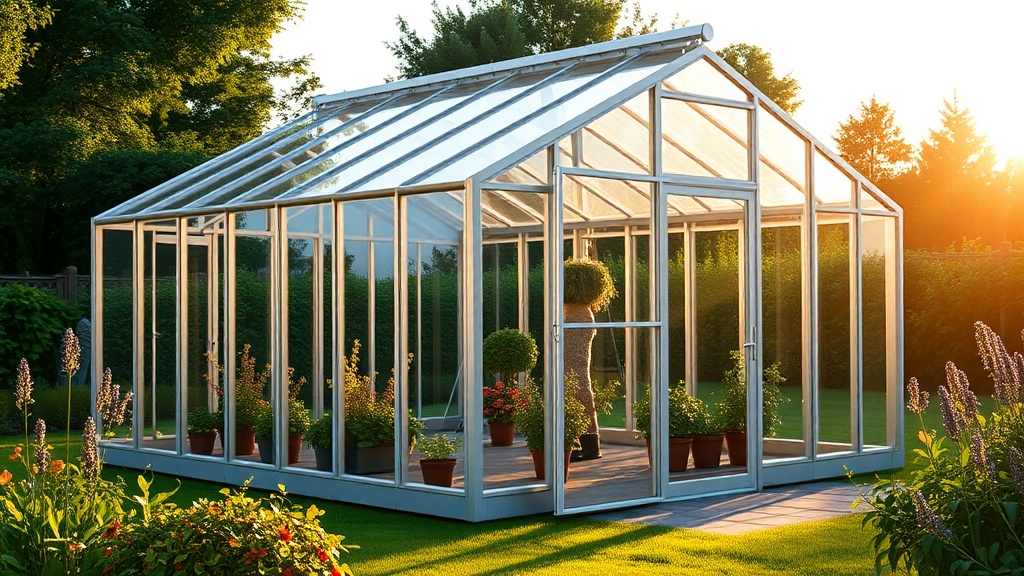
Palram Canopia Harmony 6×8 Assembly: Step-by-Step Guide and Time Estimate
Assembling the Palram Canopia Harmony 6×8 greenhouse is a manageable weekend project for two capable adults, but the devil is in the details. This guide breaks down the entire assembly process into clear steps, provides a realistic time estimate, and highlights the common pitfalls to avoid. Whether you’re a seasoned DIYer or a first-time greenhouse builder, this step-by-step walkthrough will help you get your Harmony 6×8 up and confident.
How Long Does It Really Take to Assemble the Palram Canopia Harmony 6×8?
Most owners report a total assembly time between 8 and 14 hours for two people working together. This estimate includes unpacking, sorting parts, reading the manual, and the actual construction. The wide range depends on your experience level, tool availability, and whether you’re working on a perfectly level base. A first-time builder should plan for two full Saturday sessions. Experienced DIYers can often finish in a single long day, but never rush the foundation alignment—it saves time later. For more insight on the structure’s durability during assembly, read our review of the Palram Canopia Harmony 6×8 Frame: How Strong Is the Aluminum Structure?
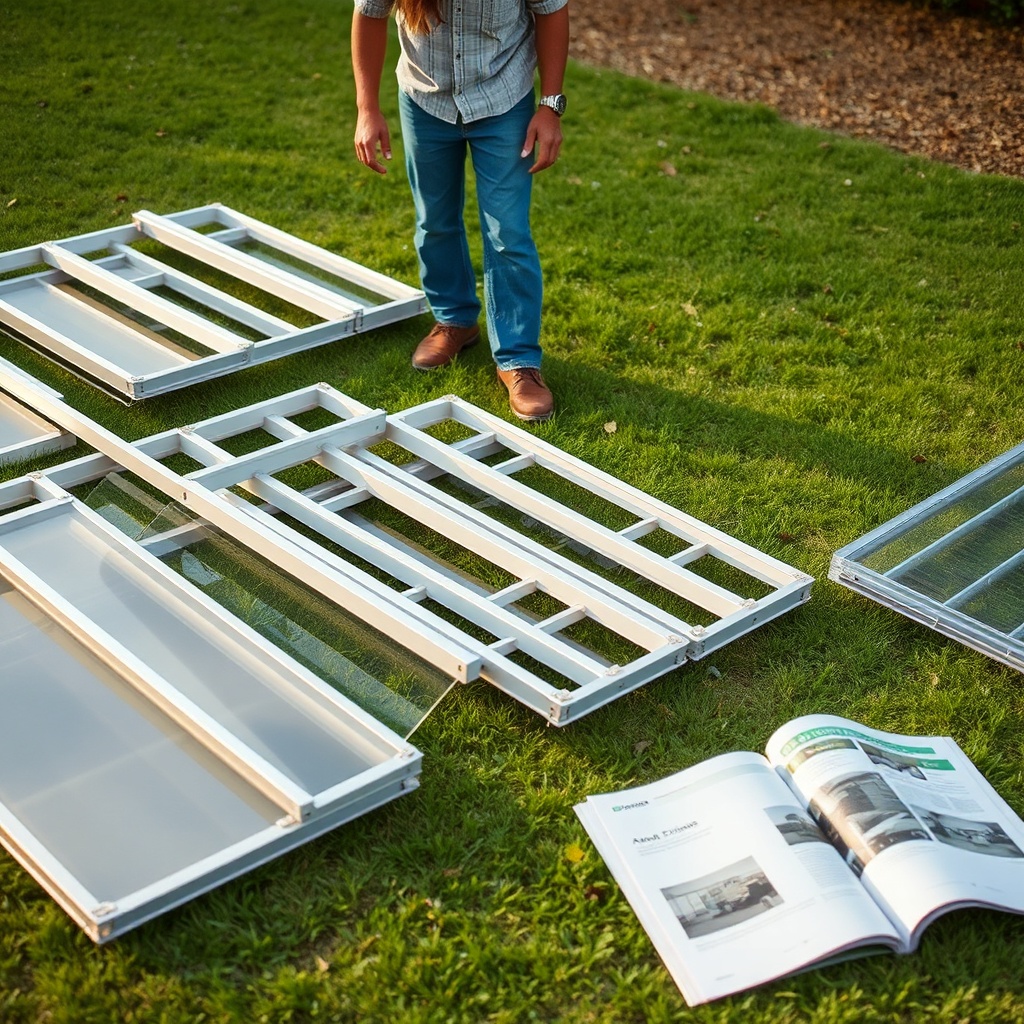
What Tools and Preparations Are Needed Before Starting?
You will need a cordless drill with a Phillips bit (or a good manual screwdriver), a rubber mallet, a level, a tape measure, a step ladder, and a soft cloth for cleaning panels. Palram includes the wrenches and most of the specialized hardware. The base must be perfectly level and square—concrete slab, compacted gravel, or a wooden frame all work, but a 1-inch slope across the 6×8 footprint will cause alignment issues. Ensure the site has at least 18 inches of clearance on all sides for panel sliding and ventilation. Pre-sort all screws, brackets, and panels by label—this alone can save about an hour of frustration.
Step-by-Step Assembly: From Foundation to Roof
Step 1: Foundation and Base Frame
Lay out the aluminum base rails on your prepared level surface. Use the corner brackets and self-tapping screws to assemble the rectangle. Check diagonals—they must be equal within 1/8 inch. It’s worth taking 30 minutes to get this right; a skewed base will make every subsequent step harder.
Step 2: Wall Panels and Frame Assembly
Install the back wall frame first. Slide the polycarbonate panels into the grooved aluminum channels—they are double-sided, so the UV-protected side faces out (look for the printed marking). Connect the side walls to the back wall using the provided L-brackets. This is where a rubber mallet helps to seat the panels snugly without cracking. The Palram Canopia Harmony 6×8: Polycarbonate Glazing vs Glass – Which Is Better? article explains why polycarbonate’s slight flexibility actually makes this step easier than glass.
Step 3: Door and Roof Assembly
Hang the sliding door into its dedicated track—ensure the wheels are free of debris before insertion. The roof is the trickiest part: you’ll need to attach the ridge beam, then angle the roof panels and secure them with screws. A second person is essential here to hold the panels while you fasten. The roof sliding window mechanism (detailed in the Palram Canopia Harmony 6×8 Ventilation: Roof Sliding Windows Review) installs at this stage—align the window track before locking down the roof panels.
Step 4: Finishing Touches
Install the side vents, door handle, and any optional accessories. Check all seals and tighten any loose screws. Finally, clean the panels with the soft cloth—avoid abrasive cleaners. Apply a thin bead of silicone sealant along the base rail where it meets the foundation (not always included, but recommended).
Common Assembly Mistakes and Their Severity
| Issue | Severity Level | What to Expect |
|---|---|---|
| Unlevel base (more than 1/4″ slope) | Needs attention soon | Door won’t slide smoothly, panels may bind or crack over time |
| Incorrect panel orientation (UV side inward) | Needs attention soon | Polycarbonate will yellow and become brittle within 2-3 years |
| Cross-threaded screws or stripped holes | Usually not urgent | Can be fixed with thread-locking compound or larger screws, but annoying |
| Skipping rubber mallet for panel seating | Usually not urgent | Panels may rattle in wind; can be fixed later by reseating |
| Over-tightening roof screws | Needs attention soon | Causes polycarbonate stress cracks—replace panel if damaged |
What Owners Say About Assembly
“The manual is decent, but the diagrams are small—we used a magnifying glass for the roof step.”
Many owners wish the instructions were larger and clearer, but the logical flow is still easy to follow once you’ve laid out all the parts.
“Took us 11 hours over two days with breaks—wouldn’t try it alone.”
This echoes the consensus: two people are non-negotiable for the roof assembly. Solo builders often struggle with panel alignment and can cause scratches.
“The base leveling was the hardest part—once that was perfect, the rest clicked.”
Effective advice repeated across forums: spending extra time on the foundation saves hours of adjustments later.
Frequently Asked Questions
Can I assemble the Palram Canopia Harmony 6×8 by myself?
Technically yes, but strongly not recommended. The roof panels require two people to hold and align simultaneously. Many solo attempts result in broken polycarbonate panels or improper seating.
What is the best base for the Harmony 6×8?
A concrete slab is ideal for stability and longevity. A wooden frame filled with compacted gravel works well too, but you must ensure it is perfectly level. Avoid bare soil—it will shift and compromise the door operation.
Does the kit include sealant for the panels?
No, Palram does not include silicone sealant. It is highly recommended to buy a tube of clear outdoor silicone to seal the base rail and any joints after assembly.
How do I know which side of the polycarbonate faces outward?
Each panel has a printed marking or a slight film on one side—that’s the UV-protected side facing outward. If unsure, hold the panel at an angle; the UV side usually has a faint blue or gold tint.
Can I install the greenhouse on a concrete patio?
Yes, as long as the patio is level and enough for the 6×8 footprint. Drill anchors into the concrete and use the included base brackets. Ensure good drainage so water doesn’t pool inside.
What is the warranty on the frame and panels?
The aluminum frame carries a 10-year limited warranty against corrosion. The polycarbonate panels have a 5-year warranty against yellowing or cracking due to UV exposure. For full details, see the Greenhouse Buying Guide: Polycarbonate vs Glass – Which Glazing Is Best?
