Why Does the Riverstone 6×8 Wooden Greenhouse Need an Automatic Shade System for Heat Control?
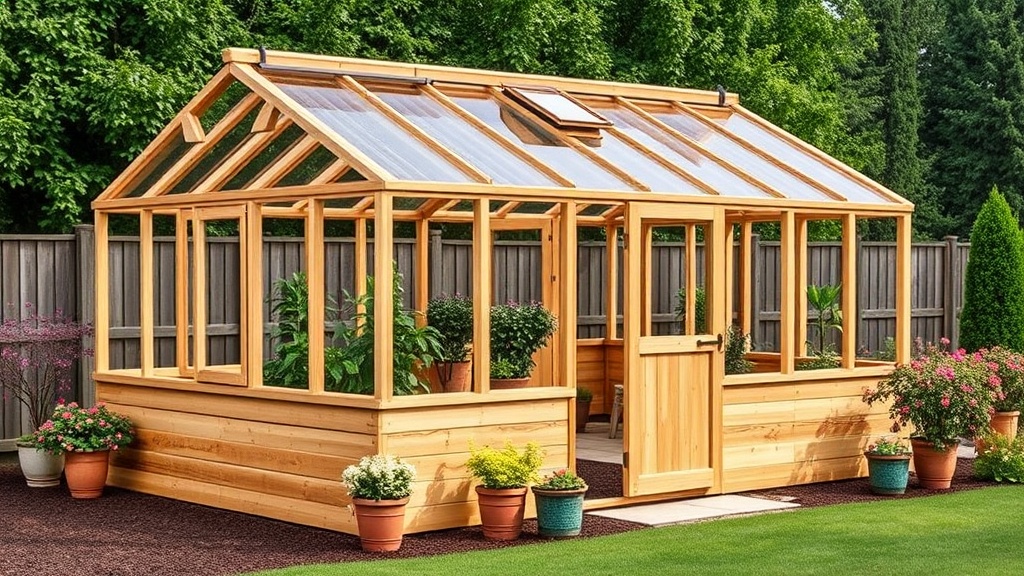
The Riverstone 6×8 Wooden Greenhouse, with its 48 square feet of growing space and cedar-framed design, is a favorite among UK gardeners for its classic look and durable construction. However, even with its single roof vent and side louver, the greenhouse can quickly overheat on sunny afternoons, reaching internal temperatures above 40°C (104°F) if left unchecked. An automatic shade system is not just a convenience—it is a critical tool for preventing heat stress, sun scald, and excessive transpiration in your plants. This article details how to install a reliable, temperature-triggered shade system that works in harmony with the structure’s existing ventilation to keep your crops healthy throughout the summer.
For a complete overview of the greenhouse’s ventilation potential, see our automatic ventilation system review and budget options.
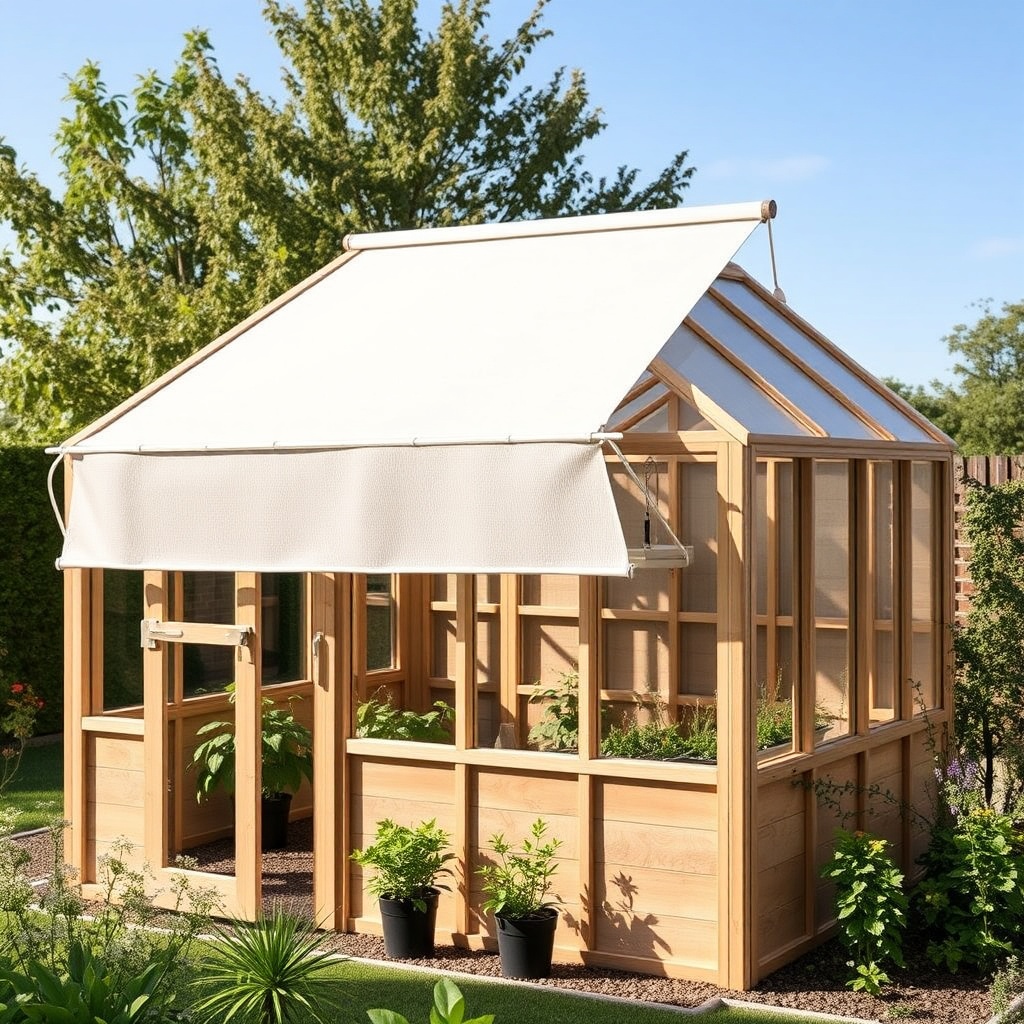
What Components Do I Need for a DIY Automatic Shade System?
Building a custom automatic shade system for the Riverstone 6×8 involves selecting the right shade fabric, a mechanical actuator, and a control unit. The roof pitch (about 25 degrees) and the 6×8 footprint mean you will need approximately 2.5 metres of fabric width per slope (covering both sides of the ridge). Below is a typical component list with realistic UK costs.
- Shade fabric: 55% to 70% knitted polyethylene (PE) fabric, UV-stabilised. Expect to pay £30–£50 for a 2x3m panel.
- Roller tube & spring mechanism: A spring-wound roller system (like those used for awnings) to allow for smooth retraction. Cost: £25–£40.
- Thermal actuator (piston): A 100°F (37.8°C) rated wax-piston actuator that triggers at a specific temperature. Cost: £20–£35 each.
- Linear actuator (electric): A 12V or 24V electric linear actuator with a 100mm stroke, rated for outdoor use. Cost: £50–£80.
- Temperature controller: A simple on/off thermostat module (e.g., Inkbird ITC-308) or a dedicated greenhouse controller. Cost: £30–£60.
- Mounting brackets & cables: Stainless steel brackets, nylon guide wires, and turnbuckles. Cost: £15–£25.
- Power supply: 12V 5A transformer or solar panel with battery. Cost: £20–£50.
Total estimated cost: £190–£340, depending on whether you choose a purely mechanical or electric system.
How to Install the Roller Shade Bracket along the Ridge?
The first step is to attach the roller tube assembly to the apex of the greenhouse roof. The Riverstone’s ridge beam is a solid 44mm x 44mm wooden piece, which provides a robust fixing point. Use stainless steel bolts (M6 x 60mm) through pre-drilled holes in the bracket. Ensure the roller is centred so that the fabric will deploy evenly down both roof slopes. If your assembly uses a spring mechanism, pre-tension the spring by rotating the tube two to three full turns before securing the fabric edge. This will allow the shade to retract cleanly when not in use. Attach the shade fabric to the tube with the provided adhesive strip or a heavy-duty staple gun, making sure the hem is straight and taut.
For comprehensive advice on preparing the structure before installation, refer to our ground preparation tips for first-time builders.
How to Run Guide Wires and Secure the Shade Fabric?
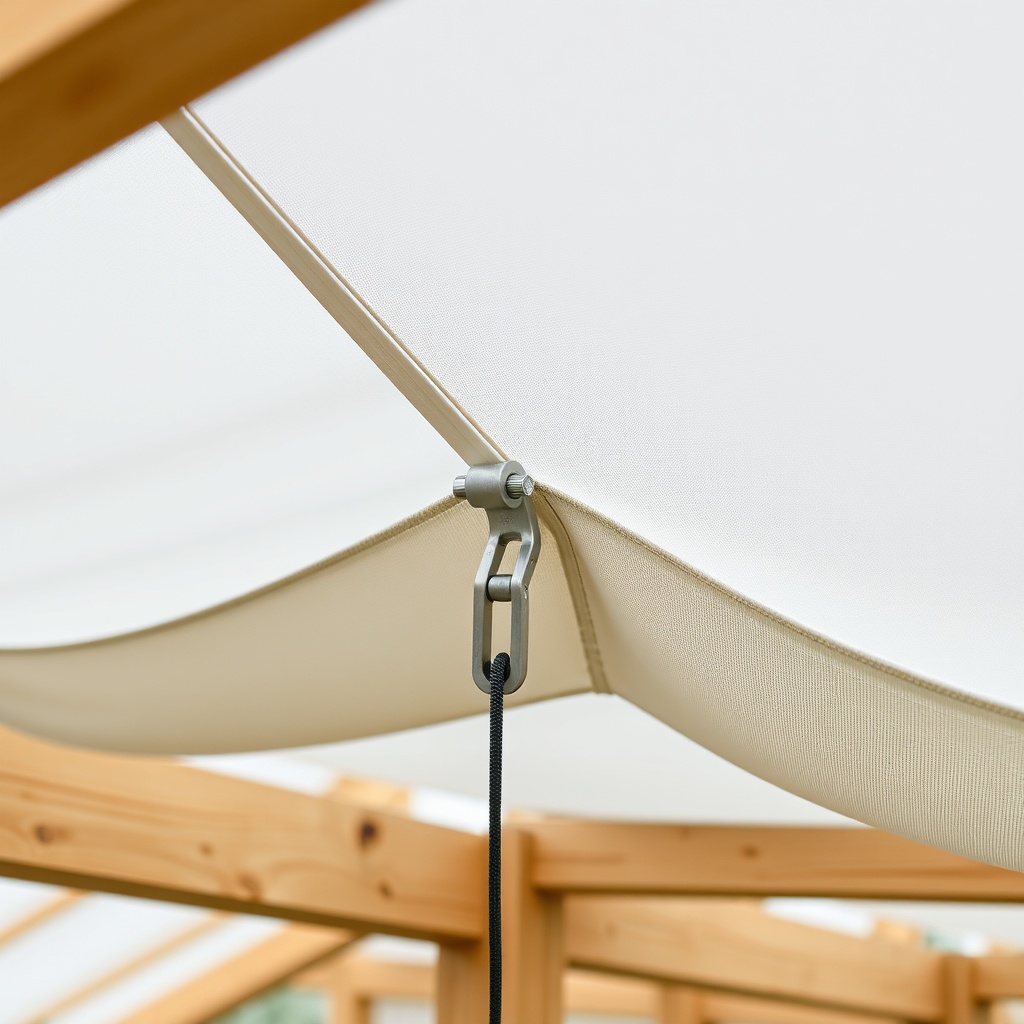
A clean, wrinkle-free deployment requires guide wires at the bottom edge of the shade. Measure and cut two lengths of 2mm stainless steel cable: one for the left side and one for the right side. Attach a small eyelet screw to the fascia board at the eaves on each side. Thread the cable through the eyelet, then through the grommets or loops at the bottom of the shade fabric, and finally to a turnbuckle anchored to the base of the greenhouse frame. Tension the cable just enough to keep it straight—overtensioning can distort the wooden frame. The bottom edge of the fabric should be about 15cm above the gutter to avoid water pooling. If you are using a mechanical wax piston, mount the piston cylinder between the roller bracket and a fixed point on the roof frame so that its extension pushes the roller to open the fabric.
What Are the Wiring and Control Connections for an Electric System?
For an electric linear actuator system, the wiring is straightforward. Below is a severity/comparison table to help you decide between a mechanical wax-piston system and an electric system.
| Feature | Wax-Piston (Mechanical) | Electric Linear Actuator |
|---|---|---|
| Power source needed | None (solar heat) | 12V DC (mains or solar) |
| Activation temperature | Fixed (e.g., 37°C) | Adjustable (25°C–50°C) |
| Retraction method | Spring return | Electric reverse (controller) |
| Reliability in high humidity | Good (sealed) | Better (IP65 rated) |
| Failure mode | Stays open or closed | Fails safe (programmable) |
| Installation complexity | Low | Medium |
| Dollar cost (approx.) | £70–£110 | £120–£230 |
To wire the electric system: connect the linear actuator to the temperature controller’s normally open (NO) and common (COM) terminals. Wire the controller to a 12V power supply. Place the temperature sensor inside the greenhouse, away from direct sunlight (behind the door or on a north-facing wall). Set the controller to activate at 32°C (90°F) and deactivate at 28°C (82°F). This hysteresis prevents rapid on/off cycling. Ensure all electrical connections are in a waterproof junction box (IP65 rating). For a seamless integration with watering, check our guide on automatic drip irrigation setup.
How to Calibrate and Test the Shade System?
After installation, set the system to manual mode (if available) and cycle it three to four times. For mechanical systems, heat the wax piston with a hairdryer from a safe distance to simulate a temperature rise—watch for smooth, gradual shade deployment. For electric systems, increase the controller setpoint temporarily to force activation. Check for any binding of the fabric along the guide wires. Adjust the tension on the turnbuckles if the fabric sags. Finally, program the controller to your desired trigger temperature (typically 30°C–35°C for most tomato and pepper crops). Remember that shade alone is not enough—pair it with automatic roof vent opener installation to improve passive airflow.
What Owners Say
Gardeners who have installed the automatic shade system on their Riverstone 6×8 report a significant reduction in temperature spikes. One owner from Cornwall noted that their greenhouse rarely exceeds 32°C even on a 28°C day, compared to 45°C previously. Another user mentioned that the system reduced their watering frequency by about 30% because less water was lost through transpiration. A common suggestion is to use a 55% shade density for most crops, switching to 70% for orchids or ferns. Some owners have retrofitted a second actuator on the opposite roof slope for full coverage, but most find the single-slope system sufficient due to the greenhouse’s east-west orientation.
Frequently Asked Questions
Will an automatic shade system block all light from my plants?
No. A 55% shade fabric blocks about 55% of the solar radiation but still allows plenty of diffuse light for photosynthesis. Most plants thrive under 30%–50% shading during peak summer. You can also roll the shade back fully on overcast days.
Can I install this system on a greenhouse with polycarbonate panels?
Yes, but you’ll need to use longer screws and seal the mounting holes with silicone to prevent leaks. The Riverstone 6×8 comes with glass panels, so the wooden frame is already sturdy enough for brackets.
Do I need special tools for the guide wire installation?
You’ll need a drill with a 6mm wood bit, a set of spanners for turnbuckles, and a cable cutter. A tension gauge is optional but helpful for even tension.
How do I protect the shade fabric from wind damage?
Use a fabric with reinforced edges and grommets. In high wind, retract the shade completely (either manually or via the controller). Some electric controllers have a wind sensor input.
Will the wax piston wear out after one season?
Quality wax pistons (e.g., those used in greenhouse vent openers) typically last three to five years. Clean the piston rod annually with a silicone spray to prevent corrosion.
Can I run the system with a solar panel and battery?
Absolutely. A 20W solar panel and 12Ah battery can power a 12V actuator for several cycles per day. Ensure the controller’s quiescent current is below 5 mA to avoid battery drain.
For more cold-weather strategies, see our winterizing tips for cold climates.