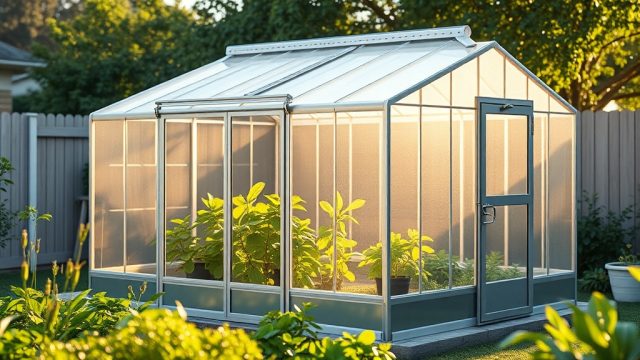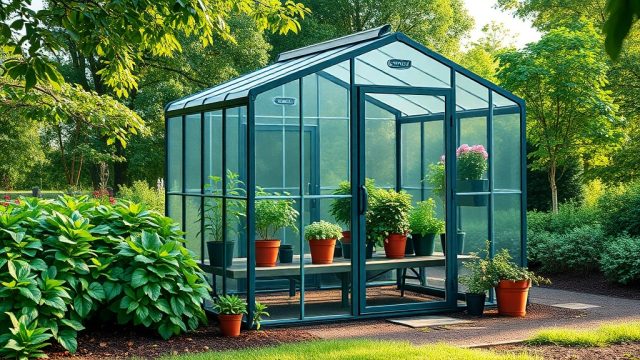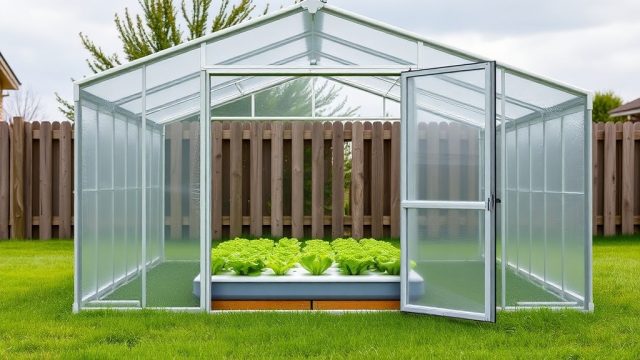
Introduction to the Riverstone 6×8 Wooden Greenhouse Irrigation Setup
The Riverstone 6×8 Wooden Greenhouse is a compact, durable structure that excels in small gardens and urban plots, but its manual watering demands can quickly become a chore. A well-planned automatic drip irrigation system transforms this greenhouse into a low-maintenance growing environment, delivering consistent moisture directly to plant roots. This guide covers practical setup strategies for integrating drip irrigation into the Riverstone 6×8, ensuring your crops thrive without daily hand-watering.
Why Choose Drip Irrigation Over Overhead Sprinklers for This Greenhouse?
Overhead sprinklers waste water through evaporation and leaf wetting, which can promote fungal diseases in the confined space of a 6×8 greenhouse. Drip irrigation delivers water slowly at the soil line, reducing evaporation and keeping foliage dry. For the Riverstone 6×8, a drip system is especially effective because its wooden base and raised beds (if installed) create a targeted watering zone. You also avoid saturating the wooden frame, which extends the life of the structure. Many owners pair drip irrigation with ventilation strategies to maintain optimal humidity levels.
What Components Do I Need for a Riverstone 6×8 Drip System?
Building an automatic drip system for this greenhouse requires standard parts that are widely available. Below is a specification table for a typical setup covering a 48-square-foot growing area.
| Component | Specification | Approximate Cost (USD) |
|---|---|---|
| Main supply tubing | 1/2-inch (13mm) polyethylene tubing, 50 ft | $12.00 |
| Drip emitter tubing | 1/4-inch (6mm) with built-in emitters, 50 ft | $18.00 |
| Pressure regulator | Adjustable 20-40 PSI, brass or plastic | $15.00 |
| Automatic timer | Battery-operated, 1- or 2-zone, manual override | $35.00 |
| Backflow preventer | Anti-siphon valve, brass | $10.00 |
| Adapter kit | Hose thread to 1/2-inch barb fitting | $8.00 |
| End caps and stakes | 50-pack of 1/4-inch stakes | $6.00 |
| Filter | 150-mesh in-line filter | $7.00 |
Total component cost runs about $111.00, and many owners recoup this in water savings within a single growing season. For a detailed assembly guide, refer to the DIY assembly tips for installing tubing runs under benches or along walls.
How Do I Install a Timer and Controller for Consistent Watering?
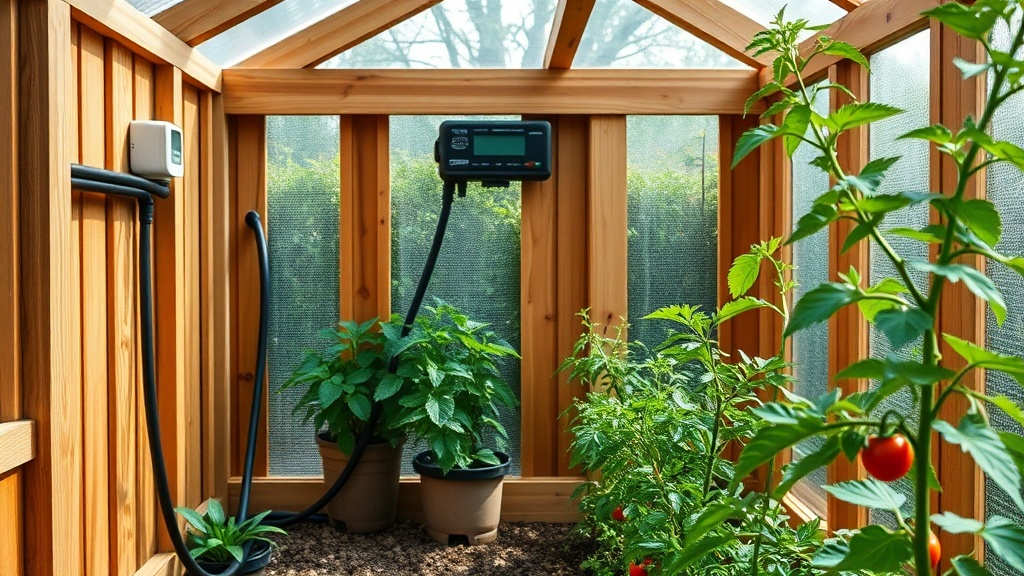
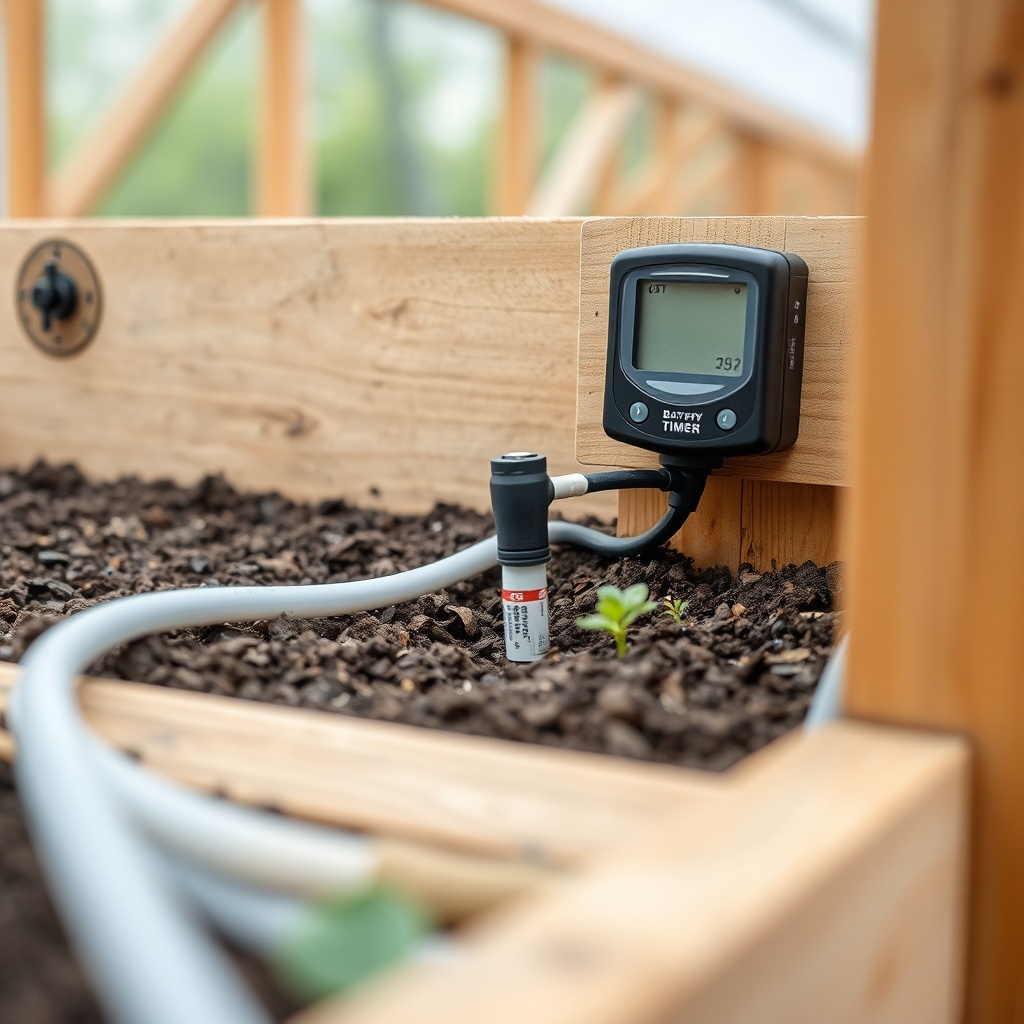
The timer is the brain of your automatic system. For a Riverstone 6×8, mount a battery-operated timer on the exterior wall near the water source, protected from direct rain by a small shelter or the greenhouse eaves. Set the timer to water twice daily—once in the early morning and once in late afternoon—for 15–20 minutes per zone. This mimics natural dew patterns and reduces transplant shock. For precise control, install a soil moisture sensor that pauses watering when the ground is saturated, which is particularly useful during rainy periods. If you plan to expand the system later, choose a dual-zone timer that accommodates separate benches or seedling trays.
Where to Place Emitters in a Small 6×8 Layout?
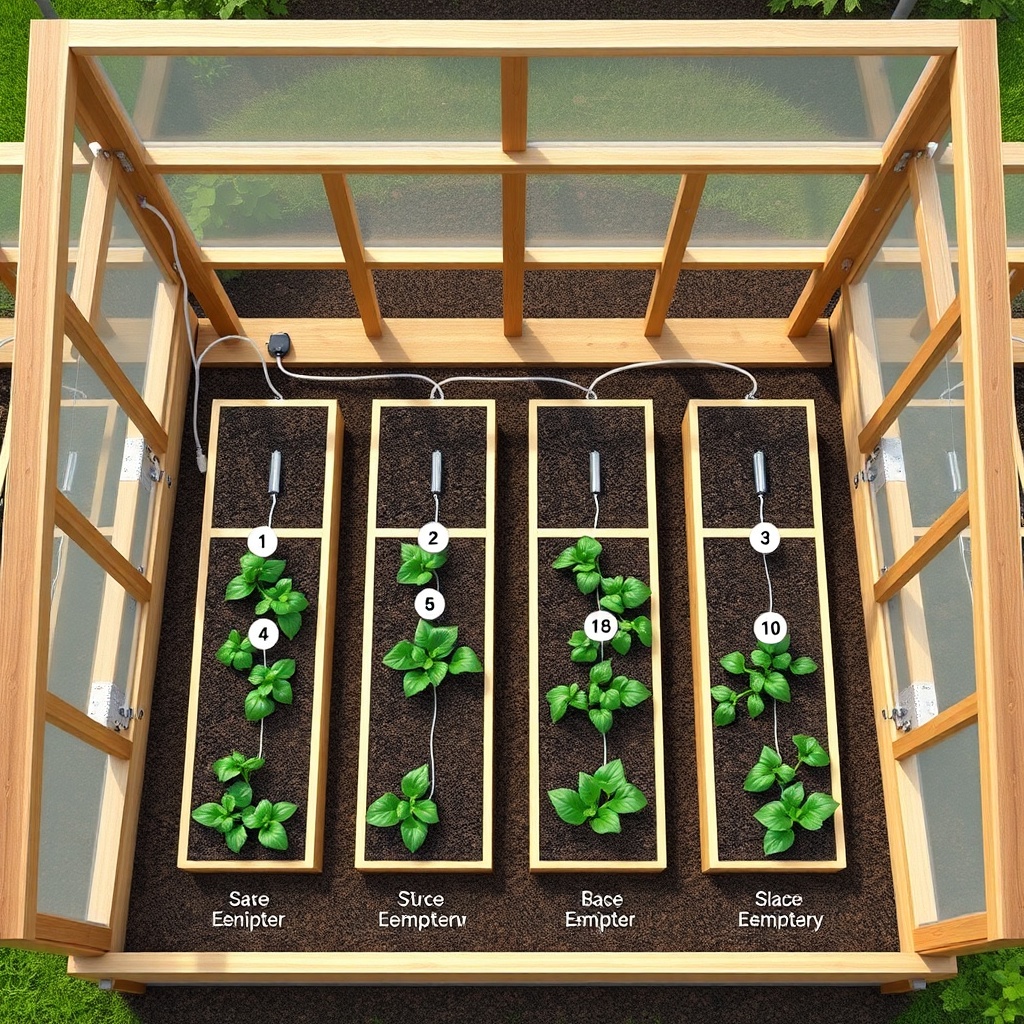
Efficient emitter placement in a 6×8 footprint maximizes coverage without waste. Divide the greenhouse into two main zones: one for raised beds or ground-level crops and one for bench plants or containers. Use 1/2-inch mainline tubing run along the perimeter walls, then branch off with 1/4-inch emitter tubing to each plant or pot. Place one 0.5 GPH emitter per small plant (tomatoes, peppers) and two 1.0 GPH emitters for larger plants (cucumbers, melons). For bench systems, use 6-inch spacing on emitter tubing to ensure even coverage. Always leave 6–8 inches between the emitter and the stem to prevent stem rot. This layout works well with the stain and sealant options that protect the wooden base from moisture wicking.
How to Prevent Clogging and Maintain the System?
Clogged emitters are the most common failure in drip irrigation. For a Riverstone 6×8, install a 150-mesh in-line filter between the pressure regulator and the main line. Flush the filter monthly by unscrewing it and rinsing the screen under a hose. Use a vinegar solution (1:10 ratio) to dissolve mineral deposits in emitters every 12 weeks. Additionally, drain the system before winter freezes to protect the poly tubing. Many owners use a simple blow-out adapter with a shop vac to clear residual water. If you notice uneven water flow, check the pressure regulator—most emitters require 20–30 PSI for even output. For cold-weather strategies, see the heating solutions that keep irrigation lines from freezing.
What Owners Say About Drip Irrigation in Their Riverstone 6×8
Gardeners who have installed automatic drip systems in the Riverstone 6×8 consistently report a 40–50% reduction in water usage compared to hand-watering. Many appreciate the flexibility of using a timer that allows weekend trips without stressing about plants. One owner noted that their cherry tomatoes had zero blossom-end rot after switching to drip, attributing it to consistent soil moisture. Another common feedback is the ease of integration with the wooden frame—tubing can be stapled along the interior with plastic clips without damaging the wood. The only frequent complaint is the initial setup cost, but nearly all users consider it a worthwhile investment after two seasons. For those concerned about aesthetics, some owners choose to hide the mainline under a thin layer of mulch or along the baseboard.
Frequently Asked Questions
Can I run drip irrigation from a rain barrel?
Yes, but you need a gravity-fed drip system or a small submersible pump that activates with the timer. Place the rain barrel at least 3 feet above the greenhouse floor to provide sufficient pressure. Filter the water with a 200-mesh screen to prevent algae from clogging emitters.
How long should I run the drip system each day?
For most vegetables in a 6×8 greenhouse, 15–20 minutes per watering cycle, twice daily, provides adequate moisture. Adjust based on season: 12–15 minutes in spring/fall and 20–25 minutes in summer. Use a soil probe to check if the root zone is moist 4 inches deep.
Will the wood frame rot if I mount the tubing directly to it?
Not if you use drip irrigation instead of overhead spray. Use plastic tubing clips (not metal staples) to attach 1/4-inch tubing to the wood. Avoid placing tubing where water can pool against the wood. Treat the frame with a water-repellent stain; consult the best stain choices for protection.
How do I winterize the drip system?
Disconnect the timer and filter, then blow compressed air (or a shop vac on reverse) through the mainline until no water exits the emitters. Remove emitter tubing and store it indoors. Drain the pressure regulator and backflow preventer. Disconnect the supply hose and allow the greenhouse’s automatic roof vent to reduce humidity during storage.
Can I automate fertilization with the drip system?
Yes, install a venturi-style injector (e.g., EZ-Flo) between the pressure regulator and the main line. Use liquid organic fertilizer at half-strength to prevent emitter clogs. Run plain water for 5 minutes after injecting fertilizer to flush the system.
What if my water pressure is too high?
High pressure (above 50 PSI) can blow apart fittings. Install an adjustable pressure regulator set to 25 PSI. Test the pressure at the farthest emitter using a pressure gauge—if it reads below 15 PSI, you may need to shorten the run length or upgrade to 3/4-inch mainline.