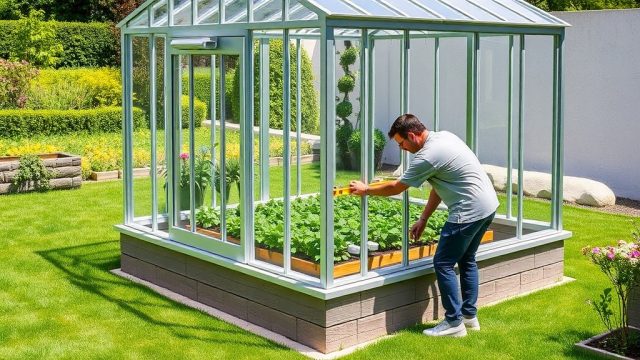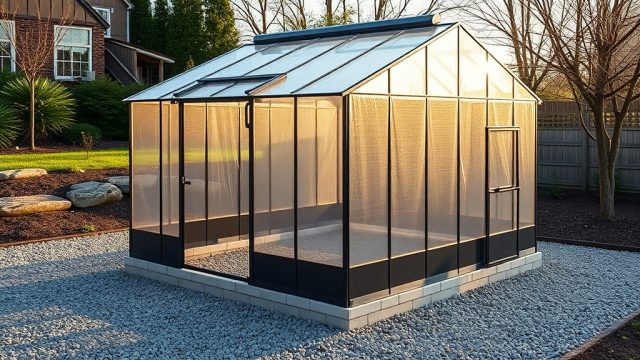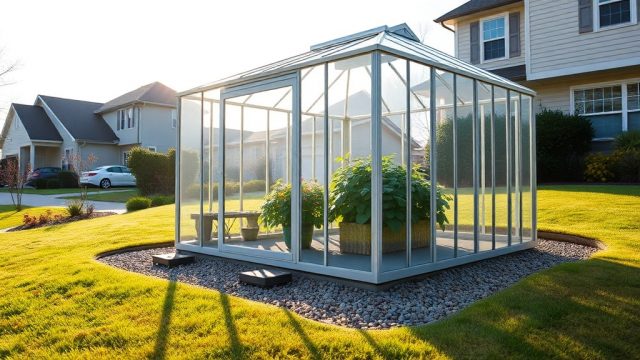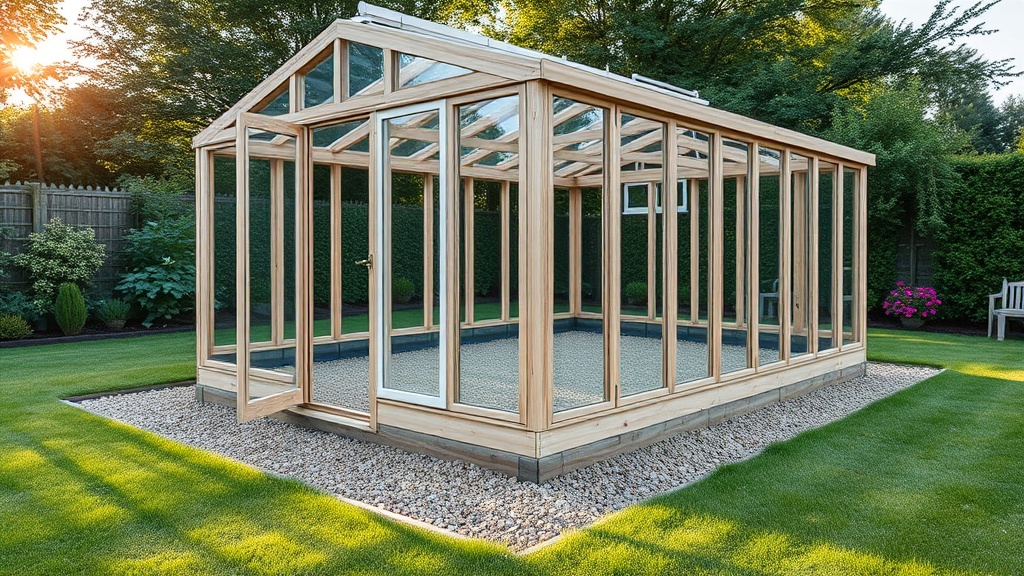
Why Ground Preparation Matters for a Riverstone 6×8 Wooden Greenhouse
Setting a 6×8-foot wooden greenhouse on uneven or unstable ground is a recipe for frustration. A level, compacted base ensures the timber frame remains square, doors operate smoothly, and the structure resists shifting during freeze-thaw cycles. First-time builders often underestimate the importance of soil assessment and drainage planning—two factors that directly affect the longevity of a pressure-treated wooden kit.
The Riverstone 6×8 Wooden Greenhouse, with its shiplap cedar-style cladding and ridge ventilation, weighs roughly 280 kg (617 lbs) when empty. Without a properly prepared foundation, the weight can cause differential settling, leading to twisted panels and binding doors. This guide walks through the essential steps for ground preparation, from site selection to final base leveling, so you can proceed confidently to DIY assembly.
What Type of Foundation Works Best for a 6×8 Wooden Greenhouse?
Three foundation types are common for a structure this size: a gravel bed with timber base frame, a concrete slab, or paving slabs set on compacted hardcore. Each has trade-offs regarding cost, labor, and drainage.
| Foundation Type | Estimated Cost (GBP) | Drainage Rating | DIY Difficulty | Best For |
|---|---|---|---|---|
| Gravel base + timber frame | £80–£150 | Excellent | Moderate | Budget builds, heavy clay soil |
| Concrete slab (100mm thick) | £250–£400 | Poor (needs slope) | High | Permanent placement, heavy shelves |
| Paving slabs on hardcore | £120–£200 | Good | Moderate | Flat sites, quick install |
For most first-time builders, the gravel and timber frame method offers the best balance. It provides drainage away from the wooden base, prevents rot, and allows adjustment if the ground shifts. If you choose concrete, ensure a slight fall (1:80 slope) away from the greenhouse to avoid water pooling against the timbers.
How Do I Assess the Soil and Drainage Before Building?
Before ordering materials, test your soil type and drainage. Dig a hole 30 cm deep and fill it with water. If the water drains within 30 minutes, your soil is suitable for a gravel or slab base. If standing water remains for 12+ hours, you have clay—consider raising the entire greenhouse on a gravel trench with perforated drainage pipe.
Check for underground utilities by calling your local authority (free in most UK regions). Mark the 6×8-foot footprint with spray paint or string lines, then use a 1.2-meter spirit level on a long straightedge to check for high spots. A variance of more than 50 mm across the length suggests you need to cut and fill low areas before compacting.
If you’re on a north-facing slope or near a fence, consider wind exposure. The Riverstone’s 1.8-meter ridge height catches breeze—position the door side away from prevailing winds. A compacted gravel base helps anchor the greenhouse against gusts.
What Materials and Tools Do I Need for Ground Preparation?
Assemble the following items for a gravel and pressure-treated timber base. Quantities assume a 200×240 cm base (6’8” x 8’ actual dimensions).
- Timber base frame: 4 lengths of 4×4 inch (100x100mm) pressure-treated timber, cut to 2.44 m and 1.83 m. Consider using 3×3 inch for lighter duty.
- Gravel: 20 mm angular gravel or Type 1 MOT hardcore, roughly 0.5 cubic meters for a 100 mm layer.
- Geotextile membrane: 10 m² roll to separate gravel from soil.
- Pegs and anchors: 4 x 300 mm galvanized ground spikes or screw anchors for securing the frame.
- Shovel, rake, wheelbarrow, plate compactor (hire £35/day).
- Long spirit level (1.2 m minimum) and string line.
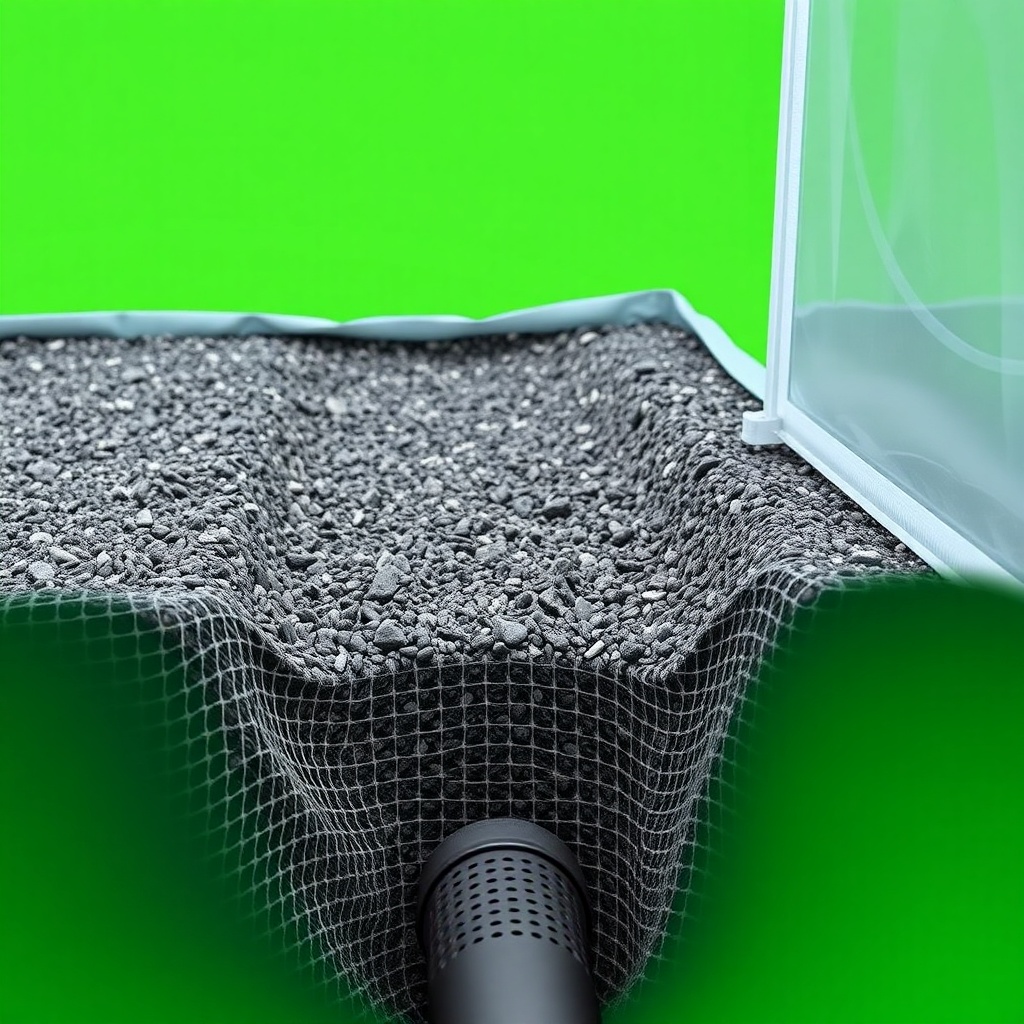
- Add a French drain: Dig a 300 mm deep trench around the perimeter, fill with 20 mm gravel, and lay a perforated pipe sloped toward a soakaway or rain garden. This moves water away from the base before it touches timber.
- Install weed membrane overlapped: Extend the geotextile membrane 150 mm past the frame edge, then cover with a thin layer of decorative chippings. This keeps soil splash during rain away from the cladding.
- Leave a gap: Do not seal the base of the cladding to the foundation. A 10 mm gap allows air circulation under the sill plate. Use a galvanized mesh to block rodents.
If you plan to install an automatic drip irrigation system later, bury a PVC conduit (50 mm diameter) under the gravel before adding the membrane. This simplifies the later installation without digging through the base.
What Steps Should I Follow to Level the Ground for the Base Frame?
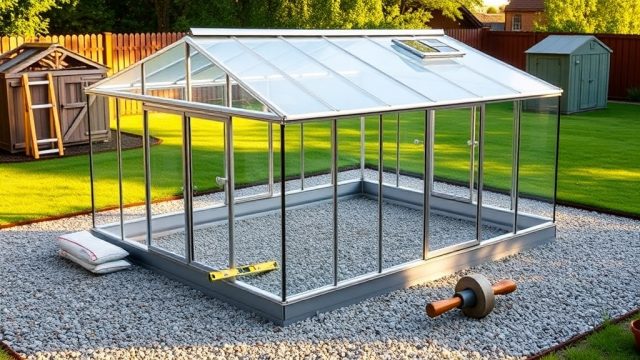
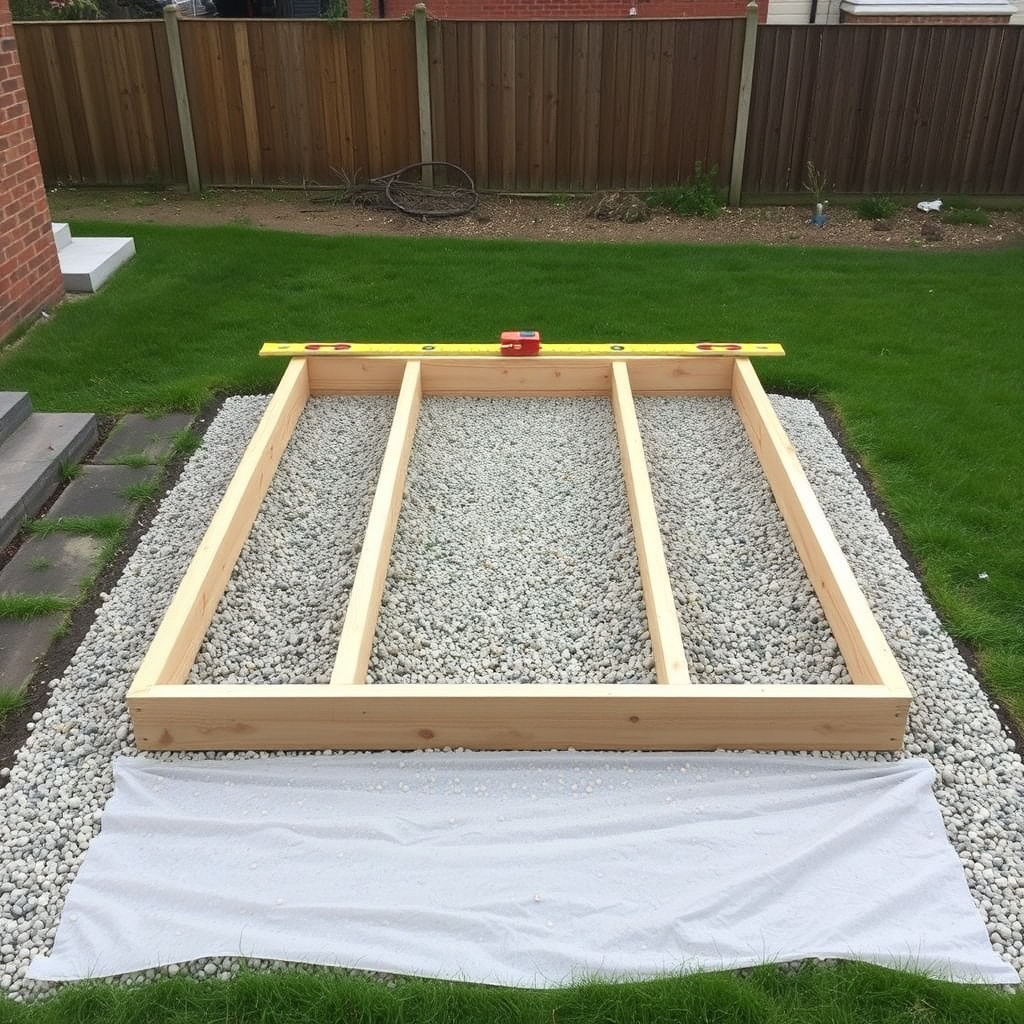
Start by stripping any turf or vegetation from the 2.5×2.1 m footprint. Dig to a depth of 120 mm to allow for 100 mm of gravel and 20 mm of sand for leveling. Use a plate compactor to consolidate the subsoil, then add the geotextile membrane to prevent weed growth. Spread the gravel in 50 mm lifts, compacting each layer with the plate compactor until firm. The final surface should be flat within 5 mm across the diagonal.
Place the pressure-treated timber frame on the gravel bed. Use the spirit level to check both length and width, adding or removing gravel under the frame until perfectly level. Drive ground spikes through pre-drilled holes in the timber at each corner and at 600 mm intervals along the sides. For wooden greenhouses, avoid concrete footings—timber needs to breathe and drain.
A common mistake is skimping on compaction. Loose gravel will settle unevenly after the first heavy rain, causing the frame to twist. Rent a plate compactor for a full day; it’s the best £35 you’ll spend. Once the frame is secure, you can proceed to assemble the wall panels knowing the base won’t shift.
How Do I Manage Drainage Around the Base to Prevent Rot?
The Riverstone greenhouse uses untreated cedar-effect cladding over a timber frame. While cedar has natural rot resistance, the base of the structure sits directly on the foundation. Without drainage, moisture wicks into the wood, inviting fungal growth within two seasons. Here’s how to prevent that:
If your site tends to stay wet, elevate the greenhouse on concrete pads (60x60x10 cm) at each corner of the base frame. This creates an air gap of 80–100 mm, dramatically extending the life of the timber. This approach pairs well with the recommended sealant and stain treatments applied before assembly.
What Are the Planning Permission Considerations for a 6×8 Wooden Greenhouse?
In England and Wales, a 6×8 greenhouse generally qualifies as permitted development under the Town and Country Planning Act, provided it is sited more than 2 meters from property boundaries. The total footprint (including foundation) must not exceed 50% of the garden area. Check local conservation areas, national parks, and listed building status—these override permitted development rights.
Always notify your home insurer. Most policies cover fixed structures under “outbuildings,” but you may need to declare the greenhouse if its value exceeds £2,500. Keep the receipt and photos of the prepared base for records.
What Owners Say About Preparing the Ground
Several UK gardeners who built the Riverstone 6×8 note that ground preparation took more time than assembling the structure itself. One owner from Leicester reported that skipping the geotextile membrane led to grass growing through the gravel within a year, requiring a full dismantling. Another in Scotland used a 50 mm layer of recycled rubber mats under the gravel for added frost heave protection. Most agree: thorough base work pays off in the second year when the greenhouse remains square and door mechanisms operate freely.
Frequently Asked Questions
Do I need a concrete slab for the Riverstone 6×8 wooden greenhouse?
No. A compacted gravel base with a pressure-treated timber frame works well and provides better drainage. Concrete is only needed if the site is very unstable or you intend to install heavy shelving or hydroponics that exceed 500 kg total weight.
How long does ground preparation take for a first-time builder?
Plan for a full weekend (10–14 hours) including excavation, compaction, and frame setting. Rushing the leveling step often leads to misaligned panels during assembly.
Should I treat the timber base frame before installation?
Yes. Even if the timber is pressure-treated, apply an exterior wood preservative to cut ends and drill holes. This extends the life of the base by 5–7 years. See our guide on sealant options for recommendations.
Can I build on paving slabs?
Yes—use four 60×60 cm slabs at the corners, plus intermediate slabs every 1 meter along the longer sides. Ensure each slab sits on compacted hardcore and is perfectly level. The timber frame can sit directly on slabs with a DPC strip (damp proof course) between.
What’s the best way to anchor the greenhouse in high wind?
Use 300 mm ground screws or helical anchors at each corner, driven through the base frame into the subsoil. For exposed sites, screw eyes into the frame and attach storm anchors (steel cables pegged into the ground). The automatic roof vent should be installed to open away from prevailing winds.
Do I need to level the greenhouse base if the ground slopes?
Yes. Even a 30 mm slope will cause door misalignment. Use a stepped foundation (concrete or timber sleeper wall) to create a level platform. Never try to shim the greenhouse frame after assembly—it places lateral stress on the joints.