Why Does the Palram Canopia Harmony 6×8 Need an Automatic Drip Irrigation Setup?
The Palram Canopia Harmony 6×8, with its 6-foot by 8-foot footprint, is a compact greenhouse that packs a punch for serious home growers. Once you’ve invested in this structure and filled it with trays, pots, or raised beds, manual watering becomes a chore that risks over- or under-watering. An automatic drip irrigation system transforms the Harmony 6×8 into a self-sustaining growing environment, delivering precise moisture to each plant’s root zone without constant attention. For a greenhouse that measures roughly 48 square feet of floor space, a drip setup ensures every drop counts, reducing water waste by up to 50% compared to hand watering and maintaining optimal soil moisture even during hot spells or vacations.
This article covers the practical installation steps, component choices, and direct benefits of integrating drip irrigation into your Harmony 6×8. Whether you’re starting seeds in propagation trays or nurturing tomatoes in 5-gallon pots, a well-designed system keeps your plants thriving while you focus on other tasks. We’ll also discuss how this irrigation method pairs with other enhancements like heat retention curtains to create a balanced microclimate.
What Components Do You Need for a 6×8 Drip System?
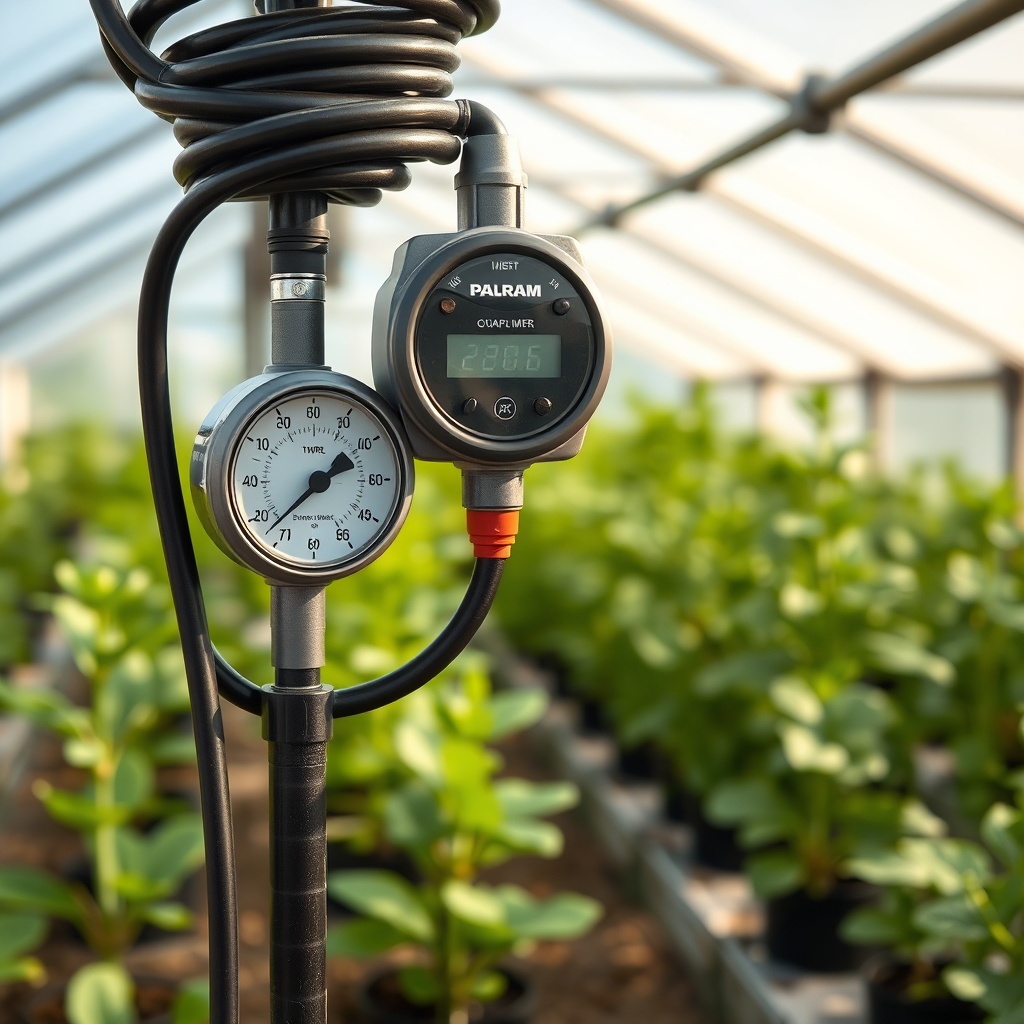
Building a drip irrigation setup for the Palram Canopia Harmony 6×8 requires careful selection of components that match the greenhouse’s size and typical plant layout. You don’t need an elaborate system—a basic kit with a timer, tubing, emitters, and a filter will suffice for most hobbyists. Here’s a breakdown of essential parts and their approximate costs in US dollars:
| Component | Purpose | Recommended Specs | Estimated Cost (USD) |
|---|---|---|---|
| Automatic Timer | Controls watering schedule | Battery-operated or programmable digital; 2-4 zones | $25–$50 |
| Main Supply Tubing (1/2-inch) | Distributes water from source to rows | UV-resistant polyethylene; 25–50 feet | $10–$20 |
| 1/4-inch Distribution Tubing | Connects emitters to plants | Flexible, low-diameter; 50–100 feet | $8–$15 |
| Drip Emitters | Delivers water at specific flow rates | Adjustable or fixed (0.5–2 GPH); 20–40 units | $10–$30 |
| Pressure Regulator | Reduces hose pressure for consistent flow | 15–30 PSI output | $10–$20 |
| Y-Filter with Screen | Prevents clogging from sediment | 100–150 mesh screen | $10–$15 |
| End Caps and Fittings | Seal tube ends and connect sections | Push-fit or barbed; various sizes | $5–$10 |
| Stakes and Hold-downs | Secure tubing to soil or benches | Plastic or metal; 10–20 pieces | $5–$10 |
Note: Prices vary by brand and retailer; total setup cost typically ranges from $80 to $150 for a functional 6×8 system. Add a water source adapter (e.g., faucet connector) if needed for $5–$10.
For the Harmony 6×8, choosing a timer with a manual override is useful for spot watering during maintenance. The 1/2-inch main tubing can be run along the center of the greenhouse or along the sidewalls, while 1/4-inch lines branch off to individual pots or trays. If you plan to install a hydroponic system, the same drip components can be adapted to feed nutrient solution directly to growing media.
How Do You Install Drip Irrigation in the Palram Canopia Harmony 6×8?
Installation begins with planning the layout. Since the Harmony 6×8 has a single door (typically on the 8-foot side) and no internal obstructions besides the central ridge, you have flexibility. Start by measuring the floor space—roughly 4 feet by 8 feet of usable area after accounting for walls. Mark where you’ll place plants: two parallel rows of containers along the 8-foot length work well, with a walking path down the center. Alternatively, use a single bench along one side. Follow these steps:
- Step 1: Mount the Timer and Connect Water Source. Attach the timer to an outdoor faucet or a hose bib near the greenhouse. If your Harmony 6×8 is against a wall, use a short hose to reach the timer. Install the Y-filter between the timer and main tubing to catch debris.
- Step 2: Run the Main Supply Line. Lay 1/2-inch tubing from the timer into the greenhouse through a small notch at the base (or under the door threshold if sealed). Secure it along the floor with stakes, keeping it straight to avoid kinks. For a 6×8, one main line down the center is sufficient, splitting into two lateral runs along each side.
- Step 3: Install Branch Lines and Emitters. Using barbed connectors, attach 1/4-inch distribution tubing from the main line to each plant location. Add drip emitters at the end of each branch, pushing them into the soil near the root zone. For containers, use one emitter per pot; for beds, space emitters 12–18 inches apart.
- Step 4: Pressure Regulation and Testing. Place a pressure regulator at the timer outlet to keep PSI between 15 and 30. Turn on the system manually to check for leaks, adjust flow rates with adjustable emitters, and ensure even coverage. Flush lines for 2 minutes before final use.
- Step 5: Program the Timer. Set watering frequency based on crop needs—typically 2–4 times daily for 10–20 minutes for seedlings, or once daily for 30–60 minutes for established plants. Adjust during rainy or hot periods.
A common mistake during assembly is overtightening fittings, which can crack the tubing. Use Teflon tape on threaded connections for a leak-free seal. For more guidance on avoiding assembly errors, refer to our article on troubleshooting common assembly mistakes.
What Are the Key Benefits of Drip Irrigation in a 6×8 Greenhouse?
Switching to automatic drip irrigation in the Palram Canopia Harmony 6×8 delivers multiple advantages that go beyond convenience. First, water efficiency improves dramatically. A well-timed drip system reduces evaporation and runoff, cutting water usage by up to 40% compared to overhead sprinklers or hand watering. For a 6×8 with 20–30 plants, this means saving several gallons per week, which adds up over a season. In regions with water restrictions or expensive utility rates, this is a tangible cost saving.
Second, plant health benefits from consistent moisture at the root zone. Drip irrigation prevents foliage wetting, which lowers the risk of fungal diseases like powdery mildew and botrytis—common issues in humid greenhouses. The Harmony 6×8’s natural ventilation (roof and side vents) helps further, but drip keeps leaves dry. Third, you can automate feeding by injecting liquid fertilizer into the system, simplifying nutrient delivery. For growers who also explore passive solar heating methods, the reduced water stress on plants helps them handle temperature fluctuations better.
Fourth, time savings are significant. A 15-minute setup of the timer eliminates daily watering chores, freeing you to focus on pruning, pest monitoring, or harvesting. Fifth, scalability—if you later expand to a larger greenhouse or add misting systems for cooling, the same timer and tubing can be integrated.
What Do Owners Say About Drip Irrigation in the Harmony 6×8?
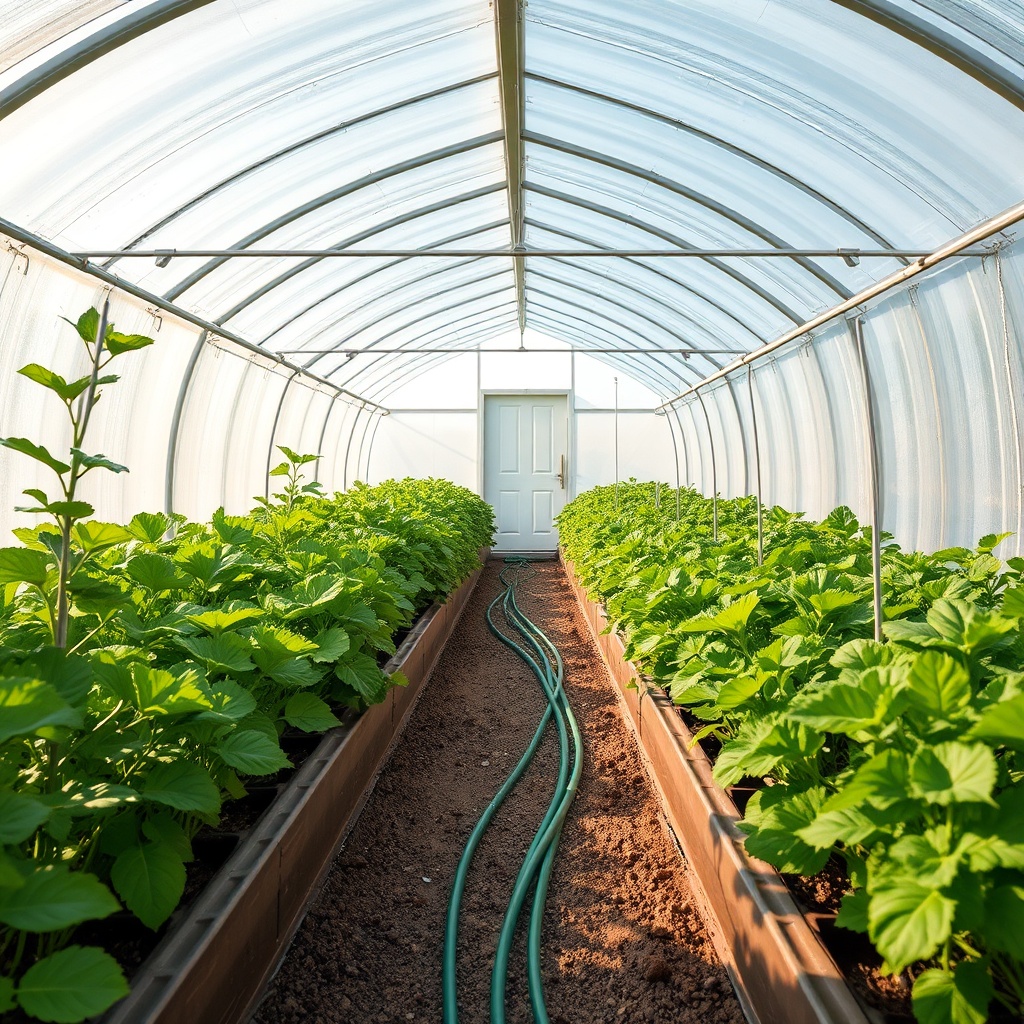
Greenhouse owners who have set up drip irrigation in the Palram Canopia Harmony 6×8 consistently highlight two themes: simplicity and reliability. Many note that the compact size makes tubing layout straightforward, with no need for complex manifolds or multiple zones. One owner from Oregon shared on a gardening forum: “I use a basic battery timer and 1/4-inch lines to my 12 tomato pots. It runs twice a day for 15 minutes, and I haven’t had a single plant wilt even during 90°F days. The only tweak was adding a pressure regulator because our well pressure was too high.”
Another common praise point is the reduced mess. “Hand watering with a hose in a 6×8 always soaked the floor and my boots. With drip, the soil stays moist but the paths stay dry. No more puddles.” However, some owners caution about the Harmony 6×8’s aluminum frame and polycarbonate glazing—they advise using UV-resistant tubing to avoid brittleness over time. A few also recommend placing the timer inside a small weatherproof box to protect it from condensation, as the greenhouse interior can reach high humidity.
Critiques occasionally mention the timer’s battery life; alkaline batteries last 4–6 months, but rechargeable options work well. Overall, the consensus is that a $100–$150 investment in drip irrigation pays for itself within one season through healthier plants and less water waste.
Frequently Asked Questions
1. Can I connect the drip system to a rain barrel instead of a hose?
Yes, you can use a rain barrel with a submersible pump (12V or 120V) to feed the drip system. Ensure the pump delivers a minimum of 15 PSI and pair it with a timer rated for low-flow applications. Gravity-fed barrels typically lack pressure for consistent drip operation, so a pump is necessary for the Palram Canopia Harmony 6×8’s layout.
2. How many plants can the Harmony 6×8 support with drip irrigation?
With optimal spacing (one emitter per 1–2 square feet), you can accommodate 20–30 plants in containers or 40–50 seedlings in trays. For the 6×8 floor area, this means 2–3 rows of 8–10 pots each. Adjust emitter flow rates based on crop; tomatoes need 0.5–1 GPH each, while herbs thrive with 0.25 GPH.
3. Do I need to winterize the drip system?
If you live in freezing climates (below 32°F), disconnect the timer and tubing before winter to prevent ice damage. Drain all water from lines, or blow them out with compressed air. The Harmony 6×8 itself can stay in place, but exposed hoses outside the greenhouse should be removed. Alternatively, use a freeze-protected timer rated for low temperatures.
4. Can I use drip irrigation with raised beds inside the greenhouses?
Absolutely. Raised beds 6–12 inches deep work well; lay 1/2-inch drip tape or tubing along the bed length, with emitters every 12 inches. For the Harmony 6×8, a single 4×4 bed fits, or two 2×4 beds. Ensure the tubing is pinned down with stakes to avoid displacement during soil filling.
5. How do I clean the drip system components?
Every 3–4 months, flush the system by removing end caps and running clean water for 2–3 minutes. Soak emitters in a 10% vinegar solution to dissolve mineral buildup. Replace the Y-filter screen annually. Regular cleaning prevents clogging and maintains even water distribution—critical in a small greenhouse like the Harmony 6×8.
6. Does the drip system affect the greenhouse’s warranty?
Palram’s warranty covers structural defects, not aftermarket accessories. Installing a drip system that doesn’t interfere with the frame or glazing (e.g., mounting tubing to floor stakes, not the walls) will not void the warranty. Avoid drilling into the aluminum frame or polycarbonate panels; use adhesive clamps or soil anchors instead.