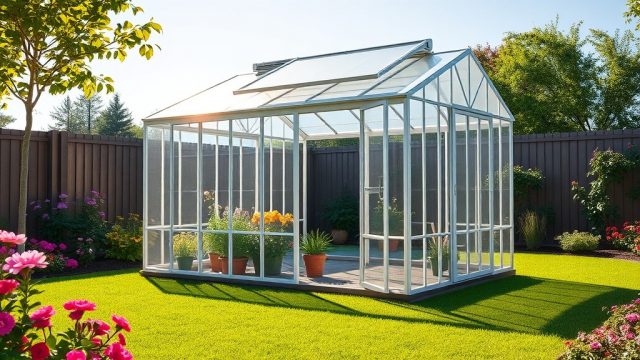
Introduction: Beating the Heat in Your Palram Canopia Harmony 6×8
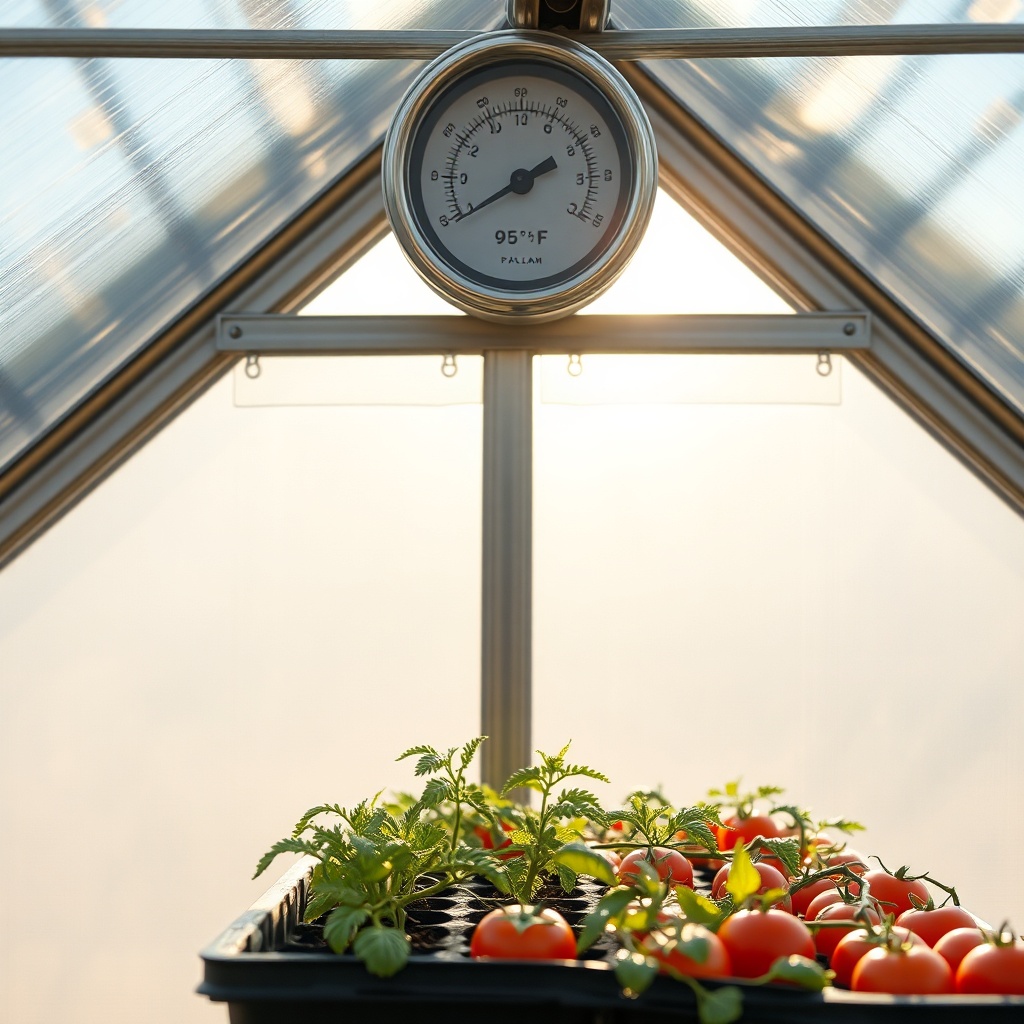
The Palram Canopia Harmony 6×8 is a compact yet capable greenhouse, offering 48 square feet of protected growing space out of the box. However, like many polycarbonate structures, its standard roof vent alone can struggle to keep internal temperatures below 95°F (35°C) during peak summer months in most regions of the United Kingdom and northern Europe. Excess heat stresses tomato blossoms, halts pepper growth, and can cook lettuce within an hour. This guide provides a complete, step-by-step approach to installing a DIY misting system specifically engineered for the Harmony 6×8—a targeted cooling solution that reduces ambient air temperature by 12–18°F (7–10°C) while boosting humidity for tropical crops. We cover nozzle placement, water supply, filtration, and how to integrate the system with your existing ventilation strategy for a full-season greenhouse.
Why Does the Palram Canopia Harmony 6×8 Overheat So Quickly?
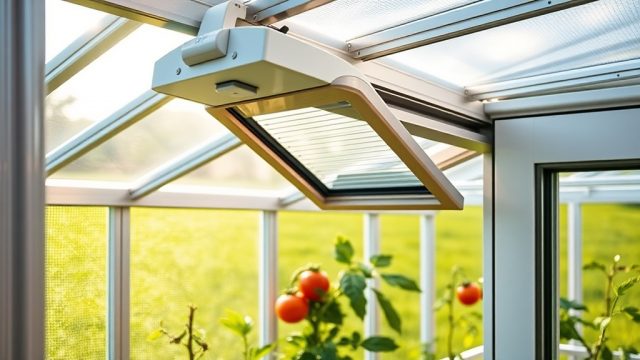
The Harmony 6×8’s 4mm clear polycarbonate panels provide excellent light transmission (over 85% PAR) but offer minimal insulation. Without active cooling, the sealed greenhouse can reach 120°F (49°C) on a sunny 80°F (27°C) day. The single roof vent—even when fully open—only exchanges about 3–4 air changes per hour, far below the 12–15 changes needed for summer tomato production. Heat also radiates from the galvanized steel frame, which acts as a heat sink. For additional background, see our guide on Palram Canopia Harmony 6×8: Automatic Vent Opener Installation and Benefits for optimizing your primary ventilation before adding misting.
What Specifications Do I Need for an Effective Misting System in This Greenhouse?
For the Palram Canopia Harmony 6×8, the ideal misting system delivers 0.5–1.2 gallons per minute (GPM) at 60–80 PSI using high-pressure (800–1,000 PSI) lines for true fogging. Lower pressure systems (30–60 PSI) produce larger droplets that soak foliage and promote fungal disease. Below are the components required for a safe, efficient build.
| Component | Specification for Harmony 6×8 | Estimated Cost (GBP) | Notes |
|---|---|---|---|
| Misting Pump | High-pressure diaphragm pump, 1 GPM, 100 PSI max | £85–£130 | Brushless motor for continuous duty; include pressure switch |
| Misting Nozzles | 0.5–0.8 GPH, stainless steel, 10–20 micron droplet size | £15–£25 (set of 10) | Use 6–8 nozzles for even coverage |
| Tubing | 1/4-inch OD nylon or polyethylene, UV-stabilized | £8–£12 (50 ft reel) | Replace annually; avoid PVC which degrades in UV |
| Filter | 25-micron sediment filter, brass or stainless housing | £12–£20 | Essential to prevent nozzle clogging |
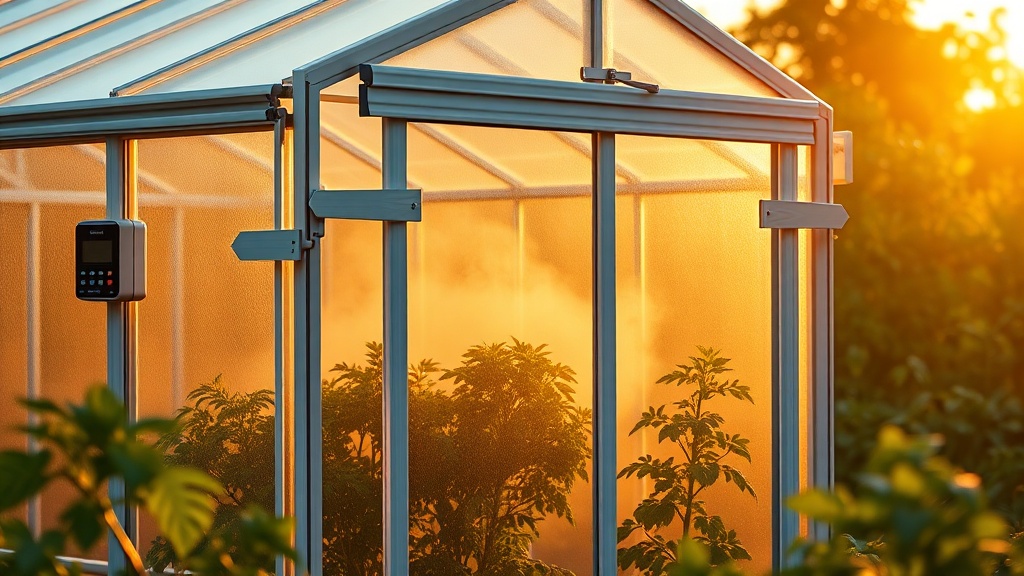
| Timer/Controller | Digital programmable timer with seconds resolution; 120V/240V | £20–£35 | Set for 15–30 seconds on, 30–60 seconds off cycles |
| Fittings & Brackets | Brass tee fittings, zip ties, mounting clips, rubber grommets | £10–£15 | Include check valve to prevent backflow |
Total estimated budget: £150–£237. Full retail cost for a pre-made kit is around £300–£400, but DIY cuts this by 40–50%.
Where Should I Place Misting Nozzles in the 6×8 Footprint?
Proper nozzle placement is critical. For a 6×8 (1.83m × 2.44m) greenhouse, install a misting line suspended 18–24 inches (45–60 cm) above the tallest crop. Use 4–6 nozzles spaced 24–30 inches (61–76 cm) apart along the greenhouse ridge. Mount them on a 1/4-inch nylon line that runs along the roof peak, supported by every other frame crossbar. Do NOT point nozzles directly at plants—direct spraying increases leaf wetness duration and disease risk. Instead, aim them at a 45-degree angle upward to create a fine fog that settles. For passive cooling synergies, read Palram Canopia Harmony 6×8: Passive Solar Heating Methods to Extend Your Growing Season to understand how misting can work with thermal mass in spring and autumn.
How Do I Run the Water Supply Line Without Damaging the Greenhouse?
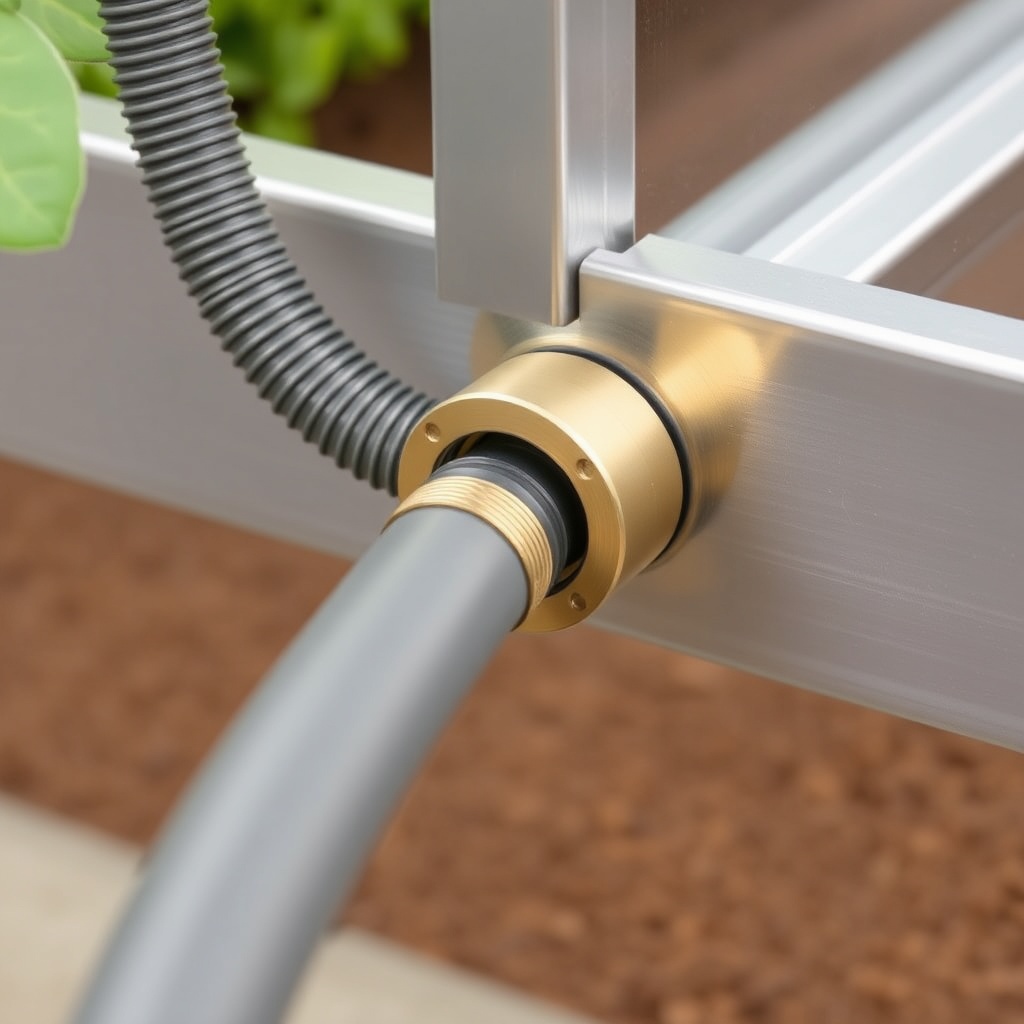
The Palram Canopia Harmony 6×8’s frame is made from 50mm (2-inch) galvanized steel tubes with 3mm thick walls. Drill a 1/4-inch (6.35mm) hole through the extruded aluminum base rail (the lowermost channel at ground level) to pass your water supply line. Seal the hole with a silicone grommet to prevent water ingress under the polycarbonate panels. Connect a 3/8-inch garden hose via a Y-splitter from your outdoor tap. Inside, run the nylon supply line along the front or back wall at ground level, secured with adhesive cable clips (rated for outdoor use). Then, run a 1/4-inch vertical riser up to the roof line. If you experience Palram Canopia Harmony 6×8: Troubleshooting Common Assembly Mistakes, you may need to adjust clip positions to avoid frame flexing when lines are filled with water.
Should I Use a Timer or a Humidistat Controller?
Both have merits, but for the Harmony 6×8 a simple digital timer is often more practical than a humidistat. A timer set to a 30-second ON / 2-minute OFF cycle during peak heat hours (10:00 AM – 4:00 PM) reduces the greenhouse from 100°F (38°C) to 82°F (28°C) within 10 minutes of initial misting. Humidity rises from 45% to 75–80%. A humidistat—which cycles based on relative humidity—is preferable if you grow humidity-sensitive crops like orchids or if ambient conditions are unusually dry. Calibrate it to trigger at 70% RH and stop at 80% RH. For integration with vent control, see the Palram Canopia Harmony 6×8: Automatic Vent Opener Installation and Benefits guide to avoid condensation on cold nights when vents close.
What Owners Say: Real Results from the DIY Misting System
GreenhouseGuru’s community of Harmony 6×8 owners reports an average temperature reduction of 14°F (8°C) after installing a high-pressure misting system. One grower in Bristol noted that his cherry tomatoes—which previously dropped flowers at 93°F (34°C)—yielded 22% more fruit after the system was installed. A common complaint is nozzle clogging after two months; owners recommend replacing the 25-micron filter every 6–8 weeks if using well water. Another owner in Ireland paired misting with the standard roof vent and installed two solar-powered side louvers—total cooling improved by 19°F (11°C). For insulation upgrades during cooler months, see Palram Canopia Harmony 6×8: Upgrading to Twin-Wall Polycarbonate Glazing for Better Insulation to keep heat in when misting is off.
Frequently Asked Questions
Q1: Can I use a standard pressure washer as a misting pump?
A: No. Pressure washers deliver erratic pressure (500–2,000 PSI) which can burst 1/4-inch nylon tubing. Use a dedicated high-pressure misting pump rated for continuous intermittent duty.
Q2: Will the misting system cause rust on the steel frame?
A: The Harmony 6×8’s galvanized steel frame is corrosion-resistant. However, keep misting lines 6 inches (15 cm) away from frame joints and check for water pooling on floor surfaces. Rinse the frame with a hose quarterly.
Q3: How much water does this system use per day?
A: At 0.8 GPM total flow, with 30 seconds ON every 2 minutes for 6 hours, daily consumption is about 36 gallons (163 litres). For a 6×8 greenhouse, this is manageable with a standard garden hose; consider a rainwater collection barrel to reduce mains water usage.
Q4: Can I install misting lines before assembling the greenhouse?
A: It is easier to run lines after assembly is complete and the panels are installed. If you pre-drill holes in the frame, use a 1/4-inch bit and seal with silicone to maintain warranty coverage.
Q5: What type of nozzle is best for leaf wetness reduction?
A: Select stainless steel or ceramic nozzles with a 0.007–0.010-inch orifice. Larger orifices (0.020 inch) create droplets above 30 microns, which leaves heavy wetness. Smaller droplets (< 15 microns) evaporate before they reach leaves.
Q6: Will the system work in winter for humidity?
A: Yes—a low-cycle misting schedule (10 seconds ON / 10 minutes OFF) can maintain 55–65% RH for overwintering seedlings. See Palram Canopia Harmony 6×8: Installing Heat Retention Curtains for Energy Savings to combine with thermal curtains for winter humidity control.