Introduction
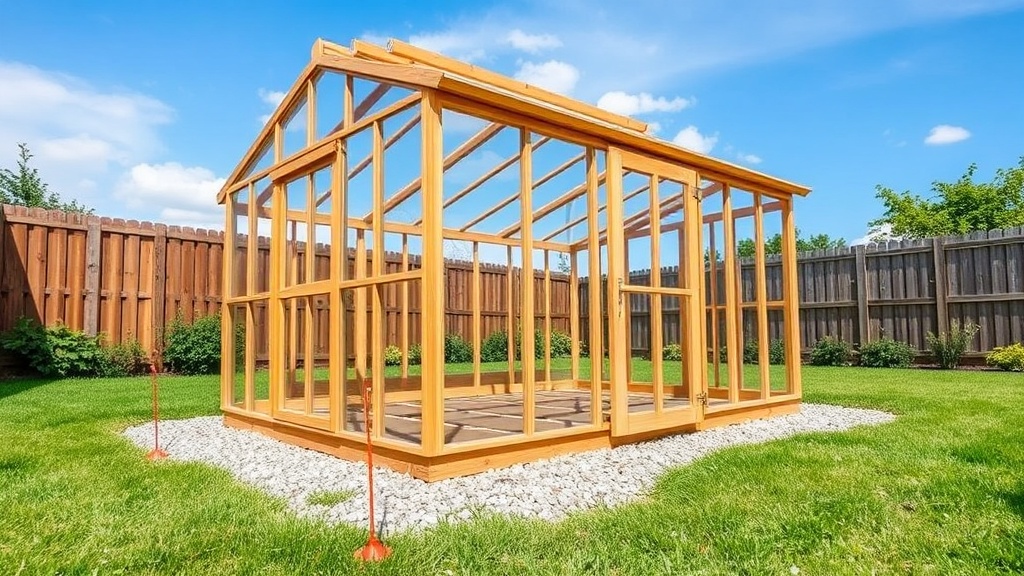
First-time builders often underestimate the importance of a level, stable foundation for a wooden greenhouse. The Riverstone 6×8 Wooden Greenhouse, with its 48 sq ft of growing space and timber frame, requires a properly prepared base to prevent warping, rot, and uneven settling. This guide covers essential ground preparation steps, from site selection to base construction, specifically tailored for the Riverstone 6×8 model.
Why Is Ground Preparation Critical for a Wooden Greenhouse?
Unlike metal or plastic greenhouses, a wooden structure like the Riverstone 6×8 relies on a solid, level foundation to maintain its frame integrity. Uneven ground can cause the wooden panels to twist, leading to gaps that let in cold drafts and pests. Additionally, wood in direct contact with moist soil accelerates rot, potentially cutting the greenhouse’s lifespan from 15+ years down to just 3–5 years. Proper ground preparation also ensures that you can anchor the greenhouse securely against wind loads—a key concern for any 6×8 structure. For more on protecting the wood after installation, see our guide on Riverstone 6×8 Wooden Greenhouse: Best Frame Stain and Sealant Options for Longevity.
What Are the Best Site Selection Criteria for My Riverstone 6×8?
Choosing the right location is the first and most critical step. Evaluate your yard based on these criteria:
- Sunlight exposure: The Riverstone 6×8 needs at least 6 hours of direct sunlight daily during the growing season. Avoid north-facing slopes or areas shaded by trees or buildings, especially in winter.
- Drainage: Choose a spot with natural drainage—never site a wooden greenhouse in a depression where water pools after rain. You can test this by digging a 12-inch hole, filling it with water, and checking if it drains within 24 hours.
- Access to utilities: If you plan to install automated systems like a drip irrigation or vent opener, position the greenhouse within 50–100 feet of an exterior faucet and a power outlet. See Riverstone 6×8 Wooden Greenhouse: Automatic Drip Irrigation Setup for Consistent Watering for guidance.
- Wind protection: Wooden greenhouses can be vulnerable to strong winds. Place the long side of the 6×8 perpendicular to prevailing winds, or consider a windbreak fence or hedge.
Should I Use a Gravel Base, Concrete Slab, or Pressure-Treated Timber Frame?
The Riverstone 6×8 Wooden Greenhouse can be installed on several base types, but not all are equal in terms of longevity and cost. Compare your options:
| Base Type | Estimated Cost (USD) | Drainage | Ease of Installation | Recommended For |
|---|---|---|---|---|
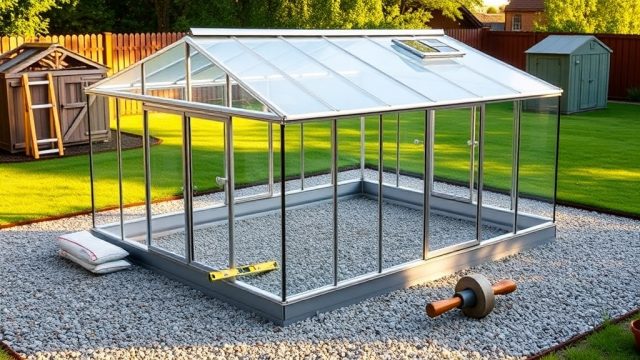
| Gravel base with edging | $150–$300 | Excellent | Moderate (requires digging and leveling) | Budget-conscious builders; best drainage |
| Concrete slab (4-inch thick) | $400–$800 | Fair (needs slight slope) | Difficult (requires formwork and pour) | Permanent installation; heavy automation |
| Pressure-treated timber frame on leveled ground | $100–$200 | Good (wood sits above grade) | Easy (assembly required) | First-time DIY builders; fastest setup |
| Concrete pavers (interlocking) | $200–$400 | Good | Moderate (requires careful leveling) | Semi-permanent; easy to modify later |
For first-time builders, the gravel base is often the most forgiving because it allows water to drain away from the wooden base sill. However, if you plan to install a permanent Riverstone 6×8 Wooden Greenhouse: Automatic Ventilation System Review and Budget Options, a concrete slab provides the most stable surface for mounting equipment.
How Do I Level the Ground for a Riverstone 6×8?
Leveling a 6-foot by 8-foot (48 sq ft) area is manageable with basic tools. Follow these steps:
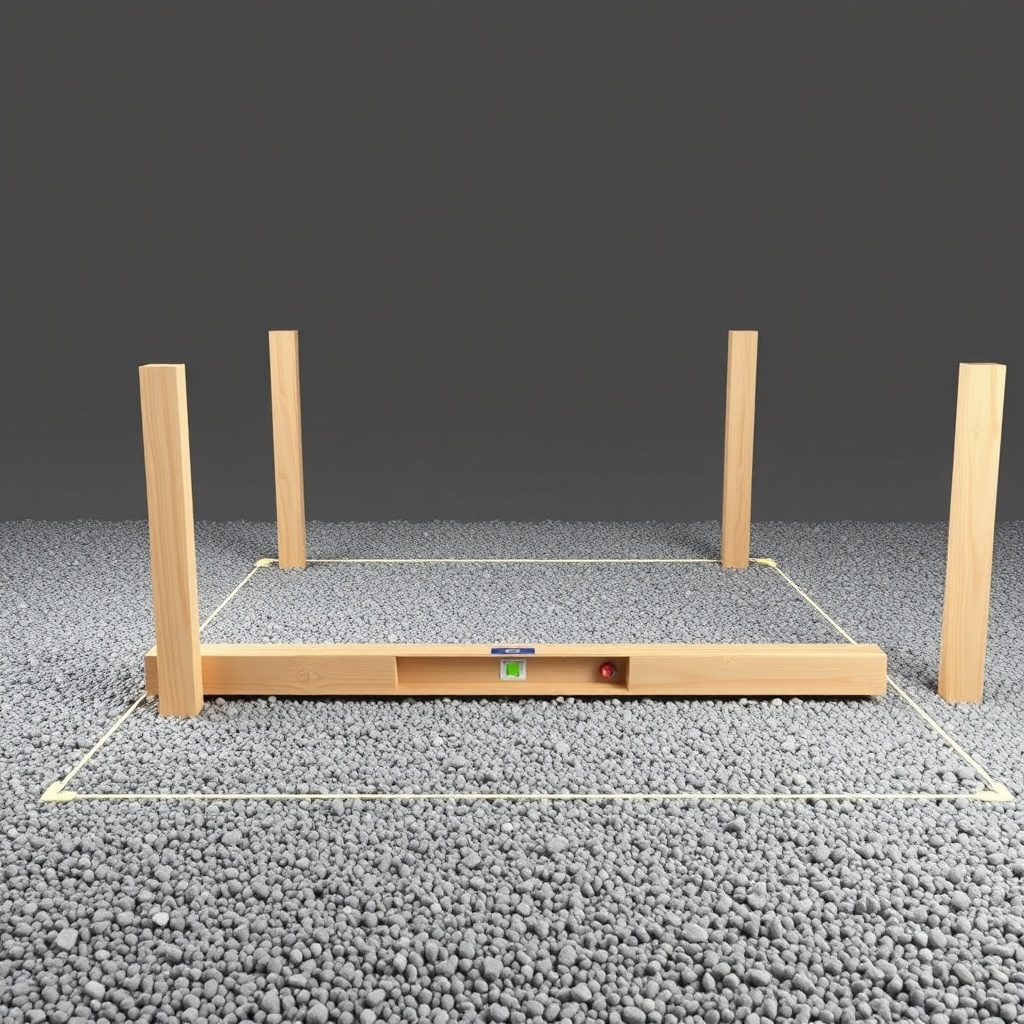
- Mark the perimeter: Use stakes and string to outline a 7×9-foot area (add 6 inches on each side for workspace). Check that the corners are square by measuring diagonals—they should be equal (10 feet for a 6×8 rectangle).
- Remove topsoil and sod: Dig down 4–6 inches to remove grass and organic material. This prevents future settling as the sod decomposes.
- Check for high and low spots: Place a 4-foot level on a long 2×4 beam placed across the area. Use a straight rake to redistribute soil. For low spots, add compacted crushed stone or sand—never loose topsoil.
- Compact the subbase: Use a hand tamper or plate compactor to compact the soil. The goal is a firm, level surface that does not sink when you walk on it.
- Install landscape fabric: This suppresses weeds that could grow under the greenhouse and cause moisture issues. Overlap edges by 6 inches.
If you prefer a pressure-treated timber base, set the frame directly on this leveled area and use deck screws to join corners. Ensure the frame is level before you proceed with greenhouse assembly.
What Foundation Anchoring Options Work Best for Wooden Greenhouses?
Anchoring the Riverstone 6×8 prevents wind damage and keeps the frame stable. Consider these methods:
- Ground anchors (screw-in style): For gravel or soil bases, use 18–24 inch helical ground anchors attached to the base sill with brackets. These cost around $10–$15 each and work well in most soils. Install them at each corner of the greenhouse.
- Concrete footings: For timber frames, dig 12-inch deep holes at corners, insert galvanized post anchors, and fill with concrete. This is more permanent but requires curing time (48–72 hours).
- Expansion bolts into concrete: If you opted for a concrete slab, drill into the slab and use 1/2-inch masonry anchors to bolt the base sill directly to the concrete.
Always check local building codes—some regions require specific anchoring for 6×8 structures, especially in high-wind zones. For cold climates, proper anchoring also prevents frost heave from shifting the frame. Read more in Riverstone 6×8 Wooden Greenhouse: Best Winterizing Tips for Cold Climates.
How Do I Ensure Proper Drainage Around the Base?
Even with a well-drained base, water runoff from the roof can pool around the foundation and eventually compromise the wood. Take these measures:
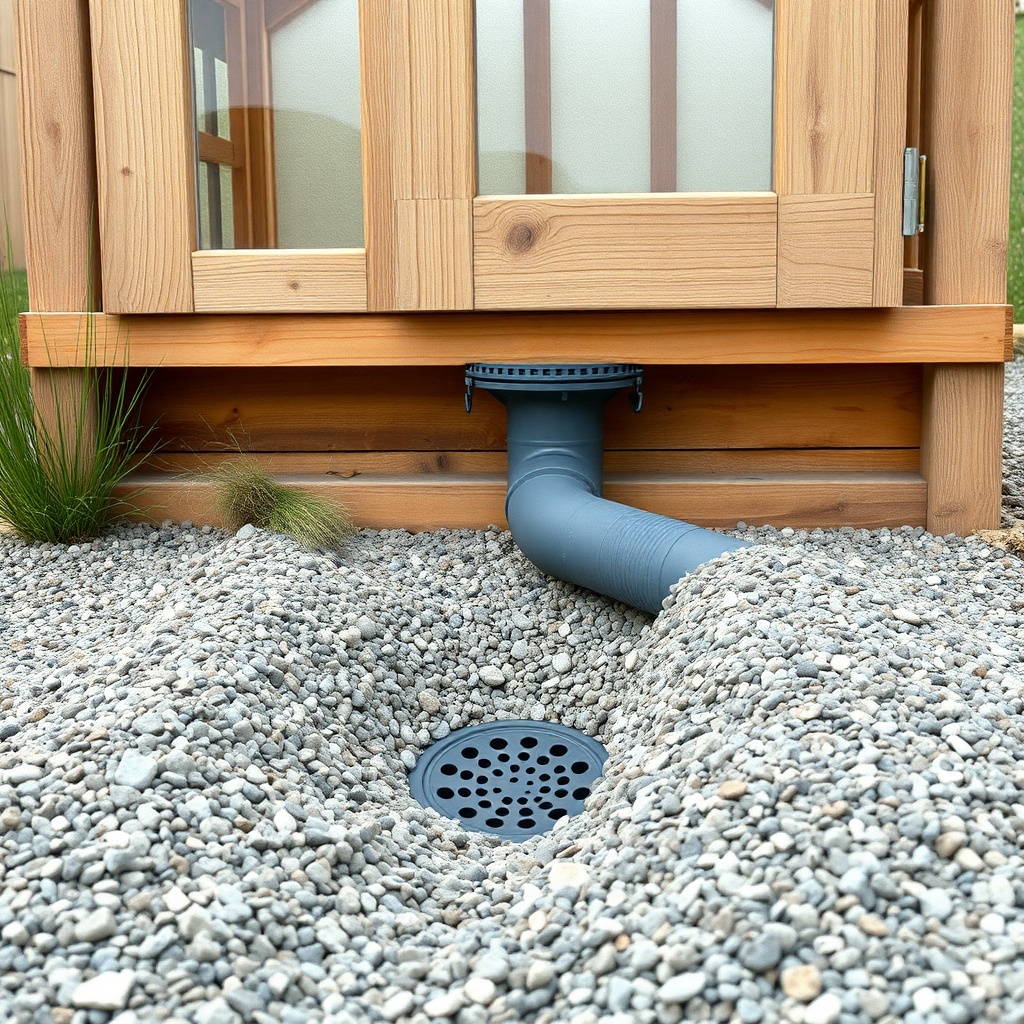
- Install a gravel trench: Dig a 6-inch deep, 8-inch wide trench around the greenhouse perimeter. Fill with 3/4-inch crushed granite. This directs water away from the wooden sill.
- Use a French drain if needed: In heavy clay soils, lay a perforated drainpipe in the trench covered with gravel, and run it to a downhill outlet.
- Add gutter extensions: The Riverstone 6×8 typically includes a gutter system. Extend downspouts at least 3 feet from the greenhouse base to prevent water accumulation.
- Slope the finished grade: Ensure that the final soil level around the greenhouse slopes away at least 1 inch per 4 feet.
What Owners Say
First-time builders of the Riverstone 6×8 frequently emphasize three lessons from their ground preparation experience. One owner from Vermont noted, “I skipped the landscape fabric and regretted it within two months when weeds pushed through the gravel. Took a weekend to fix.” Another builder in Oregon added, “I initially tried a timber frame on uneven ground. The greenhouse door wouldn’t close properly. After re-leveling the base with a 4-foot level, everything aligned.” A third owner in Texas recommended: “If you’re on sandy soil, oversize the gravel base by 2 feet on each side. It prevents erosion under heavy rain.” Many owners also state that spending an extra day on leveling saved them hours during assembly and prevented future frame repairs.
Frequently Asked Questions
Do I need a building permit for a Riverstone 6×8 Wooden Greenhouse?
In most municipalities, a 6×8 (48 sq ft) greenhouse falls under the threshold requiring a permit, but always verify with your local building department. Some areas require a permit for any permanent structure with a foundation.
Can I install the greenhouse directly on grass?
No. Installing directly on grass leads to moisture wicking into the wooden frame, rot, and pest infestation (slugs, termites). Always remove grass and create a stable base.
What is the minimum recommended base size for the Riverstone 6×8?
You need a base that is exactly 6 feet by 8 feet, but it is wise to oversize by 6–12 inches to allow for adjustment during assembly. A 6.5 x 8.5-foot base is ideal.
How long does ground preparation typically take for a first-time builder?
Allow 1–2 full days for site leveling and base construction. If you are building a concrete slab, add 3–4 days for preparation, pouring, and curing. Gravel or timber bases are usually completed in one weekend.
Should I treat the wooden base sill before laying it on the ground?
Yes. Apply a wood preservative or stain to the base sill before assembly. The included pine/metal base frame of the Riverstone 6×8 should be kept off bare soil. See Riverstone 6×8 Wooden Greenhouse: Best Frame Stain and Sealant Options for Longevity for specific products.
How do I handle frost heave in cold climates?
For areas with freezing winters, install footings below the frost line (typically 12–24 inches deep). Use concrete piers with post anchors, then attach the base frame to these piers. This prevents the ground from lifting the greenhouse during freeze-thaw cycles.