Why Is Insulation the Top Priority for the Palram Canopia Harmony 6×8?
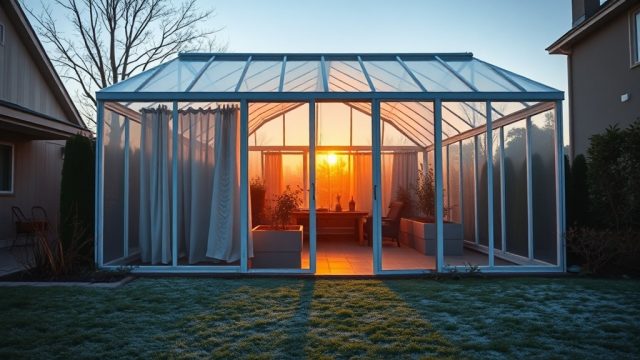
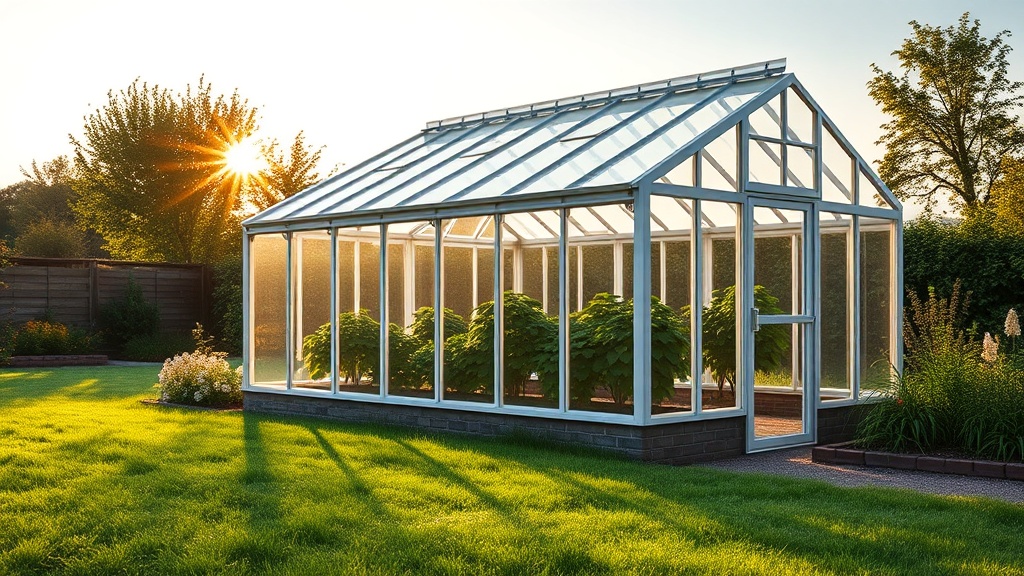
The Palram Canopia Harmony 6×8 greenhouse is a solid, entry-level structure that many UK and US gardeners choose for its sturdy aluminum frame and affordable price. Yet the standard glazing—single-wall polycarbonate—leaves much to be desired when it comes to heat retention. On chilly spring nights or during an unexpected autumn frost, that single layer lets heat escape far too quickly, forcing you to run electric heaters constantly or lose tender seedlings. Upgrading to twin-wall polycarbonate glazing transforms the Harmony 6×8 into a genuinely season-extending environment, reducing heat loss by up to 40% compared to the stock panels. This article walks you through the upgrade process, the materials you need, and the cost-benefit analysis so you can make an informed decision before your next growing cycle.
How Does Twin-Wall Polycarbonate Improve Heating and Insulation Compared to Single-Wall?
Twin-wall polycarbonate (often called “twinwall” or “double-wall”) consists of two layers of polycarbonate separated by a series of vertical struts that create air pockets. These dead-air spaces act as thermal breaks, dramatically slowing the transfer of heat from inside the greenhouse to the cold outside air. In contrast, single-wall polycarbonate is a single sheet with no air gap—it conducts heat readily. For the Palram Canopia Harmony 6×8, replacing the 4mm single-wall panels with 6mm or 8mm twin-wall panels can reduce nighttime temperature drops by 5–8°C (9–14°F) under typical UK winter conditions. This means you can start seeds earlier in spring and keep crops like kale, spinach, and lettuce producing well into December without auxiliary heating. The upgrade also diffuses light more evenly, reducing hot spots that can scorch young plants while still allowing 80–85% light transmission.
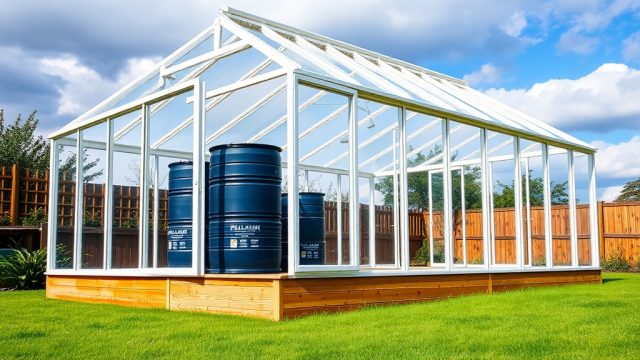
Beyond thermal performance, twin-wall polycarbonate is significantly stronger and more impact-resistant than single-wall. It withstands hail, heavy snow loads (up to 30 lbs/ft² depending on thickness), and accidental bumps from tools or ladders. Because the Harmony 6×8’s aluminum frame is designed to accept standard polycarbonate panel thicknesses, the swap is straightforward—though it does require careful measurement and cutting. If you’re also considering passive solar heating methods, the improved insulation from twin-wall glazing synergizes perfectly with thermal mass elements like water barrels or stone floors.
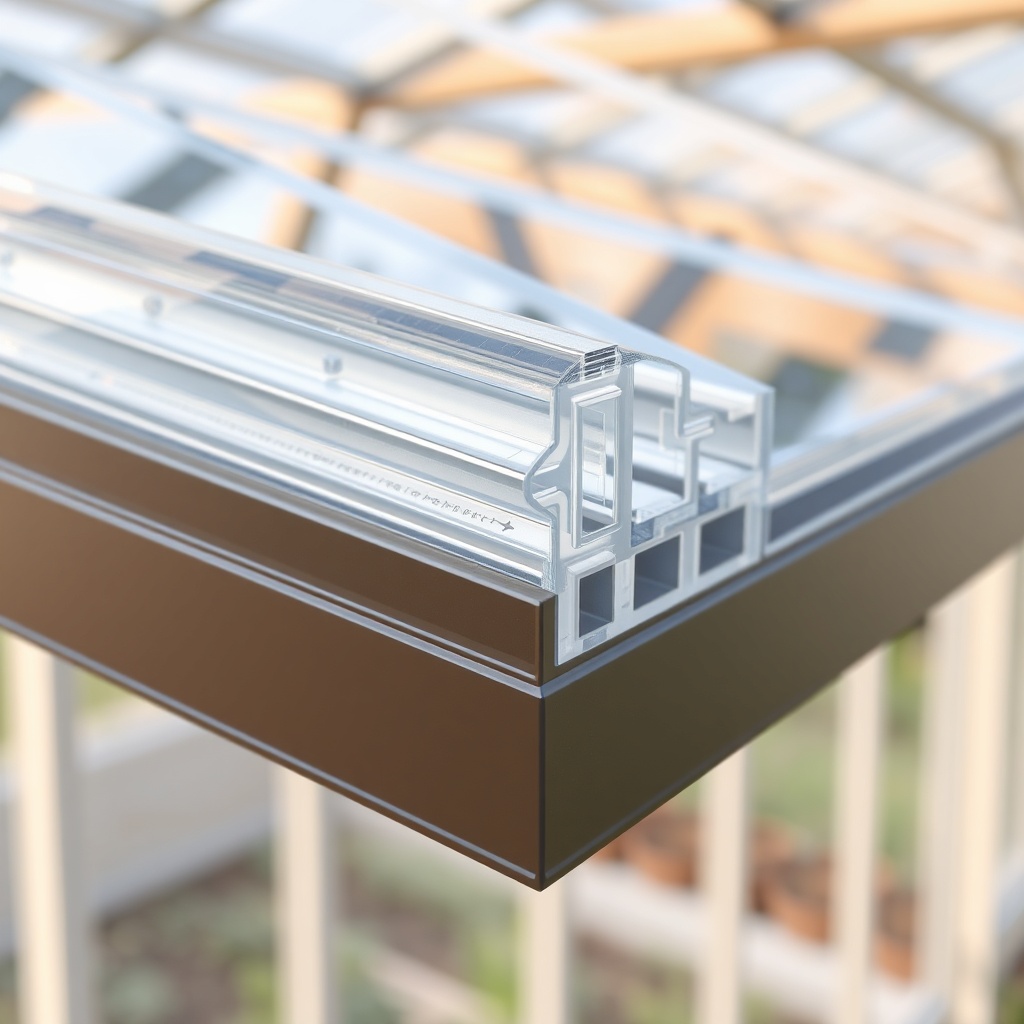
What Materials Do I Need to Swap Out the Panels?
Upgrading the Palram Canopia Harmony 6×8 from single-wall to twin-wall polycarbonate is a DIY project that most keen gardeners can complete in a weekend. Here’s a detailed list of what you’ll require:
- Twin-wall polycarbonate sheets – You need 6mm or 8mm thickness. For the Harmony 6×8 (approx. 1.8m x 2.4m footprint), you’ll need roughly 12–14 panels depending on your roof design. A standard kit from suppliers like Suntuf or Palram’s own SunTuf twin-wall costs around £45–60 per 2m x 1m sheet in the UK, or $55–75 in the US. Total materials: £500–700 ($600–850).
- Polycarbonate cutting tool – A fine-toothed circular saw or a sharp utility knife with a straightedge. A scoring-and-snapping tool works for thin sheets, but for 6mm+, a saw is cleaner.
- UV-protective tape – This seals the open ends of the twin-wall channels to prevent dust and insects from entering. A roll costs £8–12 ($10–15).
- Silicone sealant or butyl tape – For sealing the overlap joints where panels meet the frame. Use exterior-grade, clear silicone. Butyl tape is more durable and costs £15–20 ($18–25) per roll.
- Aluminum channel or rubber gasket – The Harmony frame uses plastic glazing clips that may not grip thicker panels securely. You may need to source wider U-channels (e.g., from Palram or a hardware store) costing £20–30 ($25–38) for a pack of 10.
- Drill and stainless steel screws – To attach channels if your frame lacks pre-drilled holes. Use 4.8mm x 19mm self-tapping screws.
Before ordering, measure each panel opening carefully. The Harmony 6×8 has a pitched roof with triangular gables, so you’ll need trapezoidal cuts for the roof panels. For a step-by-step guide on sealing those tricky joints, see our dedicated article on leak prevention.
| Property | Stock Single-Wall (4mm) | Upgraded Twin-Wall (6mm) | Upgraded Twin-Wall (8mm) |
|---|---|---|---|
| Thermal Insulation (U-Value) | ~5.7 W/m²K | ~3.3 W/m²K | ~2.7 W/m²K |
| Light Transmission | 88% | 82% | 78% |
| Weight per m² | 1.2 kg | 2.4 kg | 3.1 kg |
| Impact Resistance | Moderate (can crack under heavy hail) | High (withstands 25mm hail) | Very high (withstands 30mm hail) |
| Cost per Panel (2m x 1m) | £20–25 ($25–32) | £45–55 ($55–70) | £60–75 ($75–95) |
| Typical Temperature Lift (vs. outside) | 2–4°C (3.6–7.2°F) | 5–7°C (9–12.6°F) | 7–9°C (12.6–16.2°F) |
| Lifespan | 5–7 years | 10–15 years | 15–20 years |
Step-by-Step: How to Replace the Panels on Your Harmony 6×8?
Replacing the panels is a logical process, but precision is critical. Start by removing the existing single-wall panels. Use a screwdriver to pop out the plastic glazing clips—be gentle to avoid breaking them, as you may reuse some for the new, thicker panels. Work from the top down (roof first, then side walls) to avoid destabilizing the frame. Once the old panels are out, clean the aluminum frame channels with a damp cloth to remove dirt and old sealant residue.
Next, cut your twin-wall panels. Measure each opening twice and mark the polycarbonate with a pencil. If using a circular saw, set the blade depth to just over the panel thickness and run it slowly along the line—polycarbonate melts easily, so a fine-tooth blade (60–80 teeth) is best. After cutting, immediately apply UV-protective tape to the exposed channel ends. This step is often skipped, but it prevents dust and algae buildup inside the air gaps, which can reduce light transmission over time.
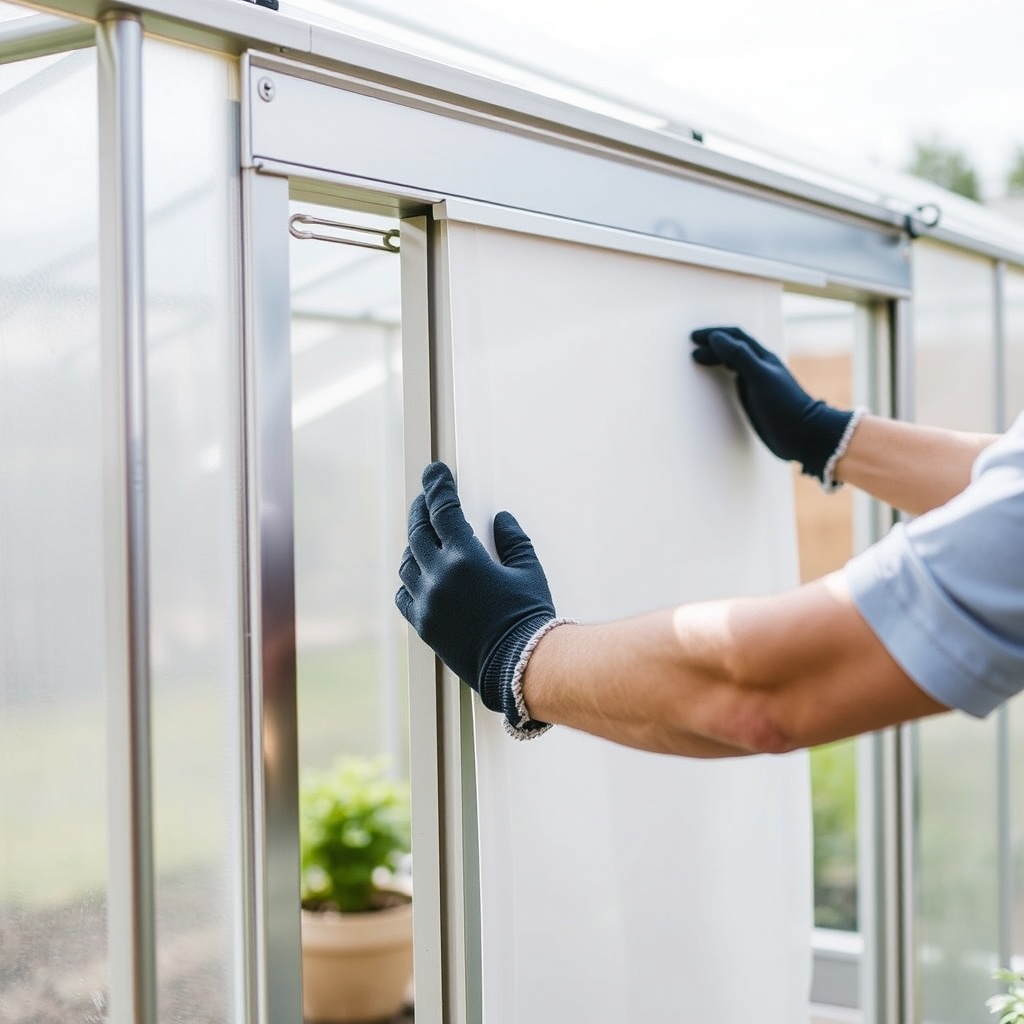
Now, fit the panels into the frame. For twin-wall panels that are 6mm thick, the standard Harmony clips may be too tight. You can either file the clip slots slightly or replace them with U-channels. Slide the panel into the bottom channel, then tilt it upright and press it into the top channel. Apply a bead of silicone sealant along the overlap edges before snapping the clips into place. Allow the sealant to cure for 24 hours before exposing the greenhouse to rain. For roof panels, work from the ridge down, overlapping each panel by at least 2cm to ensure water runs off properly. If you hit uneven terrain during the install, check our ground preparation guide to level the base first.
How Much Money Will I Save on Heating After the Upgrade?
The cost savings from improved insulation are substantial, especially for growers in colder climates like Scotland, northern England, or the northeastern United States. Let’s run the numbers. Suppose you currently use a 1,500W electric fan heater to keep the greenhouse above 5°C (41°F) during the three coldest months (December, January, February). With single-wall glazing, the heater might run 10–12 hours per day on average, consuming about 16.5 kWh daily. At UK average rates of £0.28 per kWh, that’s £4.62 per day, or £416 for the winter.
After upgrading to 6mm twin-wall, the heater’s runtime drops to roughly 5–7 hours per day, cutting consumption to 9 kWh daily. That reduces the winter heating bill to about £227—a saving of £189. Over the 10–15-year lifespan of the twin-wall panels, you’ll save £1,890–£2,835. Subtract the £500–700 material cost, and your net savings are £1,190–£2,335 In the US, using a 1,500W heater at $0.12 per kWh, the numbers are similar: from $356 to $194 per winter, saving $162 annually. With panel costs of $600–850, payback comes in 4–5 years. And that doesn’t include the reduction in heating for spring and autumn months, which adds another 30–40% savings. For those incorporating passive solar heating methods like thermal mass, the synergy with twin-wall glazing means your evening temperatures stay stable without running the heater at all on sunny days.
What Owners Say About the Twin-Wall Upgrade on This Greenhouse?
Feedback from the gardening community reinforces the benefits. Mark from Yorkshire reported on a UK forum that after installing 8mm twin-wall panels, his greenhouse maintained a minimum of 4°C even during a -7°C outside snap—allowing him to overwinter lemon verbena and pelargoniums without losses. “I was sceptical at first,” he wrote, “but the difference was immediate. My heater only kicks on for an hour before dawn now.”
Sarah, a vegetable grower in Vermont, noted that the light diffusion from twin-wall helped reduce leaf scorch on her tomato starts: “With single-wall, the sunlight was too direct. Now I get even growth without the brown patches.”
A few owners caution about condensation: the improved insulation means higher humidity inside, so you must ventilate on warmer days. But overall, the consensus is that the upgrade is “the single best modification” for the Harmony 6×8, especially for DIY custom shelving plans since the better insulation protects stored soil and tools from freezing.
Frequently Asked Questions
1. Can I use the existing frame of my Harmony 6×8 without modifications?
Yes, the aluminum frame is compatible with 6mm twin-wall panels without structural changes. However, you may need to replace the plastic glazing clips with wider U-channels to securely hold the thicker panels. The roof rafters may also require additional support if you use 8mm panels, as they are heavier—consult your local Palram dealer for reinforcement kits.
2. Will twin-wall polycarbonate yellow over time?
High-quality twin-wall sheets have a UV-resistant coating on one side (usually marked). Proper installation with the UV side facing outward prevents yellowing for 10–15 years. Cheaper sheets without UV coating will degrade faster. Always buy from reputable brands like Palram, Suntuf, or Correx.
3. How do I clean twin-wall panels without scratching them?
Use a soft sponge, mild soap, and warm water. Avoid abrasive pads or ammonia-based cleaners. Rinse thoroughly to prevent residue that can attract dust. For interior algae, a diluted vinegar solution (1:4 with water) works well.
4. Is it worth upgrading only the roof panels?
Partially. The roof accounts for about 70% of heat loss due to rising warm air. If budget is tight, upgrading just the roof to twin-wall while keeping single-wall on the sides still improves insulation by roughly 20–30%. But for full benefit, do all panels.
5. Can I install twin-wall panels alone, or do I need help?
A 2m x 1m twin-wall sheet weighs around 2.4–3.1 kg, which is manageable for one person, but handling large panels on a roof can be awkward. For safety, have a second person to hold the sheet while you secure the clips. Use a sturdy ladder and work on a calm day.
6. Will the upgrade affect the greenhouse warranty?
Palram’s standard warranty covers the original panels for 10 years against manufacturing defects. Replacing them with third-party twin-wall panels may void that portion of the warranty. However, the frame warranty remains intact. For peace of mind, use Palram’s own twin-wall panels if available.