Palram Canopia Harmony 6×8: DIY Custom Shelving Plans for Small Greenhouses
The Palram Canopia Harmony 6×8 is a compact polycarbonate greenhouse that suits home gardeners with limited yard space—its 6×8 footprint (roughly 48 square feet) offers a manageable growing area. Without built-in shelving, however, owners often lose vertical storage potential, making DIY custom shelving a necessary upgrade. Here, we detail practical plans for maximizing this structure’s interior while staying within a modest budget.
What Are the Key Dimensions for Shelving Inside the Harmony 6×8?
Before cutting any lumber, it is essential to map out the interior dimensions. The Palram Canopia Harmony 6×8 has a base of 1.83 m × 2.44 m (6 ft × 8 ft), with a central height of roughly 2.13 m (7 ft) at the peak. The side walls slope inward, so the usable width at bench height (approximately 0.76 m / 30 in from the floor) narrows to about 1.52 m (5 ft). Below is a quick reference table for planning your shelves:
| Feature | Measurement | Notes |
|---|---|---|
| Floor area | 1.83 m × 2.44 m (6 ft × 8 ft) | Total 4.46 m² (48 ft²) |
| Peak height | 2.13 m (7 ft) | Reduces usable vertical space near edges |
| Usable width at bench height (0.76 m) | 1.52 m (5 ft) | Sloped walls limit deep shelving |
| Recommended shelf depth | 30–45 cm (12–18 in) | Allows access without hitting walls |
| Typical shelf material cost (per shelf) | $15–$25 (USD) | Pressure-treated pine or cedar slats |
These measurements ensure that any shelving you build will not interfere with the greenhouse frame or door operation. For stable foundation support, refer to the Palram Canopia Harmony 6×8: Ground Preparation Tips for a Stable Foundation before installing shelves.
Which Materials Work Best for DIY Shelving in This Greenhouse?
Moisture and temperature swings inside a greenhouse demand rot-resistant materials. The most cost-effective choices include:
- Pressure-treated pine: Budget-friendly, resists decay, but avoid direct contact with soil. A 2.4 m (8 ft) board costs roughly $6–$8 USD.
- Cedar: Naturally insect-repellent, lightweight, and attractive. Expect $12–$18 per 2.4 m board.
- Aluminum or galvanized steel wire shelving: Rust-proof, easy to cut, but pricier at $30–$50 per unit.
- Polycarbonate offcuts: Reuse leftover panels from assembly for lightweight, translucent shelves—free if you kept scraps.
Fasteners must be stainless steel or coated to prevent rust; standard deck screws can corrode within months. For advanced setups, consider integrating a drip system—see the Palram Canopia Harmony 6×8: Automatic Drip Irrigation Setup and Benefits guide for vertical watering solutions.
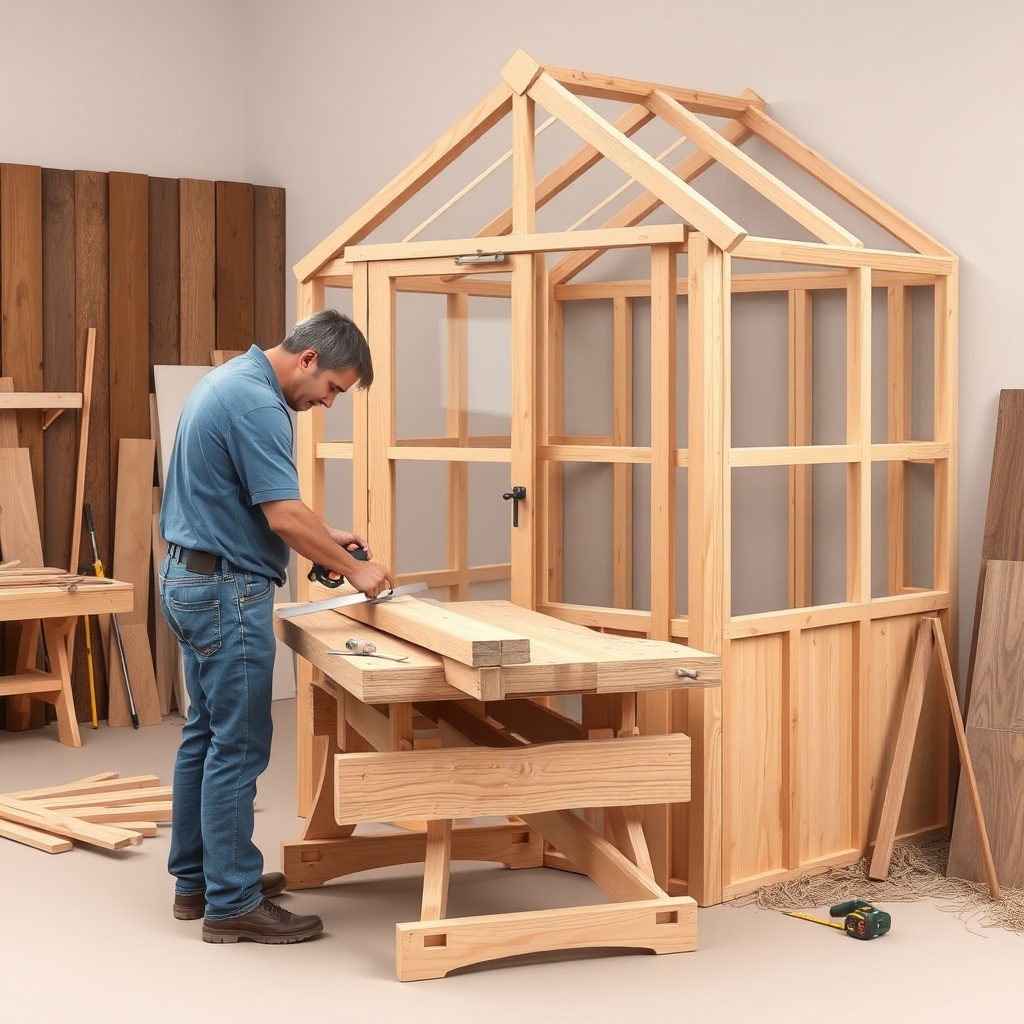
How to Build a Three-Tier Shelf System on One Wall?
This plan focuses on a single 8 ft (2.44 m) wall, leaving the opposite side clear for tall plants. The basic steps:
- Mount vertical supports: Use 2×4 studs (38×89 mm) anchored to the greenhouse base or wall brackets. Space them 60 cm (24 in) apart for stability.
- Cut shelf slats: For each tier, cut six 60 cm (24 in) lengths of 1×4 (19×89 mm) cedar. Leave a 5 mm gap between slats for drainage.
- Attach horizontal rails: Screw 38×89 mm rails between the vertical supports at heights of 30 cm, 60 cm, and 90 cm (12, 24, and 36 in) from the floor.
- Install slats: Fasten each slat perpendicular to the rails using 50 mm (2 in) stainless steel screws. Space them evenly using a 5 mm spacer.
- Finish with a lip: Add a 2×2 (38×38 mm) front edge to prevent pots from sliding off.
This configuration provides roughly 0.84 m² (9 ft²) of usable shelf area per tier, totaling 2.51 m² (27 ft²) across three levels. Cost for cedar materials runs about $45–$60 USD, while pressure-treated pine is $25–$35 USD. For assembly specifics, review the Palram Canopia Harmony 6×8: DIY Assembly Tips for First-Time Builders to avoid common framing errors.
Can You Build a Freestanding Center Bench Instead of Wall Shelves?
Yes. A freestanding bench in the center of the greenhouse maximizes workspace but reduces floor space for large tomato cages or pots. This option works best for tray-based seedlings or repotting tasks. Use a 1.52 m (5 ft) wide × 91 cm (3 ft) deep table with legs anchored to the floor or base. A key consideration:
- Height: 91 cm (36 in) is comfortable for standing work; 76 cm (30 in) suits stool seating.
- Material: Pressure-treated lumber or coated steel legs.
- Mobility: Adding locking casters helps adjust layout without disassembly.
This design preserves all four walls for hanging light-dependent crops, but it demands careful measurement—the Harmony’s sliding door needs clear swing space on the 8 ft side. A common mistake is building a bench that blocks door access, so measure twice before cutting. Pair this with optimized airflow via the Palram Canopia Harmony 6×8: Optimizing Air Circulation with Fans guide for balanced temperatures around the bench.
What Is the Most Labor-Efficient Shelf Plan for This Greenhouse?
Gardeners who want to install shelving without extensive woodworking should consider using adjustable wire shelving units designed for laundry rooms or garages. These units typically measure 91 cm (3 ft) wide × 46 cm (18 in) deep × 183 cm (6 ft) tall and cost $35–$55 USD per unit. Key advantages:
- No cutting required: Most kits snap together with a rubber mallet.
- Adjustable heights: Move clips on the uprights every 5 cm (2 in).
- Rust-resistant coating: Epoxy or chrome finishes hold up well in high humidity.
- Load capacity: Each shelf supports 23–34 kg (50–75 lbs) evenly distributed.
Position two units side by side along the 8 ft wall, leaving a 10 cm (4 in) gap for air circulation. This arrangement adds 2.6 m² (28 ft²) of shelf area in under an hour. For keeping the panels clean and maximizing light transmission, read the Palram Canopia Harmony 6×8: Proper Cleaning and Maintenance for Polycarbonate Panels article.
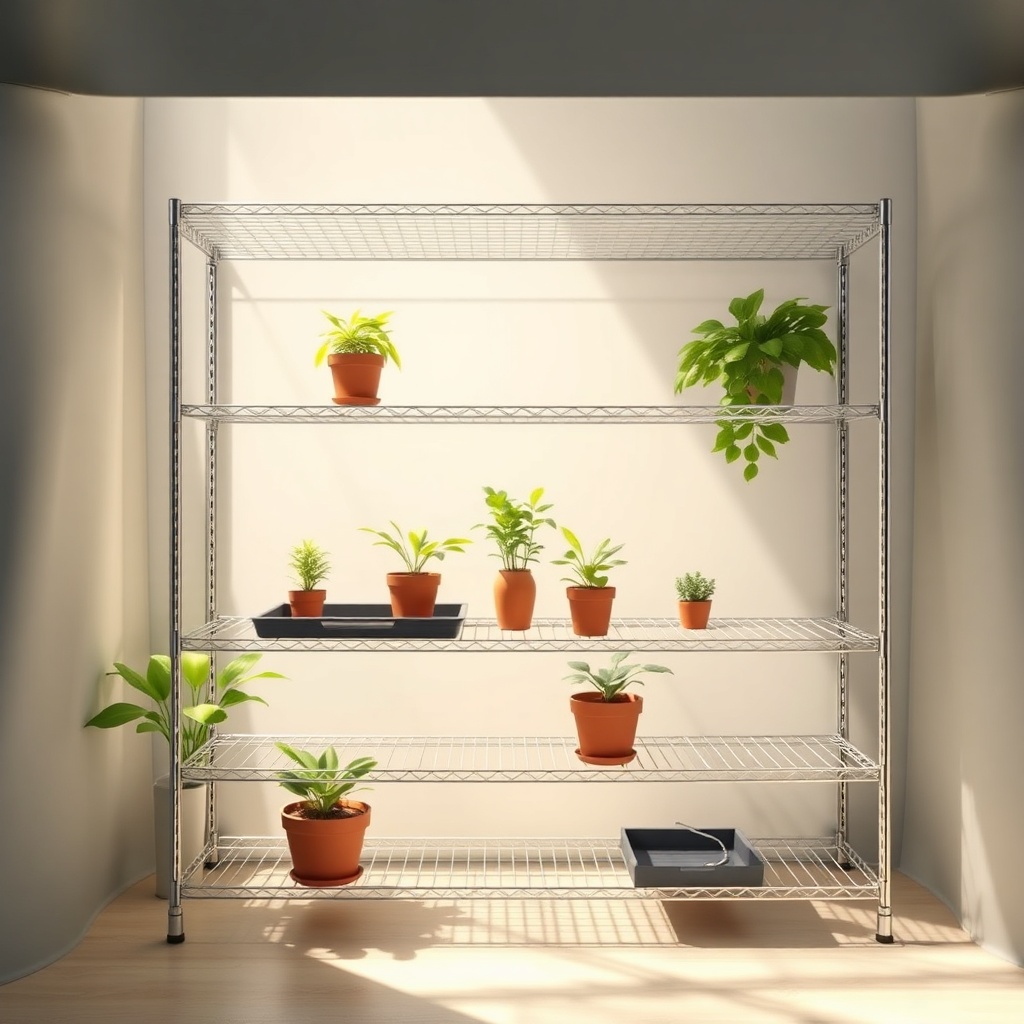
How to Integrate Lighting and Irrigation with Custom Shelves?
Once shelves are installed, consider adding strip LED grow lights beneath the upper tiers. Use waterproof, 24 V LED strips (6500 K daylight spectrum) costing $20–$30 per 5 m reel. Run the wiring along the shelf rails, securing with cable clips every 30 cm. For irrigation, attach a 1/4 in drip line with emitter barbs to each shelf. Connect to a timer and a 75 L water reservoir placed outside the greenhouse. Calculate flow rates: each 30 cm × 60 cm shelf section needs roughly 0.5 L per watering for seed trays. Integration steps:
- Drill drip access holes at the back of each shelf for tubing.
- Mount timers on a polycarbonate panel using silicone adhesive hooks.
- Test the system for leaks before loading plants.
This method saves manual watering time and ensures even distribution—critical for a 6×8 greenhouse where hand watering can miss corners. Refer back to the irrigation guide for pump sizing details: Palram Canopia Harmony 6×8: Automatic Drip Irrigation Setup and Benefits.
What Owners Say
Long-term owners of the Palram Canopia Harmony 6×8 report that DIY shelving transforms the greenhouse from a cluttered shed into an organized nursery. Many emphasize that wall-mounted shelves double usable space without sacrificing floor room for watering cans or tool storage. One owner using cedar slats recorded a 40% increase in seedling trays per season. Others caution against overloading shelves beyond 25 kg per tier, as the polycarbonate frame is lighter than glass structures. A frequent tip: install shelves during initial assembly, not afterward, to avoid awkward reach around installed panels. Those who built center benches often added a lower shelf underneath for pots, effectively creating two-tier storage within the same footprint.
Frequently Asked Questions
Q1: Can I use store-bought metal shelving units without modification?
A: Yes, as long as the unit depth does not exceed 46 cm (18 in) to avoid hitting the sloped walls. Remove the unit’s base plate if it interferes with the greenhouse floor channels.
Q2: What is the maximum weight each shelf should hold in the Harmony 6×8?
A: 23 kg (50 lbs) per 1.8 m (6 ft) shelf section is safe for pressure-treated wood; 34 kg (75 lbs) for metal wire units. Exceeding this may stress the aluminum frame joints.
Q3: Do I need to seal wood shelves to prevent rot?
A: Only if using untreated lumber. Apply a water-based polyurethane sealer (about $12 per quart) to pine or fir shelves. Cedar and pressure-treated wood require no sealer.
Q4: How long does it take to build the three-tier system described above?
A: A moderate DIYer can finish it in 3–4 hours, including cutting, drilling, and securing. First-timers may need 5–6 hours.
Q5: Can I install shelves on both long walls simultaneously?
A: Yes, but leave at least 60 cm (24 in) of clear aisle space between them. The Harmony’s 1.83 m width allows two 46 cm shelves with 61 cm of walkway.
Q6: Will shelving interfere with the sliding door operation?
A: Only if placed within 30 cm of the door track. Keep shelves at least 15 cm from the door opening on the 8 ft wall to avoid obstructions.