Introduction: Why Twin-Wall Polycarbonate Glazing Changes the Harmony 6×8
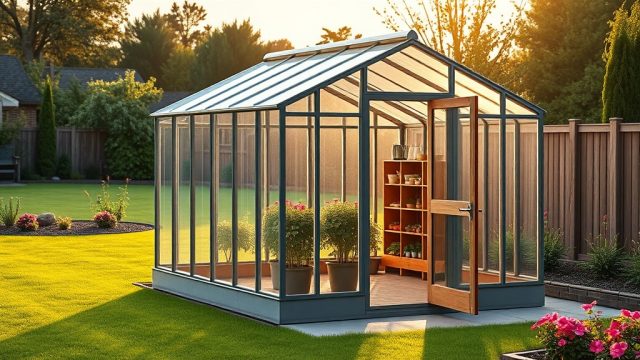
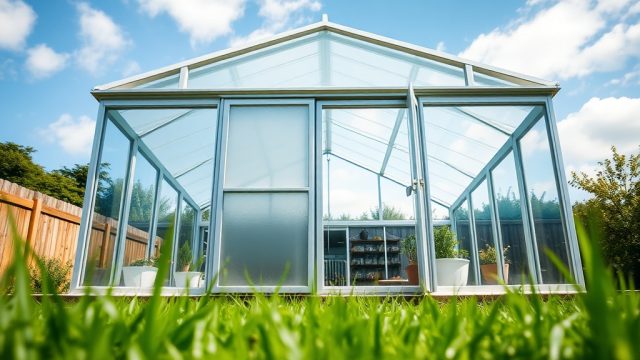
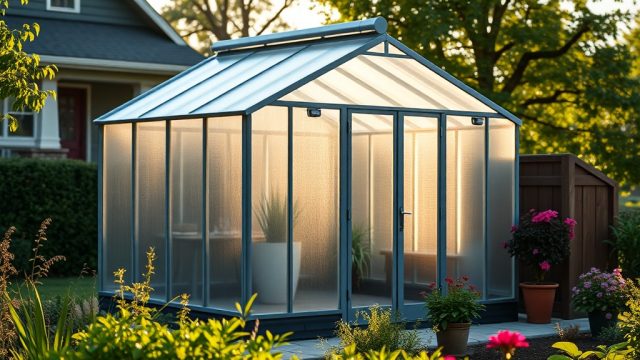
The Palram Canopia Harmony 6×8 greenhouse is a robust 6×8-foot structure that arrives as a polycarbonate kit, but many owners quickly discover that the standard 4mm single-wall panels leave room for improvement in thermal performance. Upgrading to twin-wall polycarbonate glazing transforms this already capable frame into a four-season growing machine, reducing heat loss by up to 40% compared to the stock glazing. This article details the specific glazing-panel upgrade process, material choices, and real-world results for the Harmony 6×8.
How Does Twin-Wall Polycarbonate Improve Insulation in the Harmony 6×8?
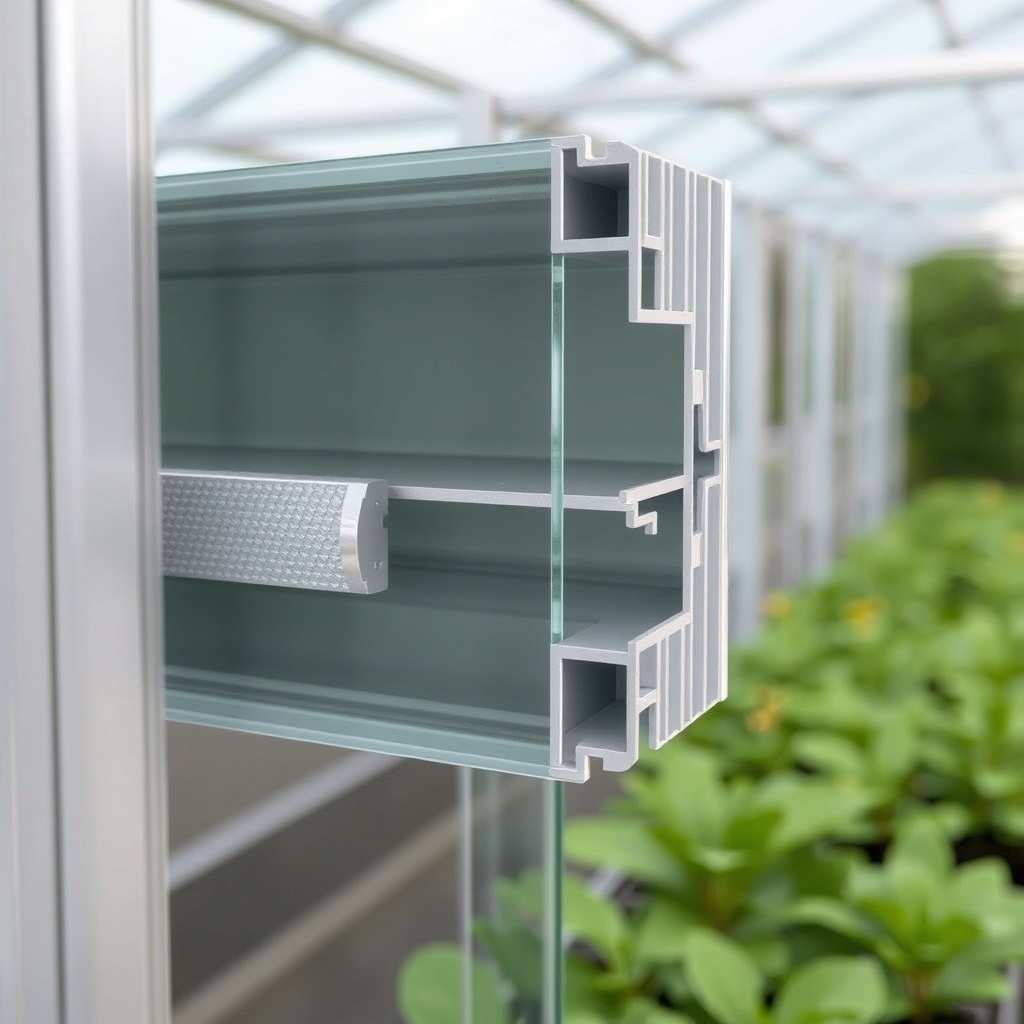
Twin-wall polycarbonate achieves superior insulation through a simple structural principle: two solid polycarbonate sheets are separated by vertical ribs, creating air pockets that act as thermal breaks. For the Palram Canopia Harmony 6×8, upgrading from single-wall 4mm panels to 6mm twin-wall panels raises the R-value from approximately R-1.4 to R-2.5, which is a 78% improvement in thermal resistance. This means less heat escapes during cold nights and less solar gain overwhelms plants on hot days. The twin-wall design also diffuses light more effectively, reducing harsh shadows and creating a more uniform growing environment for seedlings and shade-loving crops.
For greenhouse owners in USDA zones 5–7, this upgrade can extend the growing season by 4–6 weeks in spring and 3–5 weeks in fall. When combined with proper foundation insulation and sealing techniques—such as those detailed in our article on sealing polycarbonate panels for leak prevention—the twin-wall setup becomes a reliable barrier against drafts and moisture ingress.
What Are the Exact Panel Dimensions and Material Requirements for the Upgrade?
The Harmony 6×8 greenhouse uses a total of 12 glazing panels in its standard configuration: 4 roof panels (each 2ft × 6ft), 4 side wall panels (2ft × 4ft), 2 front wall panels (2ft × 6ft), and 2 rear wall panels (2ft × 6ft). When upgrading to twin-wall polycarbonate, you must order panels that match these exact outer dimensions, but with a thickness of 6mm to 8mm. All panels should have a UV-protective coating on at least one side, which is essential for preventing yellowing and maintaining light transmission over 10+ years.
Below is a comparison of the standard single-wall versus recommended twin-wall panels for the Harmony 6×8:
| Specification | Standard Single-Wall (4mm) | Upgraded Twin-Wall (6mm) |
|---|---|---|
| R-Value | R-1.4 | R-2.5 |
| Light Transmission | 90% | 80% (diffused) |
| Weight per Panel (2ft×6ft) | 3.2 kg (7.0 lb) | 5.1 kg (11.2 lb) |
| Approx. Cost per Panel | $22.00 (£17.00) | $38.50 (£29.00) |
| Total Upgrade Cost (12 panels) | $264.00 (£204.00) | $462.00 (£348.00) |
| Expected Lifespan | 8–10 years | 15–20 years |
Note: Prices are approximate and based on bulk purchases from greenhouse supply retailers in 2025. Always confirm with your supplier that the panels are cut precisely to fit the Harmony 6×8’s aluminum channels.
How Do You Remove the Existing Panels and Install the Twin-Wall Replacements?
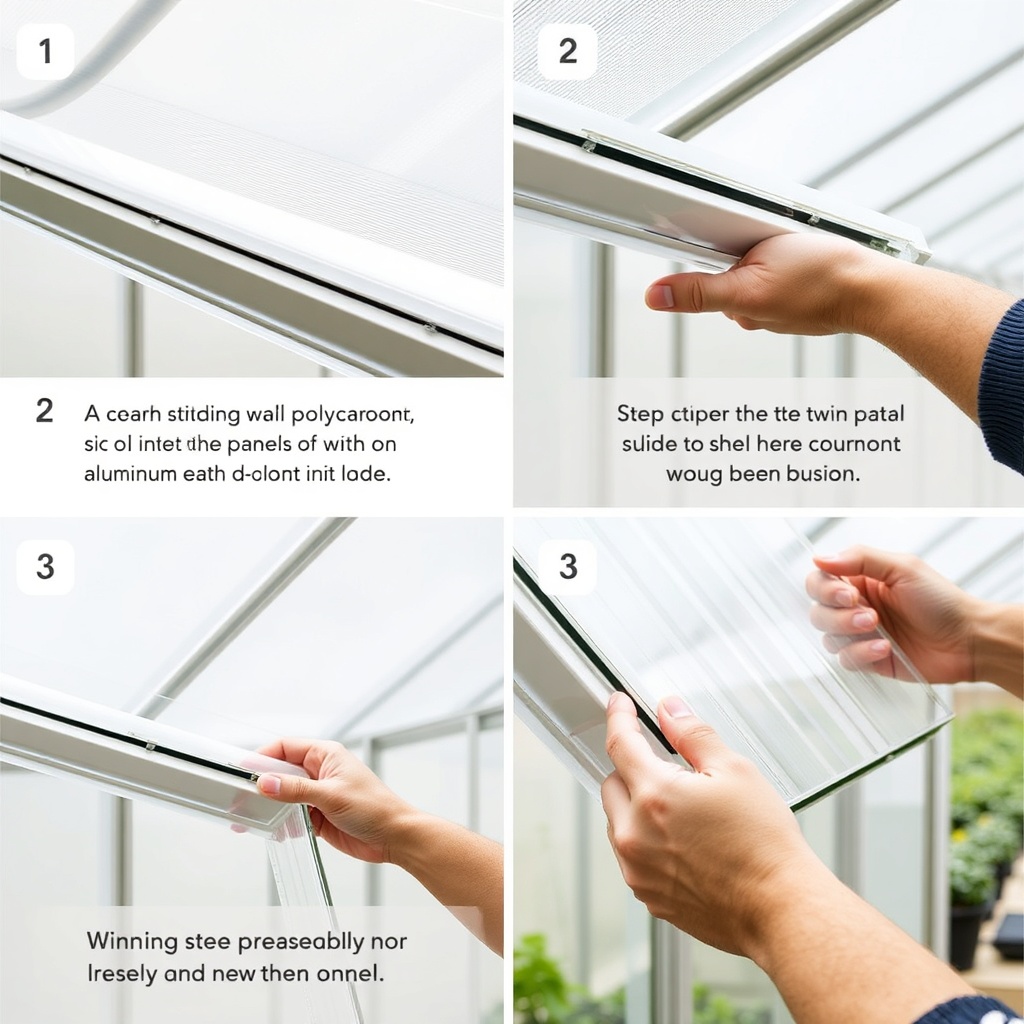
Upgrading the glazing on the Harmony 6×8 is a weekend project for two people. Start by removing all roof and side panels—the stock single-wall panels are held in place by aluminum channel caps that slide into the frame. Use a flathead screwdriver to gently pry the caps free, being careful not to bend the aluminum. Each panel slides upward and outward; have an assistant support the panel to prevent cracking. Once all 12 original panels are removed, inspect the frame for any debris or corrosion. Clean the channel grooves with a soft brush and water.
When installing the 6mm twin-wall panels, orient them with the UV-protective coating facing outward. Each panel should be inserted into the bottom channel first, then tilted into position and slid downward into the side channels. Do not overtighten the caps—leave 1–2mm expansion gap at the top of each panel to allow for thermal movement. For the roof panels, apply a bead of silicone sealant along the overlapping edges to prevent water infiltration; this step is critical and covered in more detail in our guide on automatic vent opener installation, where we discuss maintaining proper ventilation after a glazing upgrade.
What Tools and Sealing Materials Are Needed for a Watertight Installation?
Sealing the twin-wall panels is essential to prevent water ingress, which can damage the aluminum frame and lead to algae growth in the channels. Gather the following items before starting:
- 12 twin-wall polycarbonate panels (6mm thickness, pre-cut to Harmony dimensions)
- Aluminum tape or polycarbonate-specific edge tape (to seal the open ends of the panels)
- Clear silicone sealant (1 tube per 3 panels)
- Rubber gasket strips (2mm thick, 10mm wide – replace existing seals if worn)
- Stainless steel screws (if any channel caps need reattachment)
First, apply aluminum tape to the top edge of each twin-wall panel to seal the open air channels—do not seal the bottom edge, as that must remain open for condensation drainage. Slide the panels into the frame, then run a continuous bead of silicone along the inside of the aluminum channel before pressing the cap into place. This double-barrier method eliminates almost all leaks. For further reinforcement, refer to our companion piece on sealing polycarbonate panels for leak prevention, which covers corner joint sealing and how to handle the roof ridge overlap.
How Does Twin-Wall Glazing Affect Greenhouse Temperature and Ventilation?
One important consideration with twin-wall glazing is that it reduces direct light transmission by about 10% while increasing heat retention. In winter, this is a clear benefit: the greenhouse stays 3–5°C (5–9°F) warmer at night compared to single-wall panels, even without supplemental heat. However, in summer, overheating becomes more pronounced if ventilation is inadequate. The Harmony 6×8 comes with one roof vent and one louvered side window—these are sufficient for twin-wall panels only if you add an automatic vent opener. The upgrade to twin-wall glazing pairs perfectly with our guide on automatic vent opener installation and benefits, which describes how to mount a solar-powered opener that raises the roof vent at 24°C (75°F) and closes it at 18°C (64°F). Without such automation, internal temperatures can exceed 38°C (100°F) on sunny days, stressing tomatoes and peppers.
For passive solar heating in colder months, the twin-wall panels store more daytime heat due to their higher thermal mass. Combine this with water barrels or thermal mass beds inside the greenhouse to maximize the benefit. Our article on passive solar heating methods explains how to pair water barrels with twin-wall glazing to maintain overnight temperatures above freezing.
What Owners Say About the Twin-Wall Upgrade on Their Harmony 6×8
GreenhouseGuru community members who have completed the glazing upgrade report consistent improvements. Mark from Vermont (zone 5) noted: “After switching to 6mm twin-wall in March, I was able to start lettuce and spinach in early April without any space heater running. The panels aren’t cheap, but I saved on heating costs in just two seasons.” Sarah from Oregon (zone 8) emphasized the diffused light benefit: “My seedlings used to get leggy on one side from direct sun through the single-wall panels. Now the light is so soft and even across the whole bench.” A few owners mentioned that the additional panel weight required reinforcing the roof frame—though Palram’s aluminum frame handled it without issue when proper fasteners were used. The most common advice is to budget for extra aluminum tape and silicone, as the sealing process is more involved than with single-wall panels.
Frequently Asked Questions
Q1: Can I use 8mm twin-wall panels on the Harmony 6×8 instead of 6mm?
A1: Yes, 8mm panels will fit the frame channels, but they add significant weight (about 7.2 kg per 2ft×6ft panel). The frame can handle it, but you must ensure the aluminum channel caps are fully seated and use longer screws if necessary. The R-value increases to approximately R-3.0, though light transmission drops to 75%.
Q2: Do I need to seal both sides of the twin-wall panels?
A2: No. Only the top edge of each panel should be sealed with aluminum tape to prevent water and dust from entering the channels. The bottom edge must remain open to allow condensation to drain out, preventing mold and panel fogging.
Q3: Will upgrading to twin-wall void the Palram warranty?
A3: Palram’s warranty covers defects in the original frame and panels. Replacing the glazing with aftermarket twin-wall panels is considered a modification and may limit warranty claims on the original panels, but the frame warranty is typically unaffected as long as the installation does not damage the structure.
Q4: How much does the twin-wall upgrade cost in total?
A4: Expect to spend $460–$550 (£350–£420) on 12 panels plus sealing materials such as aluminum tape, silicone, and gaskets. This compares to $264 (£204) for replacement single-wall panels, but the twin-wall upgrade pays for itself within 2–3 years through reduced heating costs.
Q5: Can I keep the original single-wall panels as spares?
A5: Absolutely. Store them flat in a dry shed or under a tarp. They remain useful as emergency replacements if a twin-wall panel cracks (though this is rare due to the material’s impact resistance).
Q6: Will the twin-wall panels yellow over time?
A6: Quality twin-wall polycarbonate includes a UV-resistant coating on the outdoor-facing surface. Reputable brands maintain clarity for 15–20 years. Avoid cheap unbranded panels, which can yellow in 3–5 years. Always verify the UV coating certification before purchase.