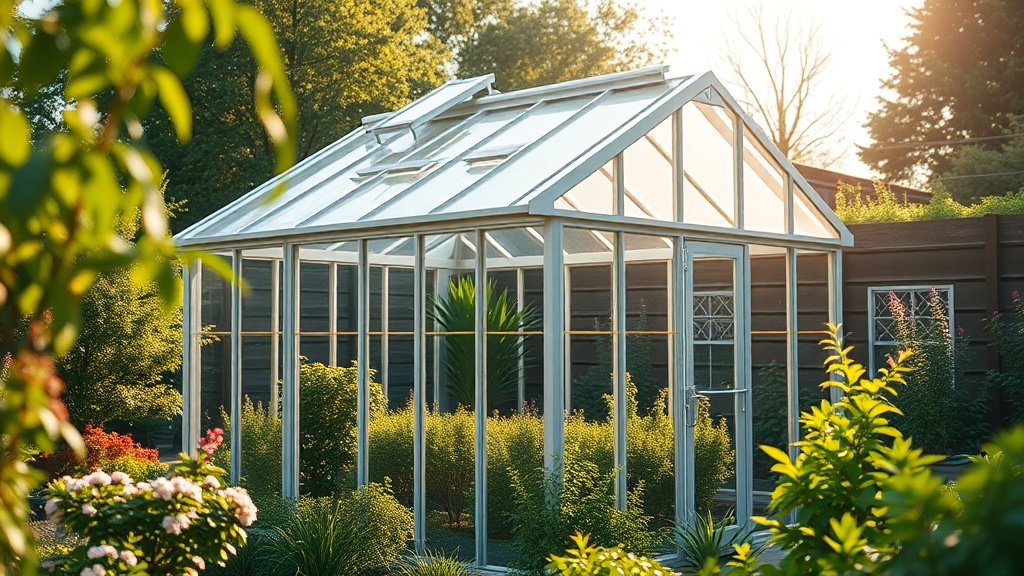
Introduction: The Palram Canopia Harmony 6×8 and Its Assembly Challenge
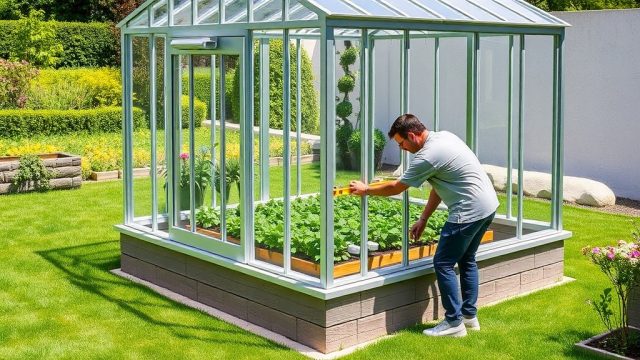
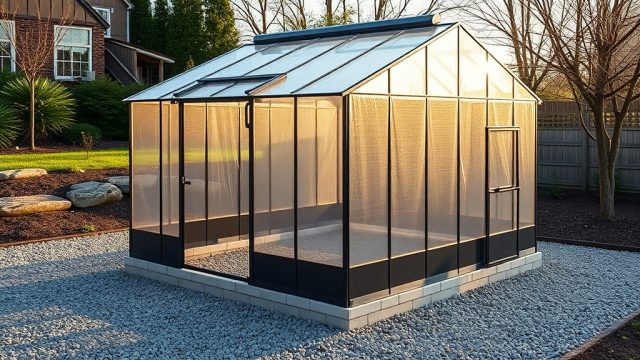
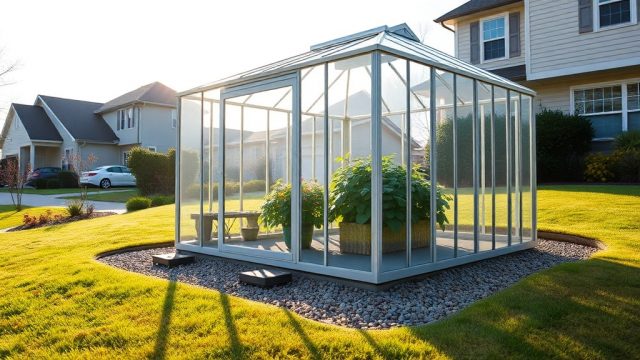
First-time greenhouse builders often feel both excitement and trepidation when the box for the Palram Canopia Harmony 6×8 arrives. This 6×8-foot polycarbonate model is popular for its slim aluminum frame and excellent light transmission, but assembly can test patience if you do not approach it systematically. This guide draws on decades of hands-on experience to help you avoid common pitfalls, save time, and end up with a structure that stays square and sturdy for years.
What Tools Do I Need Before Opening the Box?
The Palram Canopia Harmony 6×8 ships with most fasteners and hardware, but you must supply several essential tools. Trying to improvise mid-build wastes time and can damage components. Gather these before you start:
- Power drill with a clutch setting (Phillips bit #2)
- Rubber mallet – do not use a steel hammer; it will crack the polycarbonate panels
- Step ladder or sturdy work platform (roof panels require overhead access)
- Measuring tape and spirit level (minimum 600mm / 24 inches)
- Utility knife with fresh blade for trimming excess silicone or film
- Work gloves – aluminum edges can be sharp
- Socket set (10 mm and 13 mm) for tightening frame bolts
Consider having a second person available for the panel insertion phase. The Harmony 6×8 panels are not heavy alone, but handling them while aligning channels is far easier with a helper.
Stage One: Foundation and Base Prep – The Make-or-Break Step
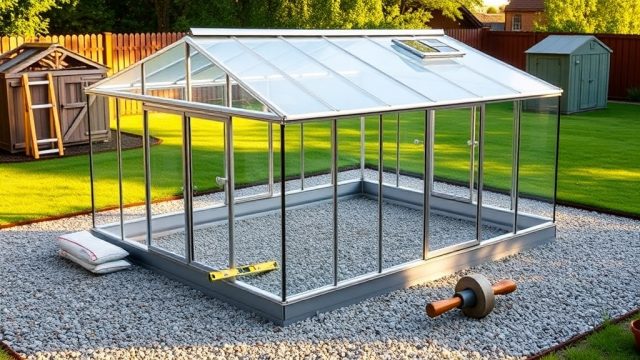
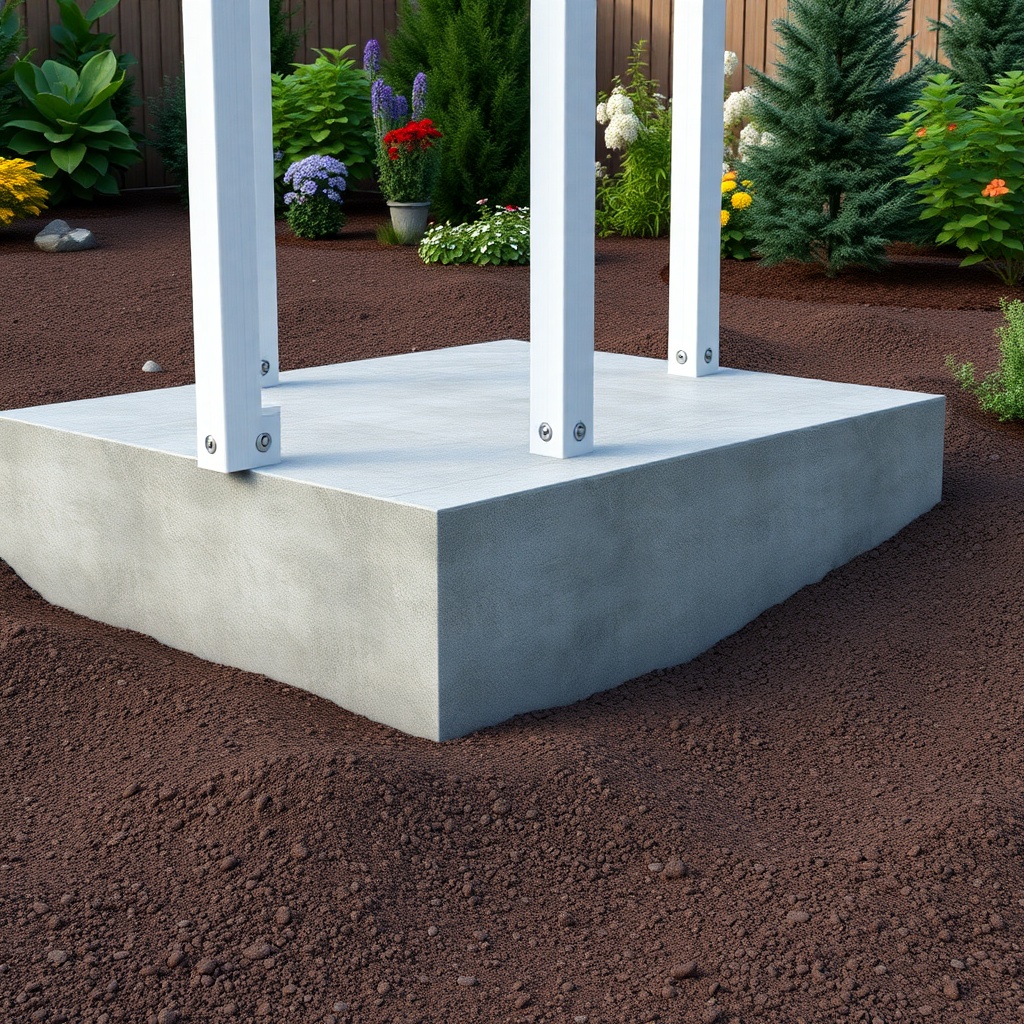
Do not skip this section. A greenhouse that sits on an uneven base will resist alignment at every joint. The Palram Canopia Harmony 6×8 must rest on a perfectly level foundation. Concrete slab, paving stones, or a treated timber frame all work, as long as the surface is flat and the base perimeter matches the greenhouse footprint (1.94 m x 2.44 m / 6.4 ft x 8 ft).
For a thorough walkthrough, read our separate guide on ground preparation tips for a stable foundation. Key takeaways include:
- Check for a maximum slope of 5 mm along any 1-meter length.
- Anchor the base frame to the ground using the supplied rawl plugs and screws – the greenhouse must withstand wind loads.
- Wait 24 hours after pouring concrete before beginning the assembly.
Once your base is ready, unpack all parts and sort them by size. Palram labels bags clearly (A, B, C, etc.), but we recommend grouping profiles against a wall to avoid confusion later.
How Do I Assemble the Wall Panels Without Stripping Screws?
The wall assembly for the Harmony 6×8 consists of four frames that interlock. Begin by attaching the lower wall profiles to the base frame using the included M6 bolts. Do not fully tighten any bolt until all four walls are standing – partial tightening allows you to shift panels into correct alignment.
Here is a common mistake: over-torquing the small screws that fix the polycarbonate panels into the aluminum channels. These screws have a fine thread and strip easily. Set your drill clutch to 4–5 Nm (low setting). If the screw starts to spin without advancing, stop immediately, back it out, and use the next-size-up tapping screw (included in the spare hardware bag).
- Watch the panel orientation: The polycarbonate sheets have a UV-protected side. Look for the printed film or the “this side up” label – installing them backwards risks yellowing within two seasons.
- Apply silicone sealant to every vertical joint between frame sections. Use the small tube provided; a bead about 5 mm in diameter is enough.
Once all wall panels are upright and loosely bolted, check the diagonals. Measure from one corner to the opposite corner; the two measurements should differ by less than 6 mm. Adjust by tapping the frame gently with your rubber mallet until square.
Roof Assembly: Step-by-Step for the Gable Roof
The Palram Canopia Harmony 6×8 features a gable roof with a ridge bar at the center and two sloping roof panels. This is the most physically demanding part of the build. Work from a stable platform and do not stand on the roof frame before the panels are secured.
Start by attaching the ridge bar to the front and back gable frames. The ridge bar sits on top of the wall frames and is held with bolts and a rubber sealing strip that runs along its length. This strip must be seated evenly to prevent condensation leaks.
Next, slide the roof polycarbonate panels into the channels on the ridge bar and the top wall channel. They should fit snugly; if they resist, do not force them. Check that the sealing strip is not bunched up. Push from the top edge downward, then use the rubber mallet to lightly tap the panel into the bottom channel.
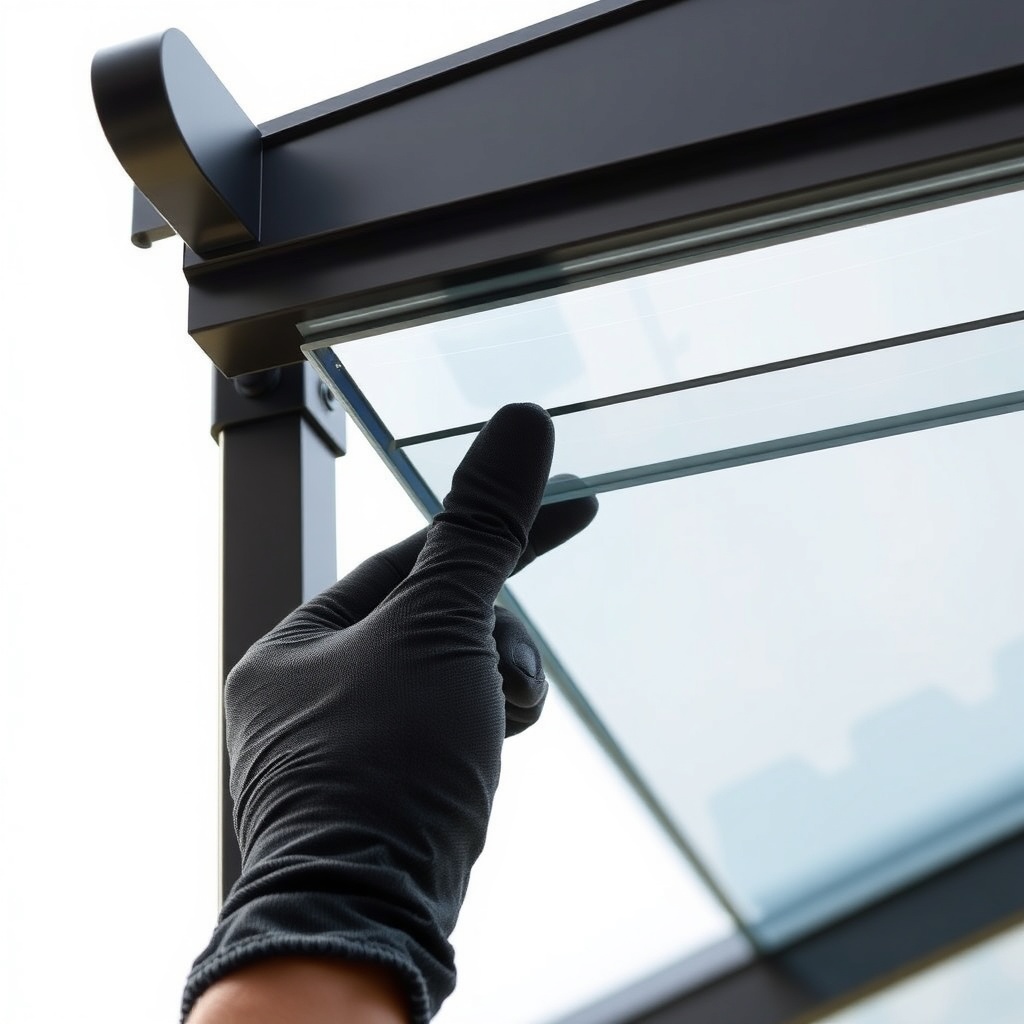
Fasten the roof panels with the short self-tapping screws at the pre-drilled holes. Again, moderate torque. Over-tightening in cold weather (below 10 °C) can cause the plastic to crack. Complete both roof halves, then install the roof caps and rubber end covers.
How Do I Install the Door, Windows, and Ventilation Options?
The standard greenhouse includes a sliding door (on the long 8-foot side) and two roof vents. The door assembly requires installing the upper and lower tracks onto the front wall frame. The door panel slides on bearings; adjust the roller height using the Allen key provided until the door moves freely without scraping the frame.
For the roof vents, attach the vent arms to the vent frame and link to the auto-rack mechanism. If you plan to add automatic ventilation later, see our article on automatic roof vent opener installation and benefits for a detailed retrofit guide. The Harmony 6×8’s roof vents accept most standard piston-type openers without additional drilling.
Installing an automatic vent opener vs manual windows becomes a choice of convenience versus control. Automated openers respond to temperature changes, ideal for summer, while manual vents let you adjust airflow precisely on windy days. Many owners install one automatic opener on the south-facing vent and keep the other manual for backup.
For watering, consider pairing your greenhouse with an automatic system. Our guide on irrigation system setup and benefits covers how to route tubing through the base frame without bulk. A simple drip setup ensured to keep soil moist evenly – read about it at automatic drip irrigation setup.
Assembly Difficulty and Time Estimates: A Spec Table
The table below summarises typical build metrics for the Palram Canopia Harmony 6×8, based on feedback from dozens of DIY builders.
| Metric | Value |
|---|---|
| Total assembly time (first-time builder) | 8 to 12 hours |
| Assembly time with experienced helper | 5 to 7 hours |
| Difficulty rating (1=very easy, 5=very hard) | 3.5 |
| Number of fasteners | ~320 |
| Required number of people | 2 recommended |
| Most common assembly error | Over-tightening screws (32% of builders) |
| Foundation level tolerance | ±5 mm per meter |
Allow a full weekend for assembly if working alone. If you get stuck at the roof stage, take a break – rushing at height causes mistakes.
What Owners Say: Common Triumphs and Regrets
Reading real experiences from Palram Canopia Harmony 6×8 owners reveals clear patterns. The most frequent praise goes to the greenhouse’s light transmission. “My tomatoes have never looked greener,” wrote a gardener from Devon. The polycarbonate panels diffuse sunlight, reducing scorching on hot days.
However, builders consistently mention two frustrations. The first concerns the instruction manual. “The exploded diagrams are small and sometimes ambiguous,” says a user from Ontario. The solution is to lay out parts exactly as shown on the manual’s page and label each profile with a sticky note before screwing anything together. The second issue is that some roof panel clips may feel brittle when installing in temperatures below 10 °C. Warm the clips in a bucket of warm water for five minutes to increase flexibility.
Several owners recommended adding an automatic drip system immediately rather than later. “I waited a year to install mine, and spending a weekend retrofitting hoses was a hassle – do it during the initial build.” Check our guide on automatic drip irrigation setup for a straightforward method that ties into the base frame.
On the flip side, owners who invested in automatic roof vent openers reported peace of mind leaving the greenhouse unattended in summer. “The temperature never went above 30 °C inside, even during a 38 °C heatwave,” says a user from Texas.
Frequently Asked Questions
Q1: Can I assemble the Palram Canopia Harmony 6×8 alone?
It is possible but not recommended. The roof panels are 1.94 m long and require two pairs of hands to guide them into the channels without bending. A helper reduces time by half and prevents damage to the polycarbonate.
Q2: What size foundation do I need exactly?
The base footprint is 1.94 m (width) by 2.44 m (length). Add at least 5 cm extra on all sides if using a concrete slab to allow for anchor placement. The foundation must be completely level – see our ground preparation tips for a stable foundation.
Q3: Do I need to seal the polycarbonate panels?
Yes. Seal the top edge of each wall panel where it meets the roof channel using the supplied silicone. Also seal the ridge bar joint. Skipping this leads to condensation dripping from the roof inside the greenhouse.
Q4: How do I winterize the Harmony 6×8?
For winter use, insulate the north-facing wall with bubble wrap (cut to fit between frame ribs). Ensure snow load is cleared from the roof – the Harmony 6×8 can handle up to 30 kg/m² but heavy wet snow should be brushed off periodically.
Q5: Are replacement parts available for this model?
Yes. Palram Canopia sells direct and through major greenhouse retailers. Replacement polycarbonate panels, gaskets, and aluminum profiles are stocked. Keep your serial number (on the box or base frame) for quick ordering.
Q6: Can I attach external gutters or shelves?
The aluminum frame supports external accessories. Popular additions are the Palram gutter kit (sold separately) and wire shelving that clips onto the cross-members. Do not exceed 15 kg per shelf without reinforcing the frame brackets.