Introduction
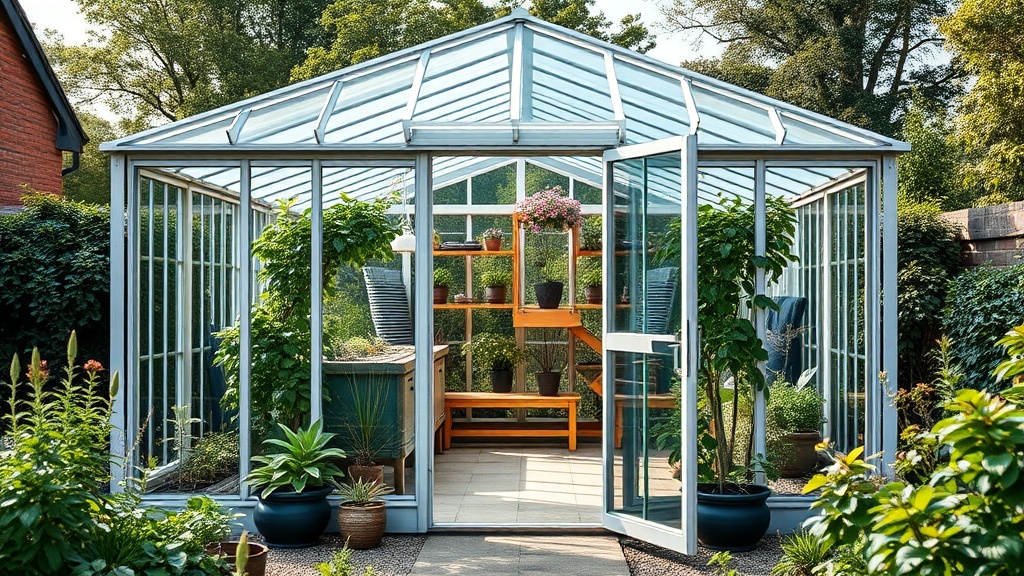
The Palram Canopia Harmony 6×8 greenhouse is a popular choice for UK gardeners looking to maximise growing space without sacrificing garden footprint. This article focuses on how to turn this compact structure into a vertical gardening powerhouse using shelving and benching systems. With the right setup, you can double or triple your planting area, making the most of every square foot inside the 6×8 footprint.
This guide covers practical shelving and benching configurations, installation tips, and cost considerations for the Palram Canopia Harmony 6×8, helping you create a highly productive vertical growing environment.
What Are the Optimal Shelving Configurations for the Palram Canopia Harmony 6×8?
The internal dimensions of the Palram Canopia Harmony 6×8 are roughly 1.8m wide by 2.4m long, with a central peak height of about 2.1m. This provides excellent vertical space for tiered shelving. The most effective configuration involves three main zones: sidewall shelves, a central benching island, and overhead hanging shelving.
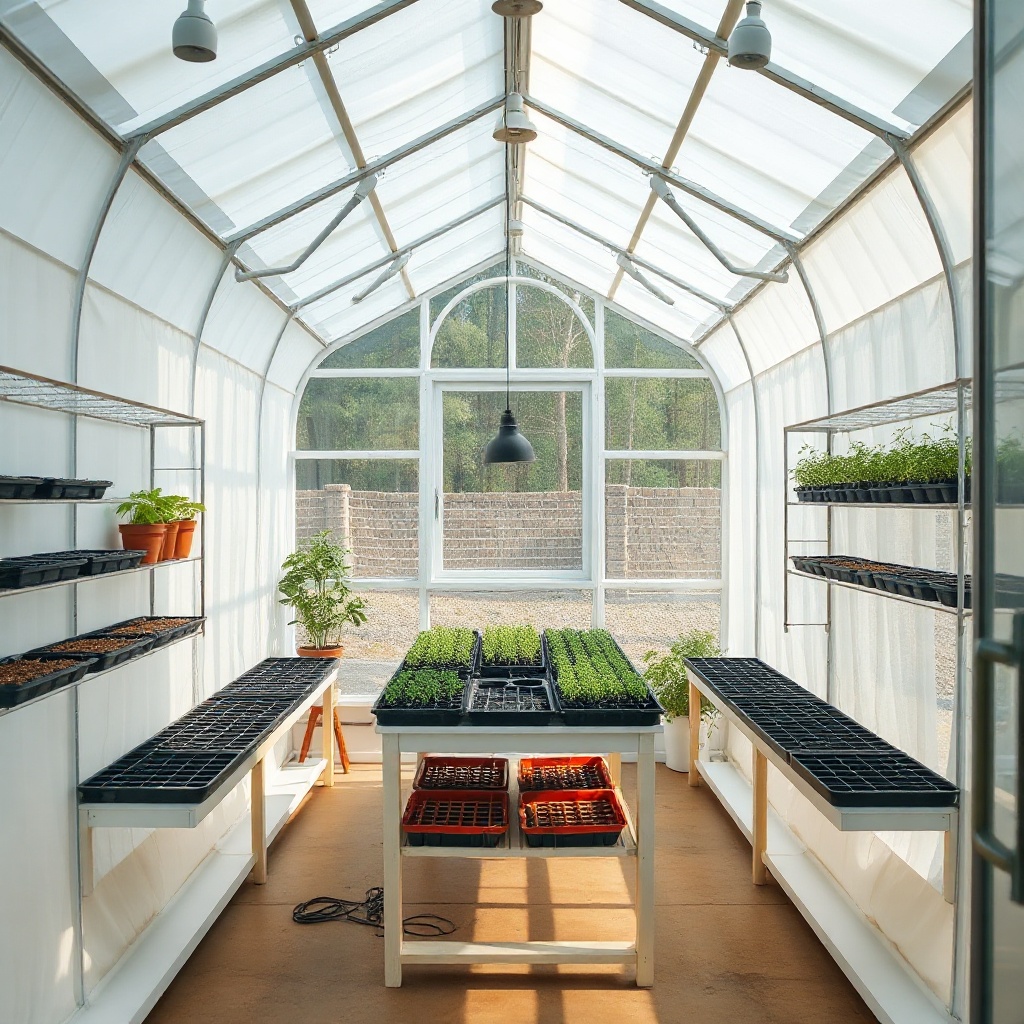
For sidewall shelves, install 1.2m long, 30cm deep units on both long sides. These should be positioned at waist height (around 90cm from the floor) to allow for lower storage and upper growing. A central benching island measuring 1.2m long by 60cm wide can sit along the centre line, providing robust workspace. Overhead, 50cm deep mesh shelves can be suspended from the roof frame at the eaves height (about 90cm from the peak).
This configuration gives you three distinct growing layers: ground level for taller plants like tomatoes and peppers, waist-height for trays of herbs and seedlings, and overhead for trailing plants or propagation trays. Always ensure shelving does not block the air vents or door opening—allowing at least 30cm clearance around the roof vents is critical for airflow.
Which Benching System Works Best for Vertical Growing?
For the Palram Canopia Harmony 6×8, a modular benching system with adjustable heights offers the most flexibility. Look for benching units made from galvanised steel with powder-coated finishes—rust resistance is essential in the damp greenhouse environment. Standard benching widths of 60cm fit perfectly along the sides, leaving a 60cm wide central path.
A popular option is the two-tier step benching system. These units have a raised upper tier (around 75cm high) and a lower tier (around 30cm high), creating a natural stepping effect for plants at different heights. This design maximises light exposure for all plants, as the upper tier doesn’t shade the lower one excessively. Prices for a set of two step benches (each 1.2m x 60cm) range from £80 to £120 depending on material quality.
For the central island, a single 1.2m x 60cm bench at 90cm height provides a comfortable working surface. This bench can double as a potting station and display area for larger pots. Consider adding a drip tray system under the benches to catch water runoff—this keeps the floor dry and reduces humidity issues.
How Much Weight Can the Greenhouse Frame Support for Shelving?
The Palram Canopia Harmony 6×8 uses a sturdy aluminium frame with anodised finish. The frame can support significant weight, but you must distribute it evenly to avoid stressing the structure. For sidewall-mounted shelves, the vertical frame members (the corner posts and intermediate uprights) are rated to handle up to 15kg per bracket when properly anchored. Use at least four brackets per 1.2m shelf, spaced evenly every 30cm.
Overhead hanging shelves should be attached to the roof rafters, not the polycarbonate panels. The roof rafters can support up to 8kg per rafter pair when using suitable eye bolts and wire rope. The central benching island sits on the floor and distributes weight directly to the ground level, so it can support heavier loads—up to 50kg for a standard 1.2m bench.
The following table provides a quick reference for weight limits:
| Shelving Type | Max Weight per Shelf (kg) | Recommended Fasteners | Typical Cost for Setup (£) |
|---|---|---|---|
| Sidewall-mounted shelf (1.2m x 30cm) | 15 kg | Aluminium brackets + bolts | £20–£35 |
| Overhead hanging shelf (1.2m x 50cm) | 8 kg | Eye bolt + wire rope | £15–£25 |
| Floor-standing central bench (1.2m x 60cm) | 50 kg | No wall fixing | £40–£60 |
| Step benching system (two tiers) | 20 kg per tier | Self-standing | £80–£120 |
Always check the manufacturer’s instructions for your specific shelving kit. Overloading can cause frame flex, which may lead to polycarbonate panel gaps and potential leaks. If you plan to install heavier shelving, consider reinforcing the greenhouse base with a solid concrete slab—see our guide on Palram Canopia Harmony 6×8: Ground Preparation Tips for Uneven Terrain for advice on creating a level, load-bearing foundation.
What Materials Are Best for Shelving in This Greenhouse?
For the Palram Canopia Harmony 6×8, aluminium and galvanised steel are the top choices for shelving materials. Aluminium is lightweight, rust-proof, and easy to cut to size. It’s ideal for sidewall-mounted shelves where weight is a concern. Galvanised steel, while heavier, offers superior strength for floor-standing benches and step systems.
Avoid wooden shelving inside this greenhouse because of the high humidity levels. Wood can warp, rot, and host pests like slugs and woodlice. If you prefer a natural look, consider pressure-treated timber that has been sealed with a waterproof varnish, but this adds ongoing maintenance. Wire mesh shelves (coated in PVC) are excellent for hanging setups as they allow air circulation around pots and reduce condensation buildup.
For the central benching, a solid panel of expanded metal (often called ‘cyclone mesh’) provides good drainage and supports a wide range of pot sizes. The cost of expanded metal for a 1.2m x 60cm bench panel is around £15–£25. Pair this with a galvanised steel frame from a hardware store for a custom solution.
When choosing shelving materials, also consider how they interact with the greenhouse’s polycarbonate panels. Metal shelves placed too close to the panels can cause scratching or condensation drip marks. Maintain at least 5cm clearance between shelving and the polycarbonate surface.
Can You Install Shelving Without Drilling Into the Frame?
Yes, there are several no-drill shelving options for the Palram Canopia Harmony 6×8. These are ideal for renters or those who prefer not to modify the greenhouse structure. One common solution is using tension-mounted shelves that grip the vertical frame members with rubber-padded clamps. These clamps tighten around the aluminium posts, supporting lightweight shelves up to 10kg.
Another no-drill option is freestanding shelving units placed inside the greenhouse. Choose units with adjustable heights and narrow footprints (around 30cm deep) that fit between the door and sidewalls. These units come fully assembled and can be moved around as needed. Prices for a three-tier freestanding greenhouse shelf (1.2m high x 60cm wide) range from £30 to £60.
For overhead hanging, adhesive hooks designed for polycarbonate panels are available, but these have limited weight capacity (up to 2kg per hook). For heavier hanging shelves, you’ll need to drill into the aluminium roof rafters—however, this is a minor modification that doesn’t affect the greenhouse warranty if done correctly. Always consult your warranty terms before making permanent changes.
If you do decide to drill, ensure you use rubber gaskets around the bolt holes to prevent water ingress. For detailed guidance on sealing panel penetrations, read our article on Palram Canopia Harmony 6×8: Sealing Polycarbonate Panels for Leak Prevention.
How Does Shelving Affect Airflow and Light Distribution?
Shelving can significantly impact both airflow and light inside the Palram Canopia Harmony 6×8 if not planned carefully. The greenhouse’s 6×8 size means every inch matters, and poorly placed shelves can create dead zones for air circulation and shade patches for plants. The key is to leave vertical gaps between shelf tiers.
For sidewall shelves, avoid stacking tiers too close together. A gap of 40–50cm between shelf levels allows air to move freely and light to penetrate to lower plants. The lower tier should never be lower than 15cm from the floor—this ensures air can flow under the shelf and prevent stagnant pockets. Central benching should have open ends to allow cross-ventilation.
Light distribution is also affected by shelf depth. Shelves deeper than 40cm create significant shadow on the lower tier. A better approach is to use shallow shelves (30cm) or mesh shelves that allow some diffused light to pass through. The greenhouse’s polycarbonate panels already diffuse light naturally, but adding white or reflective shelf surfaces can bounce light back onto lower plants. Consider painting the underside of upper shelves white to improve light reflection.
If you live in a colder climate and use the greenhouse during winter, you may also want to consider Palram Canopia Harmony 6×8: Upgrading to Twin-Wall Polycarbonate Glazing for Better Insulation to complement your shelving setup with improved heat retention.
What Owners Say
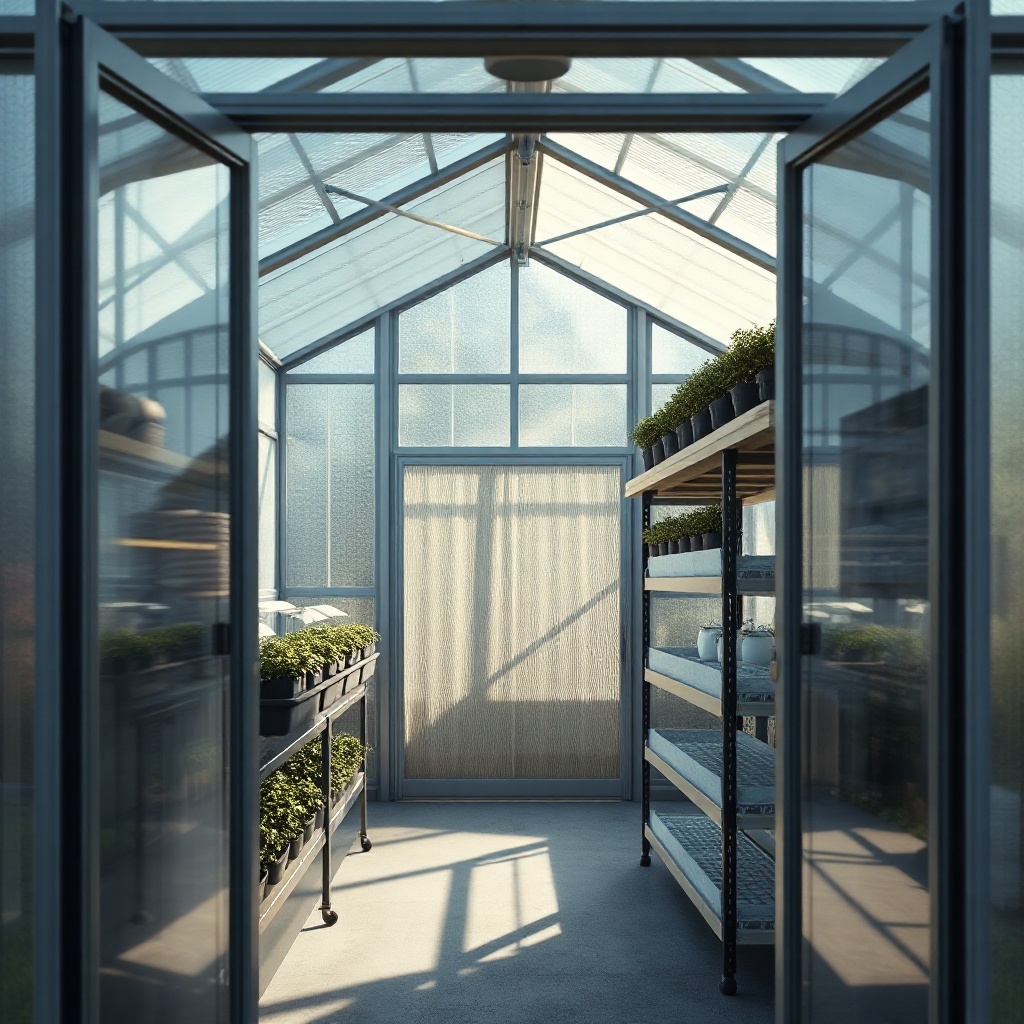
Gardeners who own the Palram Canopia Harmony 6×8 generally praise its ease of assembly and sturdy frame, but many agree that the internal shelving configurations are what make the greenhouse truly productive. One owner from Gloucestershire mentioned: “I installed two sidewall shelves at 90cm height and a central bench, and I now grow over 60 plants in a 6×8 space—more than double what I could with floor trays alone.”
Another reviewer from Kent highlighted the importance of step benching: “The step benches were a game-changer. My tomatoes on the top tier get full sun, and the lower tier holds my lettuce and herbs without shading. I had to adjust the shelf depth to 30cm to avoid hitting the polycarbonate panels, but it fits perfectly.”
Some owners caution about the weight of heavy pots on sidewall shelves, recommending that they stick to plastic pots rather than heavy terracotta. Several users also recommend using a Palram Canopia Harmony 6×8: Passive Solar Heating Methods to Extend Your Growing Season to maintain consistent temperatures around the shelving areas during cooler months.
Overall, the consensus is clear: investing in custom shelving for the Palram Canopia Harmony 6×8 transforms it from a basic starter greenhouse into a highly efficient vertical growing system. Owners who add shelving report fewer wasted spaces and better plant growth outcomes.
Frequently Asked Questions
What is the maximum number of shelves I can install in the Palram Canopia Harmony 6×8?
You can typically install up to six shelves: two on each sidewall and two overhead hanging shelves, plus a central workbench. This totals seven growing surfaces, but you must leave at least 40cm gaps between each tier for airflow and light.
Can I use wire shelving from a standard garage unit in this greenhouse?
Yes, but ensure the wire shelving is galvanised or powder-coated to resist rust. Standard chrome or painted wire shelving will corrode quickly in humidity. Also, check that the shelf width does not exceed 60cm to fit within the greenhouse interior.
How do I stop condensation from dripping onto plants from the shelves?
Install a slight slope on sidewall shelves (about 2 degrees towards the centre) so condensation runs off to the drip tray rather than onto plants. Use mesh shelves for overhead units to allow condensation to pass through easily.
Is it better to mount shelves on the walls or use freestanding units?
For the Palram Canopia Harmony 6×8, a combination of both works best. Wall-mounted shelves save floor space, while freestanding units offer flexibility for rearranging. Start with two wall-mounted shelves and one freestanding bench, then add more as needed.
What tools do I need to install shelving in this greenhouse?
Basic tools include a drill with metal drill bits (for aluminium frame), screwdriver, spirit level, tape measure, and a pencil for marking. For no-drill options, you only need a ratchet strap or rubber mallet to tighten tension clamps.
Can I grow tall plants like tomatoes with shelving installed?
Yes, but leave the central path and one sidewall unshelved at ground level for tall plants. Use the overhead space for hanging baskets or trailing varieties. Step benching allows taller plants on the upper tier while keeping lower tiers for shorter crops.