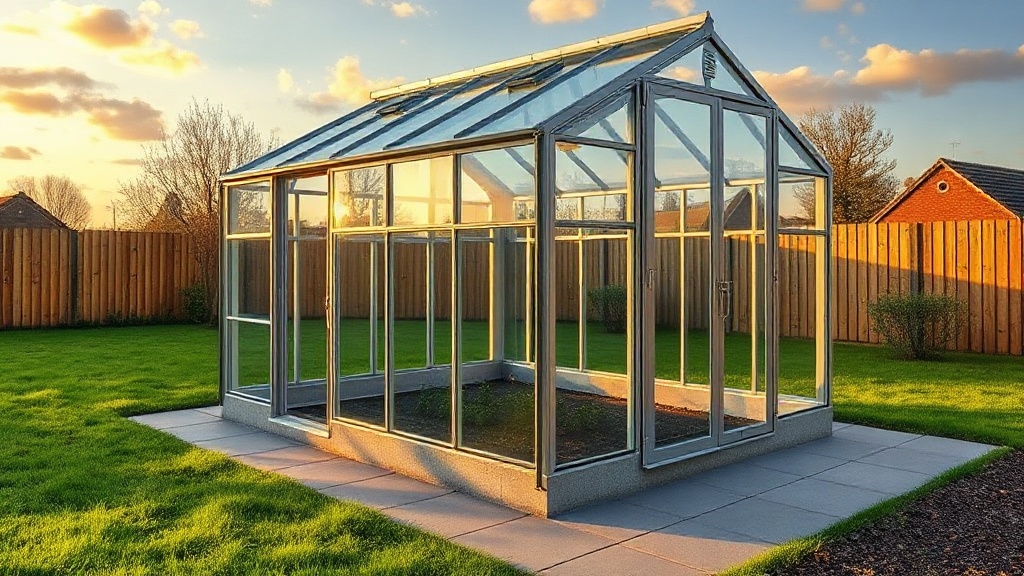
Why Is Proper Ground Preparation Critical for the Palram Canopia Harmony 6×8?
Setting up a greenhouse starts long before the first panel clicks into place. For the Palram Canopia Harmony 6×8, a popular compact model favored by UK gardeners and hobbyists, the foundation dictates everything from structural alignment to long-term stability. A poorly prepared base can lead to twisted frames, cracked polycarbonate panels, and doors that refuse to close—problems that are far easier to prevent than fix.
This guide walks through the essential steps for preparing ground that will support your 6×8 greenhouse for years. Whether you choose concrete, paving slabs, or a wooden frame, the principles remain the same: level, firm, and square. Investing a weekend in groundwork saves weeks of frustration later.
What Are the Specific Foundation Requirements for the Harmony 6×8?
The Palram Canopia Harmony 6×8 comes with a pre-drilled aluminum base frame requiring a perfectly flat surface. The manufacturer specifies a base that is exactly 1.95 m (6 ft 5 in) wide by 2.55 m (8 ft 4 in) long. That extra few inches beyond the nominal 6×8 accounts for the frame overhang.
Three foundation options work well:
- Concrete slab: Offers the most permanent solution, ideal for heavy use and high winds. Requires formwork and a 100–150 mm (4–6 in) pour, with expansion joints around the edge.
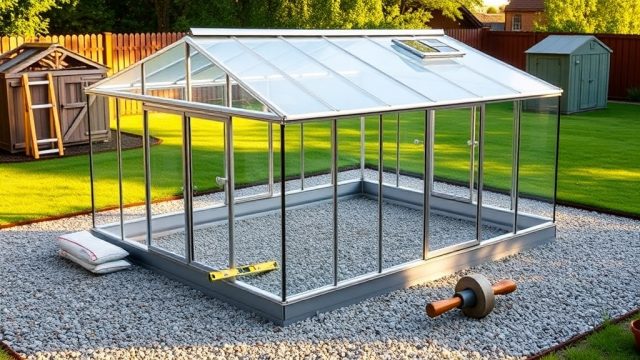
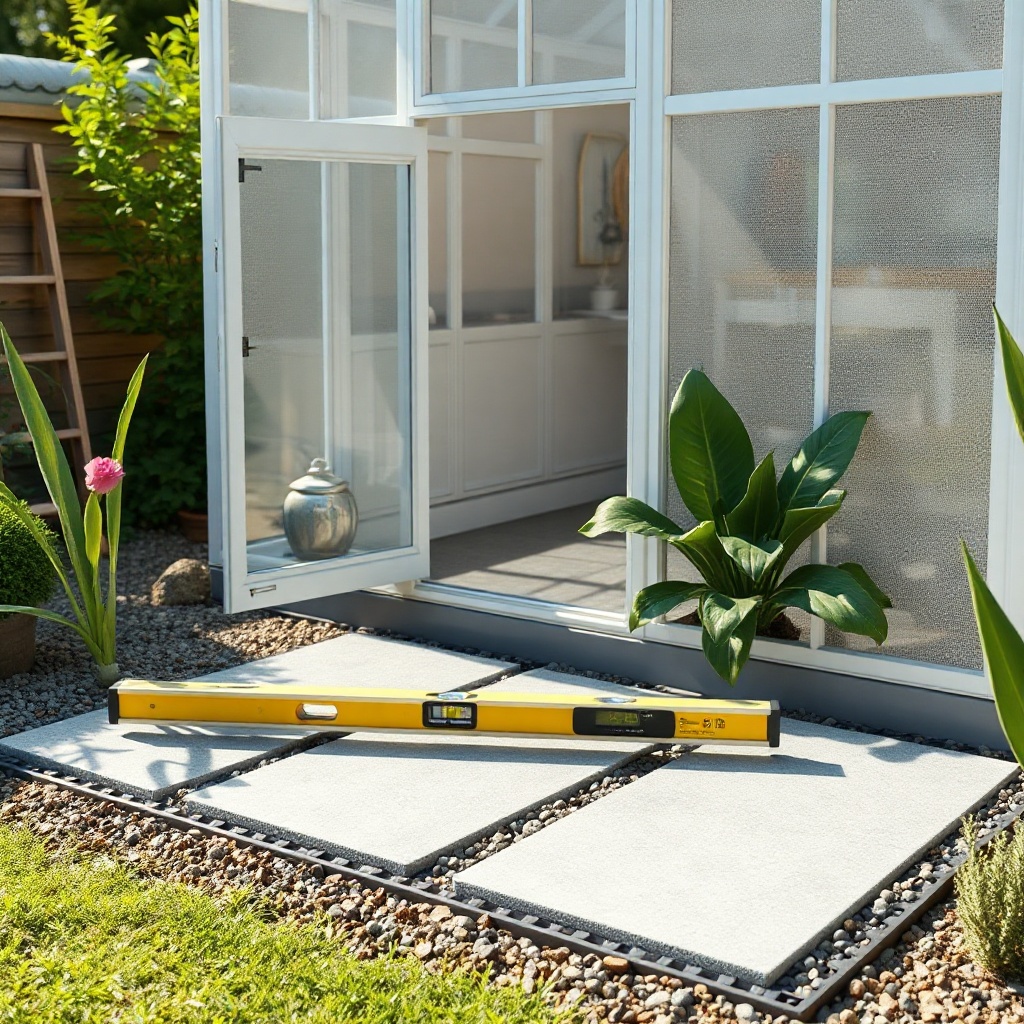
- Paving slabs on compacted hardcore: A DIY-friendly alternative. Use 600 x 600 mm slabs (or 450 x 450 mm) with a 50 mm gravel base. Cheaper and easier to adjust if the ground shifts.
- Pressure-treated timber frame: Common for DIY builders. Use 150 x 50 mm (6×2 in) treated timber, bolted together and anchored to the ground with rebar spikes.
Whichever you choose, the base must be within 10 mm (⅜ in) of level across both length and width. Any tilt beyond that will stress the frame.
How Do I Calculate the Correct Base Dimensions for the Harmony 6×8?
A common mistake is assuming the greenhouse sits exactly on a 6×8 ft footprint. The Harmony 6×8’s base frame is slightly larger to accommodate the overlapping panels and corner connectors.
| Dimension | Nominal Size | Actual Frame Size (Metric) | Actual Frame Size (Imperial) |
|---|---|---|---|
| Width | 6 ft | 1.95 m | 6 ft 5 in |
| Length | 8 ft | 2.55 m | 8 ft 4 in |
| Allowance (each side) | — | +25 mm | +1 in |
When marking out your base, add 50 mm (2 in) clearance on all sides to allow for anchor bolts and edge beam adjustments. A total area of approximately 2.05 x 2.65 m (6.7 x 8.7 ft) works well. Use string lines and a square to verify corners are 90°, then double-check diagonal measurements—they should be equal within 5 mm.
What Tools and Materials Do I Need for Ground Preparation?
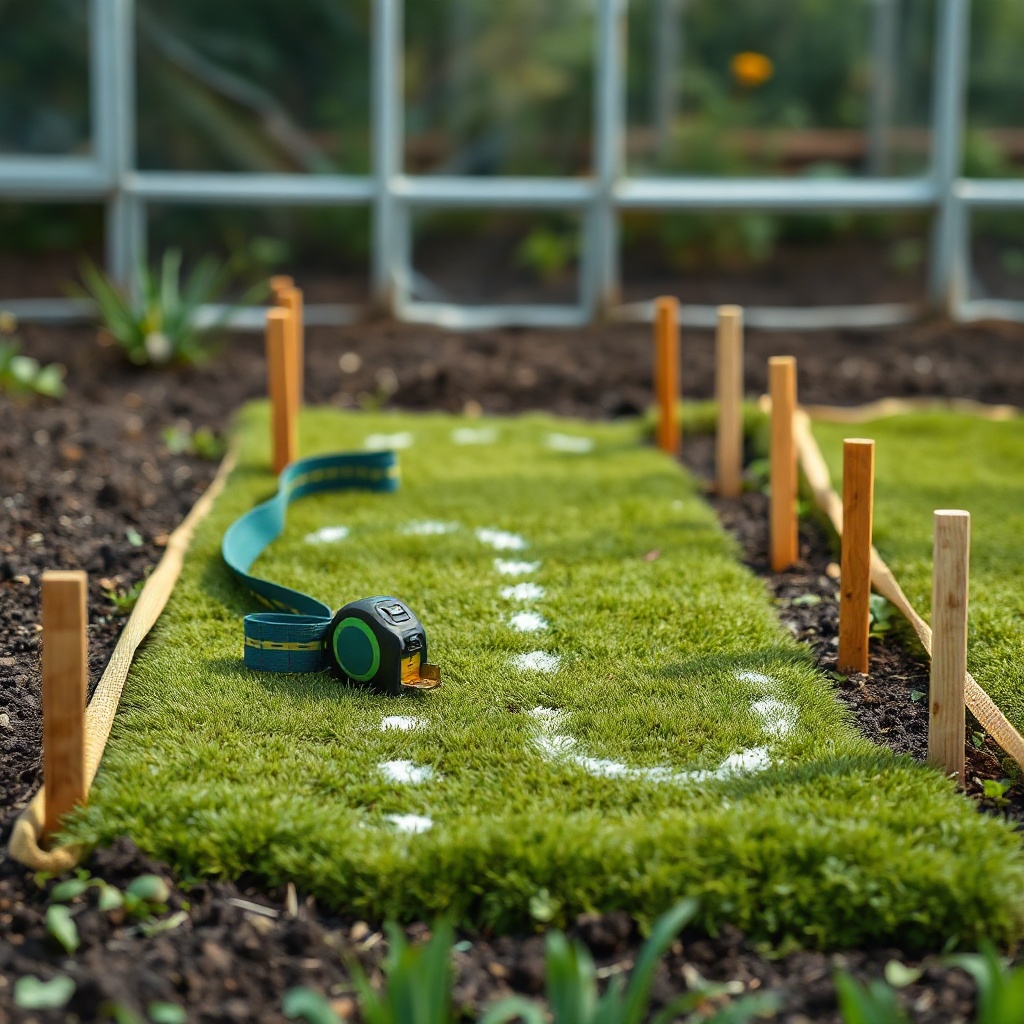
Proper preparation demands more than a shovel. For a slab or paving base, gather:
- Leveling tools: A 2 m spirit level, line level, and rubber mallet.
- Digging tools: Spade, pickaxe (if clay soil), and a wheelbarrow for spoil.
- Base materials: 20 mm (¾ in) MOT Type 1 hardcore for sub-base; sharp sand for bedding; paving slabs (at least 40 mm thick) or ready-mix concrete (C25 mix).
- Fixing kit: M8 masonry anchor bolts, 10 mm drill bit, and a 13 mm socket set.
- Safety: Gloves, safety glasses, and knee pads.
Expect to spend around £150–£300 in materials for a slab base (depending on slab quality) or £75–£150 for a timber frame. Labour is the main variable—most home builders complete the excavation and levelling over a weekend, with concrete curing taking an additional 3 days.
Step-by-Step: How to Level Ground for the Harmony 6×8 Greenhouse
Step 1: Mark and Excavate
Peg out the perimeter 100 mm beyond the finished base size. Remove topsoil to a depth of 100 mm (4 in) for a slab or 150 mm (6 in) for a hardcore base. Compact the subsoil with a hand tamper or plate compactor (available for hire at around £40/day).
Step 2: Lay the Sub-base
Spread a 50 mm layer of MOT Type 1 hardcore over the excavated area. Wet it slightly, then tamp thoroughly. The surface should feel solid underfoot with no movement. Add a 25 mm layer of sharp sand on top, screeded to level.
Step 3: Position the Paving Slabs or Pour Concrete
For slabs: Lay them with a 5 mm gap for drainage, using the spirit level continuously. Tap high corners down with the rubber mallet. For concrete: Build a timber formwork, pour C25 mix to a depth of 100 mm, and tamp with a screed board. Slope the concrete away from the greenhouse by about 5 mm per metre to prevent water pooling.
Step 4: Cure and Anchor
Allow concrete to cure for at least 48 hours (longer in cool weather). Once hard, drill holes for the anchor bolts provided with the greenhouse kit. For slabs, the frame can sit directly on the surface—use the included L-brackets to secure through the frame into the slab.
If the site is on a slope, consider retaining walls or a stepped base. The Palram Canopia Harmony 6×8: Ground Preparation Tips for a Stable Foundation article covers slope mitigation in more detail.
What Common Base Mistakes Do Owners Report?
Based on online forums and feedback from UK greenhouse owners, a few pitfalls consistently surface:
- Relying on a single slab: A single large slab can crack under the weight of the frame and plants. Use multiple smaller slabs that move independently with frost heave.
- Ignoring drainage: A perfectly level base can turn into a pond after rain. Always add a slight slope (approximately 5 mm per 1 m) away from the structure, or install a French drain around the perimeter.
- Failing to compact soil: Organic topsoil left under the base will settle over time, creating voids. Remove all turf and at least 100 mm of topsoil before laying hardcore.
- Cutting corners on anchor bolts: The Harmony 6×8 is lightweight; high winds can shift an unanchored frame. Every fixing point provided must be used.
These issues often lead to problems like cracked glazing. For more on that, refer to Palram Canopia Harmony 6×8: Troubleshooting Common Glazing Issues for repair and prevention tips.
What Owners Say About the Harmony 6×8 Foundation Process
Longtime greenhouse enthusiasts and first-time builders alike share consistent observations. On UK gardening forums, the Harmony 6×8 receives praise for its clear instruction manual regarding the base frame, though several owners note that the recommended base dimensions in the manual can be off by up to 1 cm if users misinterpret metric vs imperial measurements. One owner in Devon reported that after following the manual’s base diagram, the frame overhung by 1.5 cm on one side—easy to fix by adjusting anchor positions, but a hassle.
Another common sentiment is that the greenhouse is forgiving if the base is nearly level. “Even with a 5 mm tilt,” one user wrote, “the doors still slid smoothly after a minor frame shim.” However, the majority stress that spending extra time on the foundation—especially compaction—prevents future movement. Many recommend hiring a plate compactor for any soil type except pure sand.
For those integrating irrigation or ventilation, a stable base is essential. Systems like automatic roof vent openers rely on precise frame alignment to operate smoothly. The Palram Canopia Harmony 6×8: Automatic Roof Vent Opener Installation and Benefits guide explains how even a small twist in the base can interfere with vent operation. Similarly, drip irrigation setups need a level floor to prevent water pooling. See Palram Canopia Harmony 6×8: Automatic Drip Irrigation Setup and Benefits for integration tips.
Frequently Asked Questions
Q: Can I place the Harmony 6×8 directly on grass?
A: No. Grass will rot the frame and allow panels to warp. You must have a solid, level base—paving slabs, concrete, or treated timber.
Q: How long does the concrete base need to cure before assembly?
A: At least 48 hours at 15–20°C, or 72 hours if cooler. Do not place the greenhouse on green concrete—it can crack.
Q: What size paving slabs work best for the Harmony 6×8?
A: Nine 600 x 600 mm slabs (3 rows of 3) cover the footprint perfectly. Alternatively, use 450 x 450 mm slabs for more adjustability.
Q: Do I need planning permission for a 6×8 greenhouse in the UK?
A: Typically no, if placed more than 2 m from the boundary and not exceeding 2.5 m in height. Check Local Authority rules for conservation areas.
Q: Can I anchor the greenhouse to a wooden base?
A: Yes. Use 150 x 50 mm treated timber, bolted together, and fixed to concrete ground spikes. The frame secures with supplied screws into the timber.
Q: What if my garden has a slight slope?
A: Excavate the high side to create a level step. For slopes over 100 mm difference, consider retaining walls or a stepped timber base. Our Palram Canopia Harmony 6×8: Ground Preparation Tips for a Stable Foundation article covers this in depth.