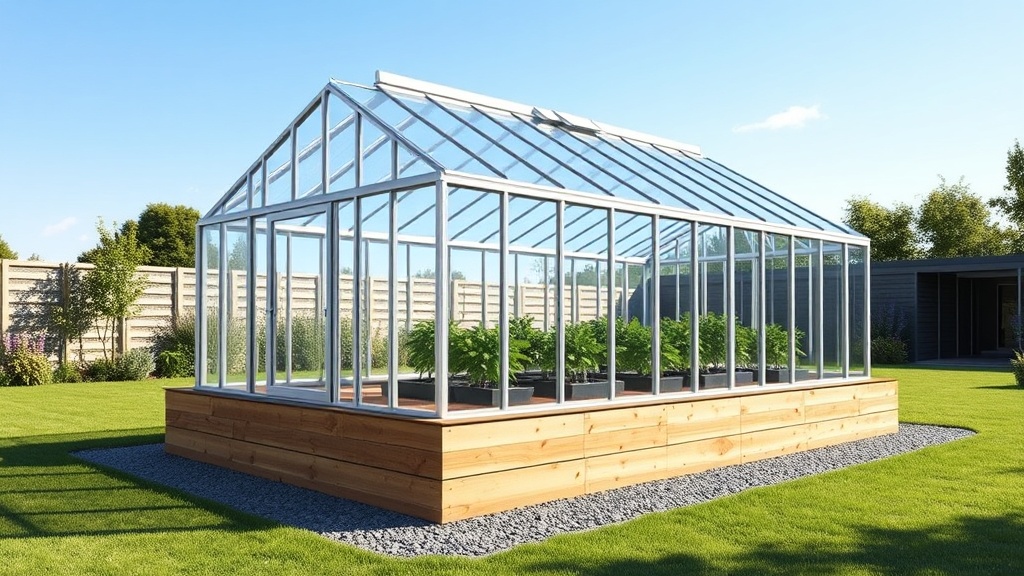
Why Is Ground Preparation Critical for the Palram Canopia Harmony 6×8?
The Palram Canopia Harmony 6×8 greenhouse is a robust polycarbonate structure designed for years of service, but its longevity and stability depend entirely on what sits beneath it. Without a level, compacted foundation, the frame can twist, panels may warp, and doors can bind. Proper ground preparation is the single most important step in the assembly-setup process, and skipping it often leads to headaches that could have been avoided with a few hours of diligent work. This guide walks through the essential steps to create a stable base that maximizes the greenhouse’s performance and lifespan.
What Are the Ground Preparation Requirements for This Greenhouse?
The Palram Canopia Harmony 6×8 (1.8m x 2.4m footprint) requires a flat, square, and stable surface. The manufacturer specifies that the foundation must be within 10 mm of level across any diagonal measurement. The base frame of the greenhouse sits directly on the ground, so any unevenness transfers stress to the polycarbonate panels and aluminum profiles. The ground must also be free of organic material like grass or roots, which can decompose and cause settling over time.
There are three common foundation options for this model:
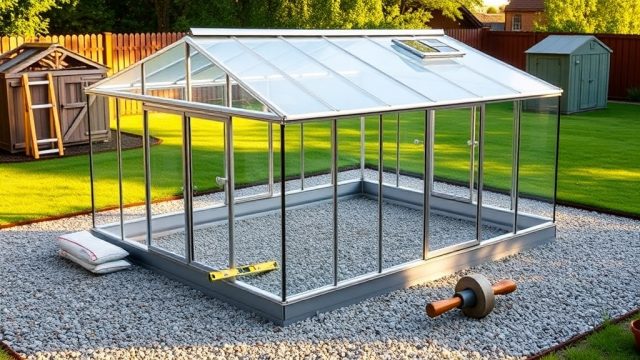
- Gravel base: A 10 cm (4-inch) layer of compacted crushed stone, contained within a treated timber frame. This is the most popular choice because it provides excellent drainage and is relatively easy to level.
- Concrete slab: A 10 cm (4-inch) reinforced concrete slab with expansion joints. This offers maximum stability but requires more labor and curing time (at least 7 days).
- Paver base: Interlocking concrete pavers laid on compacted sand and gravel. This is a middle-ground option that allows for drainage and some flexibility.
For the Harmony 6×8, the gravel base is often recommended by owners due to its low cost (approximately £150–£200 for materials) and straightforward installation. The concrete slab option typically costs £300–£400 and requires professional help for some diyers.
How Do I Measure and Mark the Foundation Area for the 6×8?
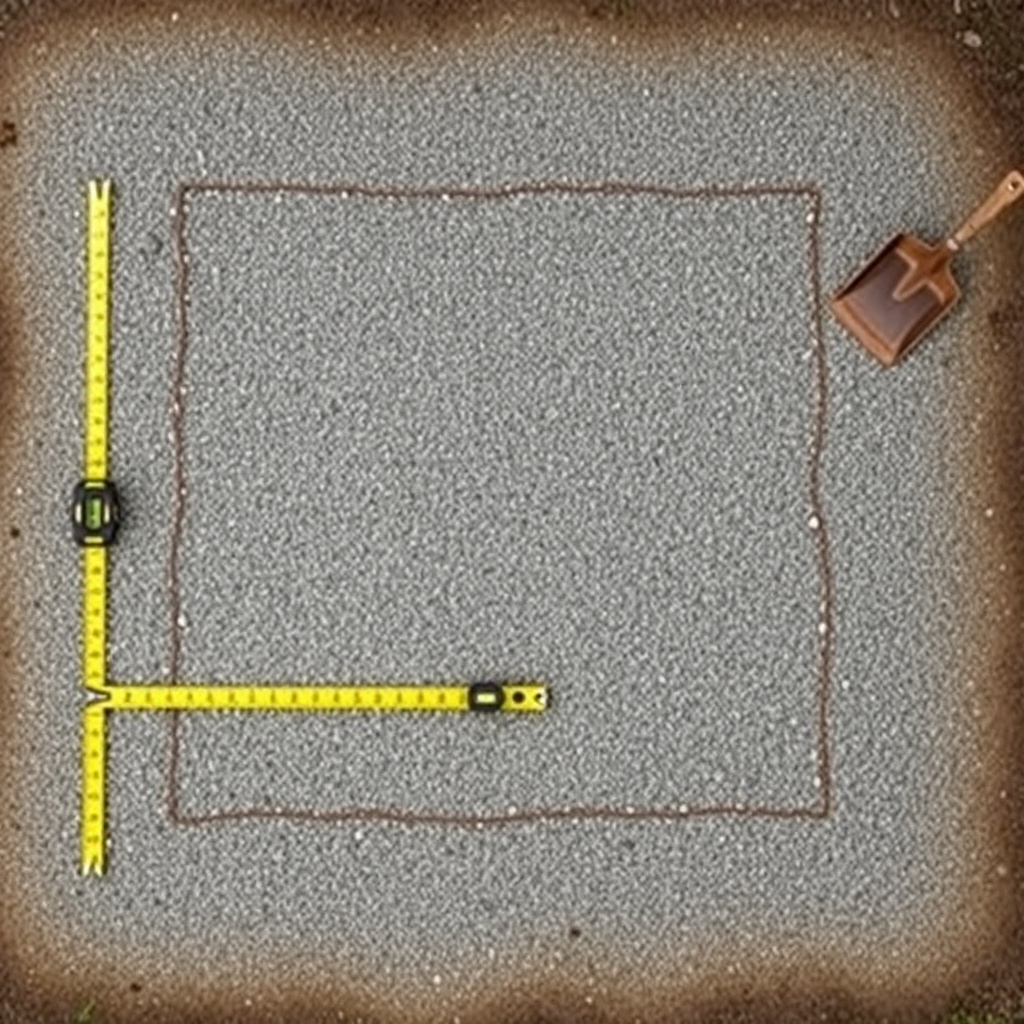
Accurate measurement prevents the base frame from sitting crooked, which can cause alignment issues during assembly. Start by clearing a 2.5m x 3.2m area (allowing 0.5m around each side for access). Use wooden stakes and string to outline the footprint. The greenhouse dimensions are 1.8m wide by 2.4m long (approx 6ft x 8ft). Check for squareness by measuring diagonals: both should be exactly 3.0m (10ft). Adjust the stakes until the diagonals match.
Once the area is marked, remove the topsoil to a depth of 15 cm (6 inches). This accounts for 10 cm of gravel base plus 5 cm for compacting and levelling. Ensure the excavation is at least 30 cm wider than the greenhouse on all sides to allow for the timber retaining frame. Level the subsoil with a rake and check with a spirit level at multiple points. If the subsoil is soft, consider adding a geotextile membrane to prevent weed growth and soil migration into the gravel. This step is crucial for long-term stability and prevents the base from sinking unevenly.
What Type of Gravel Base Works Best for This Greenhouse?
The ideal gravel for the Palram Canopia Harmony 6×8 is angular crushed stone, specifically 20 mm (3/4 inch) granite or limestone. Angular stones interlock when compacted, creating a stable surface that resists shifting. Avoid round pea gravel, which moves under weight and cannot be compacted effectively. You will need approximately 0.36 cubic meters of gravel for a 10 cm depth over the 1.8m x 2.4m area. This translates to about 600 kg of stone, which is roughly 20 standard 30 kg bags.
Before spreading the gravel, install a treated timber frame made from 5 cm x 15 cm (2×6 inch) lumber. This frame holds the gravel in place and provides a clean edge for the greenhouse base. Pressure-treated wood is essential to prevent rot from ground moisture. Secure the frame with 60 cm (24-inch) galvanized stakes driven at each corner and every 1m along the sides. Use a spirit level to ensure the top of the timber frame is perfectly level. The frame should be set so that the gravel surface sits 15 mm below the top of the frame, allowing the greenhouse base to sit flush.
Spread the gravel in 5 cm layers, compacting each layer with a hand tamper or plate compactor. A plate compactor (rental cost around £40 per day) produces the best results. Test the level frequently with a long straightedge. The final surface must be within 5 mm of level—not just flat—to avoid twisting the aluminum base frame during assembly. If you plan to install an automatic irrigation system later, consider laying a perforated drainage pipe beneath the gravel to handle excess water. See our guide on Automatic Irrigation System Setup and Benefits for more details on integrating drainage with your foundation.
| Material Type | Cost (UK £) | Installation Time (hours) | Drainage | Longevity (years) | Settlement Risk |
|---|---|---|---|---|---|
| Compacted gravel (20mm granite) | £150–£200 | 4–6 | Excellent | 10–15 | Low (if compacted well) |
| Reinforced concrete slab | £300–£400 | 8–12 (plus curing) | Poor (needs slope) | 20+ | Very Low |
| Interlocking pavers on sand | £250–£350 | 6–8 | Good | 15–20 | Moderate (if sand erodes) |
How Do I Prepare the Ground for a Concrete Slab Foundation?
If you choose a concrete slab for the Harmony 6×8, the ground must be excavated to 15 cm depth, with a 10 cm layer of compacted gravel as a sub-base. This prevents the slab from cracking due to soil movement. Use Class M20 concrete (1 part cement, 2 parts sand, 4 parts aggregate) poured to a minimum thickness of 100 mm. Install a steel mesh (A142 reinforcement) in the center of the slab to control cracking. The slab edges should be formed using timber shuttering, ensuring the surface is sloped 1 cm from the center to the edges for drainage.
Curing is critical: keep the slab damp for at least 7 days by covering it with plastic sheeting or wet hessian. During assembly, do not place the greenhouse base on the slab until the concrete has fully cured—rushing this step can cause the base to shift as the concrete shrinks. Use 10 mm expansion foam strip between the slab and the aluminum base to prevent direct contact and thermal bridging. If you plan to use automatic vent openers, ensure the slab is dead level at the greenhouse footprint, as the vent mechanisms rely on smooth operation. Our article on Automatic Roof Vent Opener vs Manual Windows – Which Is Better? discusses how foundation alignment affects vent performance.
What Are Common Mistakes When Preparing the Ground for This Greenhouse?
Three errors appear most frequently in owner reports. First, assuming that a level subsoil is enough without compacting the gravel. Uncompacted gravel settles over the first winter, causing the greenhouse to tilt and doors to jam. Second, skipping the timber retaining frame. Without it, gravel spreads out sideways, and the base frame loses support on the edges. Third, failing to remove all organic material. Grass or roots left under the base decompose, creating voids that lead to uneven settling within a year.
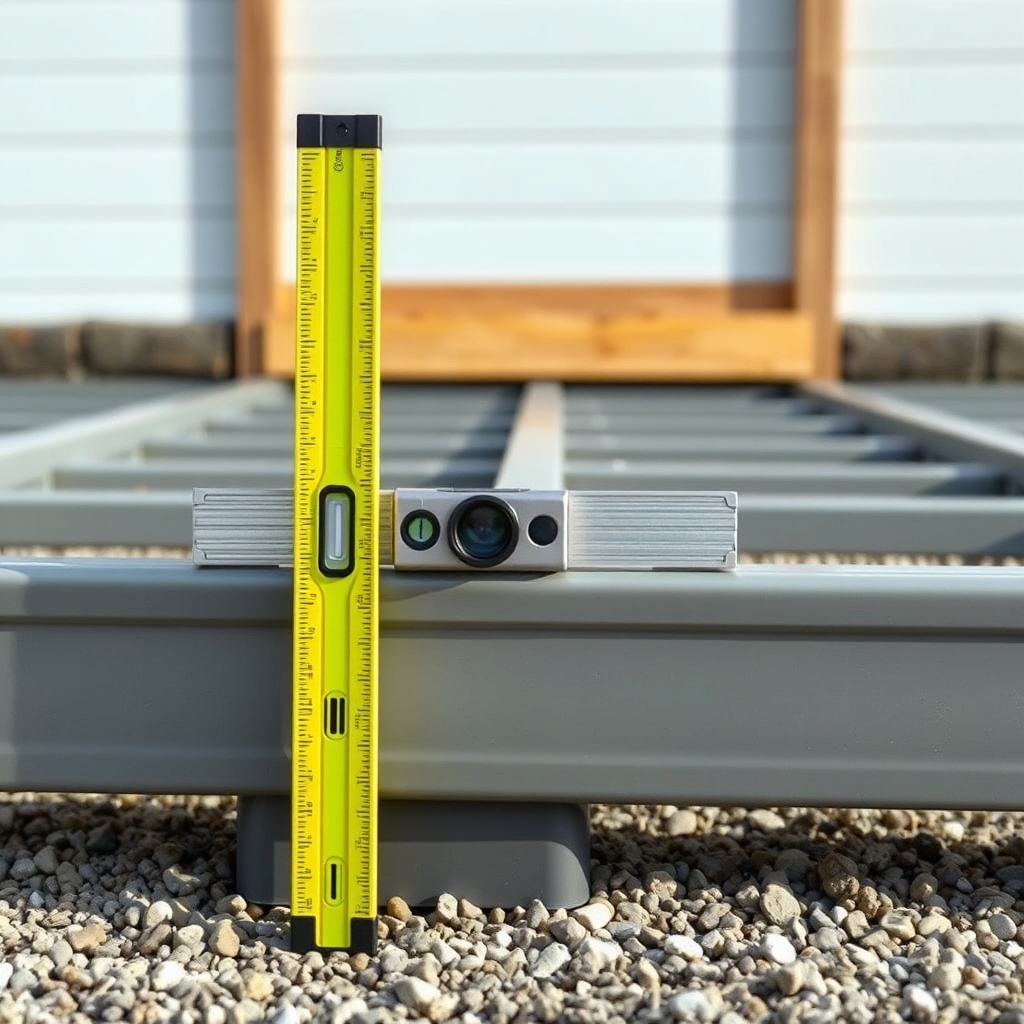
Another frequent issue is treating the foundation as an afterthought after the greenhouse is partially assembled. The base frame of the Harmony 6×8 must be installed on the prepared ground before any vertical panels are attached. If the ground is not perfectly level at this stage, the entire structure will be compromised. Take the time to check the base frame with a spirit level in both directions and adjust by adding or removing gravel beneath the base channels before tightening any screws. For more on aligning the base with your glazing, see Troubleshooting Common Glazing Issues.
What Owners Say About Foundation Stability
Owners of the Palram Canopia Harmony 6×8 consistently emphasize that ground preparation is the most time-consuming but rewarding part of the build. Many report that the gravel base performed well through multiple UK winters, with no shifting or settling when the gravel was properly compacted. One owner in Scotland mentioned: “I spent two full weekends on the foundation, but the greenhouse has been rock solid for three years. The doors slide perfectly, and I’ve never had a panel crack.” Another owner in a windy area added: “The concrete slab was more expensive, but after seeing my neighbor’s gravel base shift after a heavy rain, I’m glad I went with it. No regrets.”
A common thread is that owners who rushed the foundation—using pea gravel or skipping compaction—regretted it within six months. Those who took the time to build a proper timber frame and used a plate compactor reported no issues even under heavy snow loads. Several owners also noted that integrating drainage pipes during the gravel preparation saved them from water pooling later, which aligns with recommendations in our How to Set Up an Automatic Watering System guide. Overall, the consensus is that a well-prepared ground makes the rest of the assembly straightforward and the greenhouse a joy to use.
Frequently Asked Questions
1. Can I place the Palram Canopia Harmony 6×8 directly on grass?
No. Placing the greenhouse directly on grass leads to rot, rust, and structural instability. The base frame will sink unevenly, panels may crack, and the door will jam. Always prepare a level, compacted foundation of gravel, concrete, or pavers.
2. How long does it take to prepare the ground for this greenhouse?
For a gravel base, plan for 4 to 6 hours of work over one weekend, including excavation, timber frame installation, and gravel compaction. A concrete slab takes two weekends due to curing time (7 days). Paver bases typically take one full weekend.
3. What is the best size for the foundation relative to the greenhouse?
The foundation should be at least 30 cm wider and longer than the greenhouse footprint. For the 1.8m x 2.4m structure, prepare a 2.1m x 2.7m area. This extra space allows for the timber retaining frame and prevents soil from washing against the base.
4. Do I need planning permission for this greenhouse foundation?
In most UK locations, a greenhouse of this size (under 2.5m height and within garden space) does not require planning permission. However, a concrete slab may be considered a permanent structure in some conservation areas. Check with your local council before starting work.
5. Can I use sand instead of gravel for the base?
Sand is not recommended because it does not compact into a stable base and can shift under the greenhouse weight. Use angular crushed stone (20mm) specifically, and compact it thoroughly. Sand also tends to retain moisture, which can promote rust on aluminum fasteners.
6. How do I ensure the foundation is square when measuring?
Measure both diagonals of the marked area. For a true 1.8m x 2.4m rectangle, the diagonals should both be 3.0m (calculated using the Pythagorean theorem: √(1.8² + 2.4²) = 3.0). If they differ, adjust the stakes until they match exactly before excavating. Use a 3-4-5 triangle method for simplicity: mark 3ft on one side, 4ft on the other, and the hypotenuse should be 5ft.