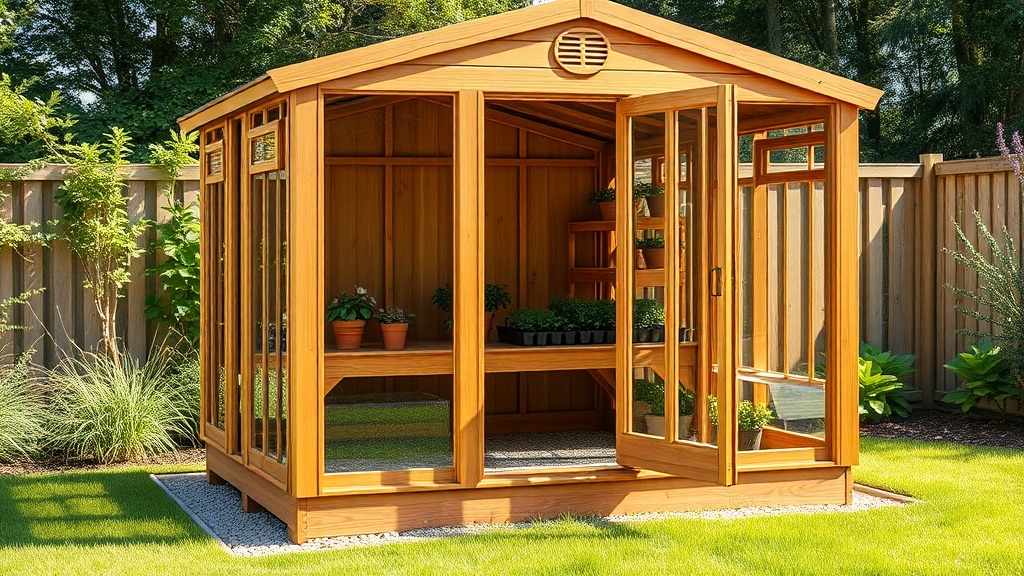
Why Custom Shelving Matters for Your Riverstone 6×8 Wooden Greenhouse
Maximizing vertical growing space in a compact 6×8 structure is the difference between a hobby greenhouse and a productive seed-starting hub. The Riverstone 6×8 Wooden Greenhouse, with its solid cedar construction and 6-foot-4-inch peak height, offers a solid foundation for tailored shelving that doesn’t block airflow or crowd your plants. In this guide, you’ll learn how to design, cut, and install DIY custom shelves that fit the exact interior dimensions of this popular model, turning every square inch into usable bench space.
What Are the Interior Dimensions I Need to Measure for Shelving?
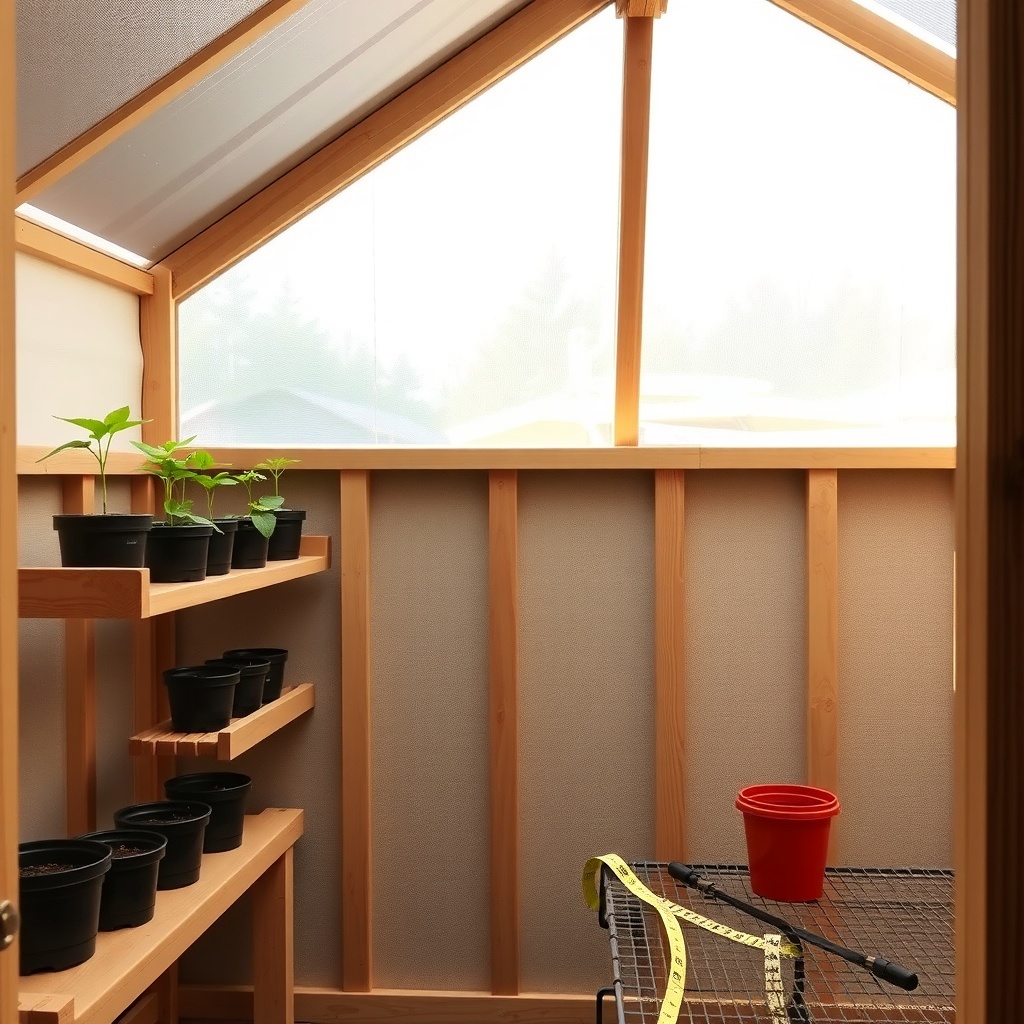
Before cutting a single board, you must record three critical measurements inside the Riverstone 6×8: the wall-to-wall width (often 68 inches at the base), the front-to-back depth (around 76 inches), and the sloping eave height on both sides. The side walls typically rise to about 48 inches where the roof pitch begins, so any shelving above that height must account for the angled roof. Use a laser distance measurer for accuracy, then sketch a simple floor plan showing door swing clearance (the single door on the 6-foot side needs a 24-inch clear zone).
Most owners discover that the rear wall—opposite the door—offers the longest uninterrupted span for a fixed shelf, while the side walls work best with tiered benching that steps down toward the center aisle. For a detailed foundation and leveling guide, refer to Riverstone 6×8 Wooden Greenhouse: Ground Preparation Tips for First-Time Builders to ensure your base is truly square before you install any shelving supports.
Which Lumber and Fasteners Work Best for a Humid Greenhouse Environment?
Pressure-treated pine is affordable but can warp under constant moisture; cedar or redwood resists rot naturally and matches the greenhouse frame. For a 6×8 layout, you’ll need approximately 40 linear feet of 1×4 cedar for shelf frames and 12 square feet of 3/4-inch exterior-grade plywood for shelf surfaces. Stainless-steel deck screws (size #8, 2 inches long) are non-negotiable—galvanized screws will corrode within two seasons under high humidity.
Consider using aluminum Z-clips to attach shelf brackets to the wooden wall studs; they won’t rust and allow easy removal during seasonal maintenance cleanings. If you opt for adjustable shelving, buy heavy-duty shelf standards (rated for 75 pounds per pair) and matching brackets from a hardware store—avoid the lightweight plastic tracks that become brittle in UV light.
| Material | Cost per Unit (USD) | Quantity for 6×8 | Total Cost | Rot Resistance |
|---|---|---|---|---|
| Cedar 1×4 (8 ft) | $6.50 | 5 boards | $32.50 | Excellent |
| Exterior plywood (4×8 sheet) | $45.00 | 1 sheet | $45.00 | Good (seal edges) |
| Stainless-steel screws (1 lb box) | $12.00 | 1 box | $12.00 | Excellent |
| Adjustable shelf standards (48 in) | $8.00 each | 4 pairs | $64.00 | N/A (metal) |
| Waterproof wood sealant (quart) | $18.00 | 1 quart | $18.00 | Enhances rot resistance |
| Total material cost | $171.50 |
How Do I Build a Fixed Rear Shelf That Maximizes Space Without Blocking Ventilation?
The rear wall—typically 76 inches wide inside the greenhouse—is prime real estate for a deep, fixed shelf. Install a horizontal ledger board (a 1×4 cedar strip) 24 inches above the floor, screwed into the wall studs every 16 inches. Then cut three 72-inch shelf supports from 2×2 cedar and attach them to the ledger with pocket-hole screws. Place plywood shelf panels on top, leaving a 1/2-inch gap between the back of the shelf and the wall to allow air to circulate behind pots.
This rear shelf can hold up to 200 pounds of soil and pots if you add a center support leg made from a 2×2 that rests directly on the greenhouse base. Drill several 1-inch drainage holes through the plywood every 12 inches so water from overhead watering doesn’t pool on the shelf surface. If you plan to use this shelf for seed-starting trays, pair it with a ventilation strategy that moves air across the shelf to prevent damping-off disease.
What Tiered Side Shelving Design Fits the Sloping Eaves?
The side walls of the Riverstone 6×8 slope from 48 inches at the eave down to 30 inches at the center aisle. To build tiered benching that matches this profile, cut two 1×4 cedar stringers for each side wall—one at 24 inches high (nearest the wall) and one at 16 inches high (closer to the aisle). Attach these stringers to the wall studs. Then cut shelf boards in decreasing widths: a 14-inch wide top tier against the wall, an 11-inch middle tier, and an 8-inch bottom tier that sits near the floor.
This three-tier arrangement gives you 33 inches of total shelf depth per side, which is perfect for holding 4-inch pots on the top tier, 6-inch pots on the middle tier, and 1-gallon nursery pots on the lower tier. Leave a 6-inch gap between the back of each tier and the wall for airflow. For a complete guide on integrating planters into this benching, see Riverstone 6×8 Wooden Greenhouse: Bench and Planter Combo Ideas for Space Saving.
How Can I Make the Shelving Adjustable for Seasonal Crop Changes?
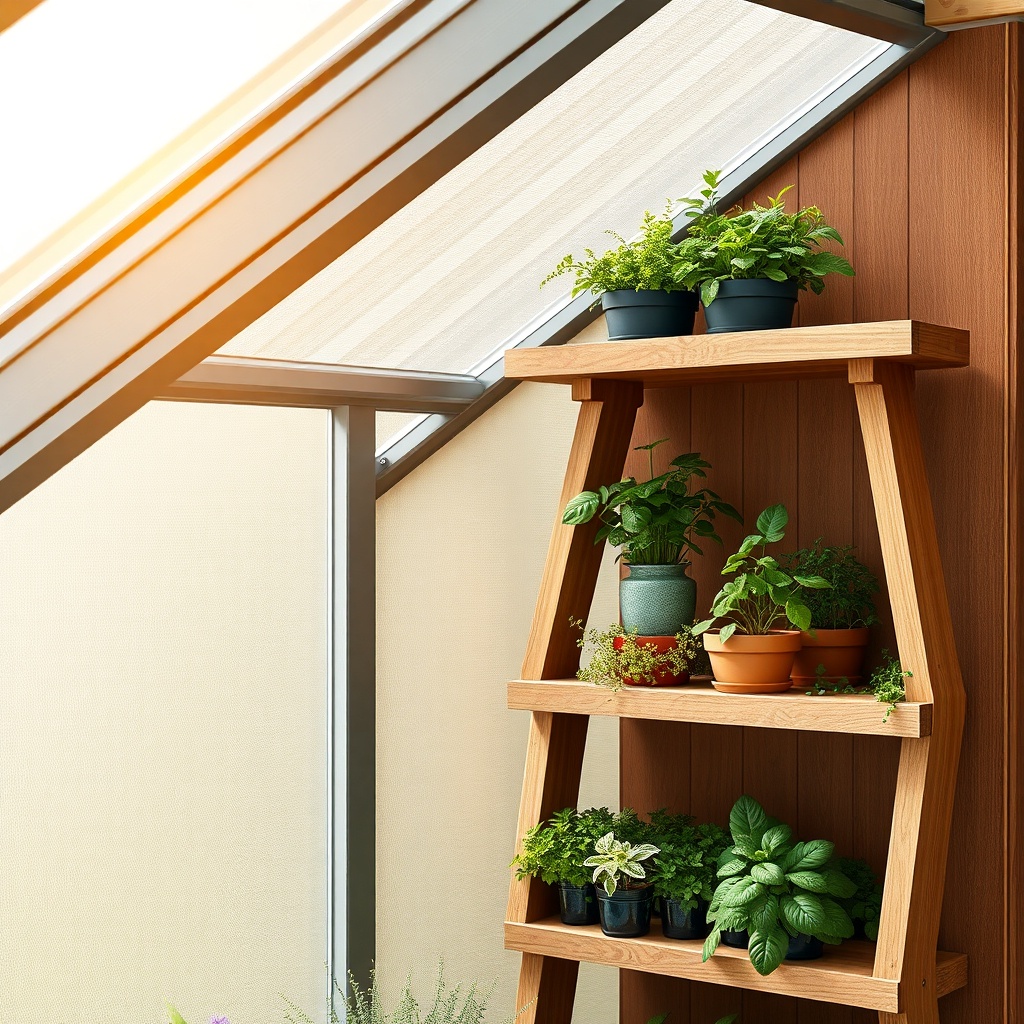
Adjustable shelving is a game-changer when you switch from tall tomato seedlings in spring to low-growing lettuce flats in fall. Install two pairs of 48-inch heavy-duty shelf standards vertically on the rear wall—one pair 18 inches from the left corner, another 18 inches from the right corner. Use the same stainless-steel brackets for both sides. Set the shelf height at 30 inches during summer for tall plants, then lower to 20 inches in winter when you use shorter grow lights.
On the side walls, you can use the same standard-and-bracket system but cut the standards to 36-inch lengths to fit the lower eave area. Attach them directly to the wall studs with 2-inch stainless screws. Mark every 4-inch hole along the standard for quick repositioning. This flexibility also helps when you need to clean the floor area—simply remove the shelf boards and brackets in minutes.
What Weight Capacity Should I Plan For, and How Do I Reinforce It?
A typical 6×8 greenhouse shelf system should support at least 50 pounds per square foot for wet potting soil and fully saturated plants. A 1×4 cedar frame with 3/4-inch plywood decking spans about 24 inches between supports before sagging becomes an issue. If your shelves are deeper than 18 inches, add a center support cleat underneath to prevent bowing over time.
For the rear fixed shelf, install two vertical 2×2 support posts from the floor to the shelf bottom, positioned at the one-third and two-third points along the 72-inch span. For side wall tiered shelves, attach 1×2 cedar cross-braces between the stringers every 24 inches to distribute weight evenly. Never exceed 100 pounds on a single adjustable shelf bracket—the standards can handle the load, but the bracket clips may bend under sustained weight.
What Owners Say
Riverstone 6×8 owners who have built custom shelving consistently report a 40% increase in usable growing area compared to commercial wire shelving kits. One owner from zone 6b noted that the tiered cedar shelves along the side walls held 48 four-inch starter pots without blocking access to the greenhouse’s ridge vent. Another owner highlighted that sealing all plywood edges with two coats of outdoor polyurethane eliminated the mold issue that appeared in the first season.
Several owners mention that the rear fixed shelf, while deep, can make it difficult to reach pots at the far back—suggesting you install a shallow (12-inch deep) top shelf above the deep one for smaller pots. The most common modification is adding a removable front lip (a 1×2 strip) to prevent pots from sliding off during watering. Owners in high-wind locations recommend anchoring the shelves to the wall studs with at least 2.5-inch screws to prevent vibration from transferring into the benching.
Frequently Asked Questions
1. Can I use galvanized steel shelving in the Riverstone 6×8 instead of wood?
Yes, but galvanized steel can develop white rust in constantly humid environments. If you choose it, use epoxy-coated steel or apply a clear metal sealant annually. Wooden shelving, especially cedar, integrates better with the greenhouse frame and doesn’t conduct heat as much, protecting plant roots from temperature spikes.
2. What is the maximum shelf depth I can install without blocking the center aisle?
The clear center aisle in the Riverstone 6×8 is about 24 inches wide. Keep side shelves no deeper than 12 inches, and rear shelves no deeper than 18 inches, to allow comfortable movement with a watering can or tray. For a wider aisle, consider a single side of shelving and leave the opposite side for tall plants on the floor.
3. How do I attach shelves to the greenhouse without damaging the wood frame?
Pre-drill pilot holes for every screw to prevent splitting the cedar frame. Use 1.5-inch stainless-steel screws into the wall studs (which are typically spaced 16 inches on center). Avoid driving screws into the greenhouse’s ridge beam or roof rafters—these are primary structural supports that should remain free of penetrations.
4. Can I install a workbench at the rear instead of fixed shelving?
Absolutely. Build a 30-inch-high workbench from 2×4 cedar with a plywood top and legs that bolt to the floor base. This gives you a potting station below a rear window. Just ensure it doesn’t block the lower vent if your model includes a base vent. For maximum utility, add a lower shelf beneath the workbench for storing bags of soil.
5. How often should I reseal the wood on my custom shelves?
Annual resealing is recommended—ideally at the start of the growing season. Sand lightly before applying a new coat of exterior-grade sealant or tung oil. Pay extra attention to end grains and cut edges of plywood, as they absorb moisture fastest. Skipping this step can lead to warping within two seasons.
6. Does the shelving need to be removable for greenhouse cleaning?
Not necessarily, but adjustable systems make deep cleaning much easier. For permanent fixed shelves, leave a 1-inch gap between the back of the shelf and the wall so you can reach behind with a hose or brush. If you install shelves that block access to the base of the wall, you may need to unscrew them every 12 months for thorough cleaning and pest inspection.