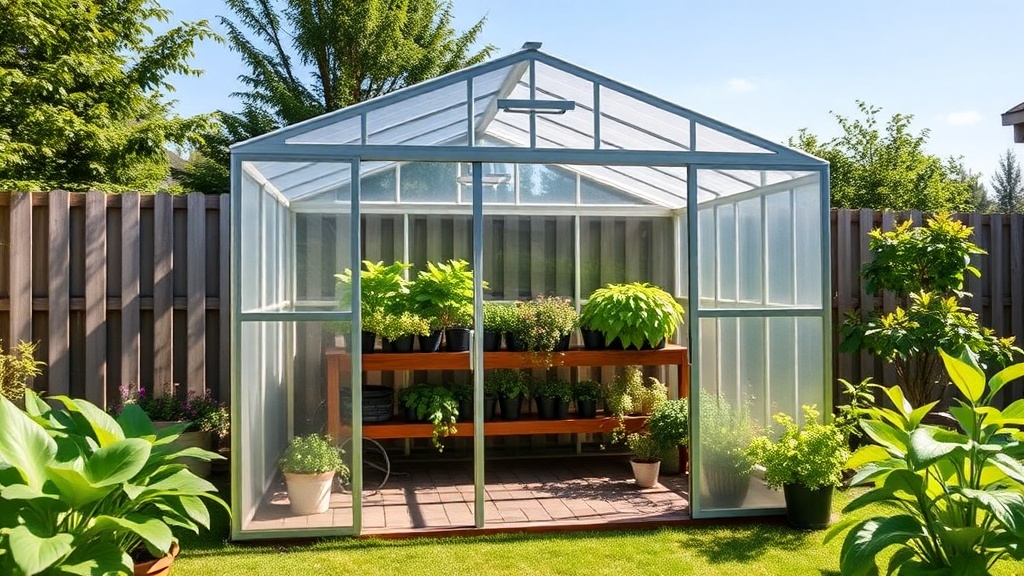
Suncast 8×6 Tremont: DIY Custom Shelving Plans for Small Greenhouses
For small greenhouse owners, maximizing vertical space is essential to creating a productive growing environment. The Suncast 8×6 Tremont offers a compact footprint, but its standard interior can feel cramped without thoughtful shelving. By implementing DIY custom shelving plans, you can transform this 48-square-foot structure into a highly efficient propagation station and storage hub.
Why Does the Suncast 8×6 Tremont Need Custom Shelving?
The Suncast 8×6 Tremont ships with a basic floor footprint, but no integrated shelving system. Without shelving, you lose vertical growing potential and struggle to organize pots, trays, and tools. Custom shelving allows you to tier plants by light requirement, store heavy bags on lower levels, and keep propagation trays at waist height for easy access.
A well-planned shelving layout also improves air circulation, reducing humidity pockets that encourage mold. By building your own shelving, you can tailor widths and depths to fit your specific seedling trays, watering cans, and even a small heat mat setup.
What Materials Work Best for DIY Shelving in This Greenhouse?
Choosing the right materials is crucial for longevity and plant health. Pressure-treated lumber, cedar, or marine-grade plywood resist rot and warping inside the warm, humid environment. Avoid untreated pine, as it degrades within a season. For framing, 2×2 or 2×3 lumber provides sufficient strength without adding too much weight to the lightweight aluminum frame.
Metal shelving coated with epoxy or zinc is a strong alternative, but ensure it doesn’t scratch the greenhouse’s polycarbonate panels. For fasteners, use all stainless steel or galvanized screws to prevent rust. Cost considerations: a basic wooden shelving unit for one wall of the Suncast 8×6 Tremont can run $45–$80 USD, while a full three-shelf system might total $150–$200 USD depending on wood grade.
How to Design a Two-Tier vs. Three-Tier Shelf Layout
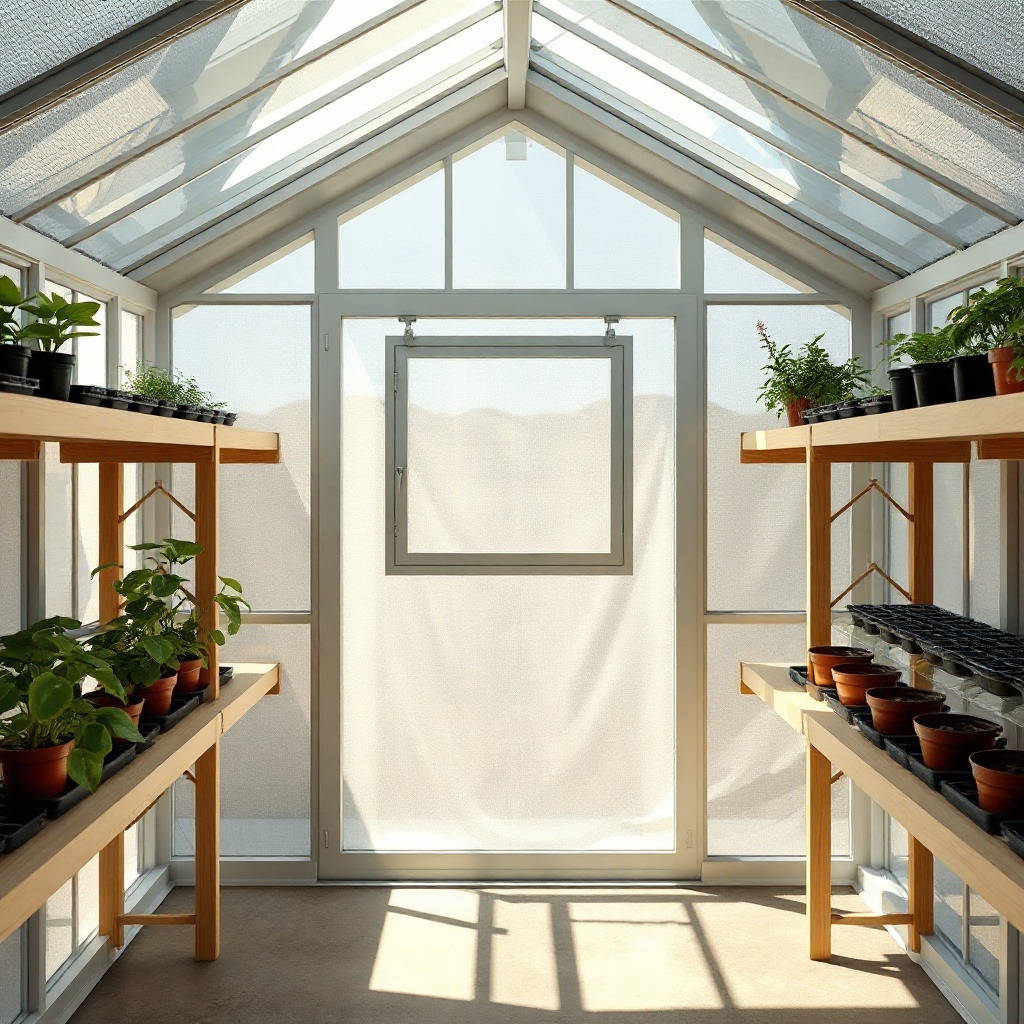
Two-tier shelving suits mixed-use greenhouses where you need floor space for large pots or a potting bench. A classic configuration places one shelf at 30 inches (75 cm) high for working and a second at 52 inches (130 cm) for storage above. This leaves floor space for a 10-gallon planter or a small reservoir.
Three-tier shelving works best for seed starting and microgreens. Typical dimensions: bottom shelf at 12 inches (30 cm) off the floor, middle at 36 inches (90 cm), top at 56 inches (140 cm). Ensure you maintain at least 18 inches (45 cm) between shelves for lighting clearance. The Suncast 8×6 Tremont’s maximum internal height is about 6 feet, so your top shelf should be no higher than 58 inches.
Table: Suggested Shelf Heights for the Suncast 8×6 Tremont
| Layout Type | Shelf Number | Height from Floor (inches) | Primary Use |
|---|---|---|---|
| Two-Tier | Lower | 30 | Potting / propagation |
| Two-Tier | Upper | 52 | Storage / light-loving plants |
| Three-Tier | Bottom | 12 | Heavy pots / humidity trays |
| Three-Tier | Middle | 36 | Seed trays / seedlings |
| Three-Tier | Top | 56 | Small pots / air plants |
Step-by-Step DIY Shelf Installation (No Drilling into Frame)
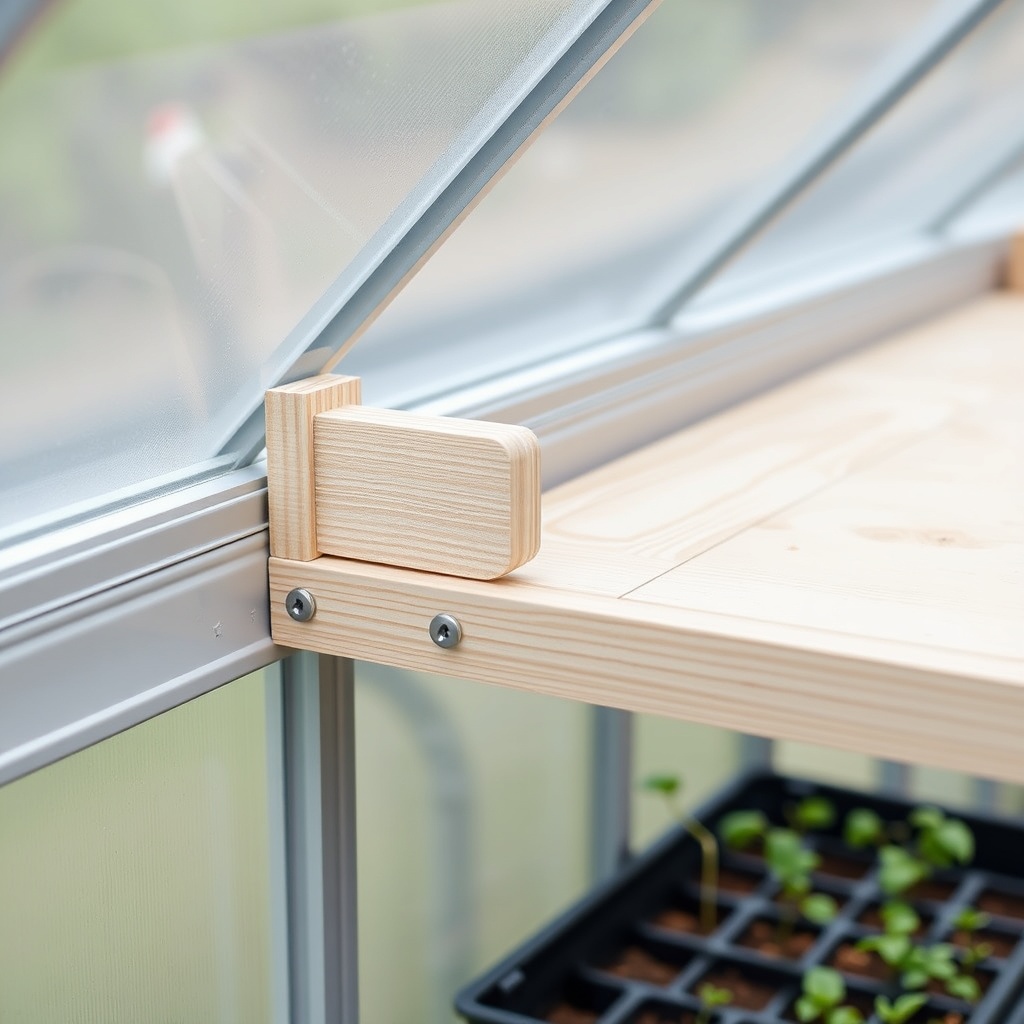
Many greenhouse owners prefer not to drill into the Suncast 8×6 Tremont’s aluminum frame to maintain warranty. Here’s a simple method using vertical posts clamped to the frame. You’ll need four 2×2 boards cut to 68 inches (170 cm) to span from floor to roof eave, four heavy-duty clamp brackets, and pre-cut shelf planks.
- Position the vertical posts snugly against the greenhouse corner posts, using padded clamps to avoid scratching the aluminum.
- Mark shelf heights on the vertical posts, then attach L-brackets at those marks with stainless steel screws.
- Place your shelf planks (e.g., 23 inches wide × 36 inches long for a full-width shelf) on the brackets.
- Secure each shelf with two small screws through the brackets (optional but recommended for stability).
- Add a wooden cross-brace at the back to prevent lateral wobbling.
This approach keeps shelves freestanding yet stable. For ground preparation, ensure the floor is level and compacted before building shelving to avoid tilting.
How to Integrate Watering Systems into Your Shelving
Once your shelving is installed, consider integrating a watering schedule setup. Position a 5-gallon reservoir on the bottom shelf and run drip irrigation tubing up to the middle and top shelves. Use 3/8-inch poly tubing with emitters at each plant pot. This keeps heavy lifting minimal and automates hydration.
For seasonal adjustments, check seasonal watering optimizations to match shelf-level sun exposure. Shelves facing south will dry faster than north-facing ones, so group thirsty plants accordingly. Adding shallow drip trays on each shelf prevents water damage to the wood and simplifies cleanup.
What Owners Say About Custom Shelving in the Suncast 8×6 Tremont
Owners on greenhouse forums report that custom shelving dramatically improves the Suncast 8×6 Tremont’s usability. “I could only fit six trays on the floor before. Now I have three tiers and can start 20 flats of tomatoes,” one reviewer shared. Another owner noted, “The key was making the top shelf removable so I could hang lights during winter propagation.”
A common tip: seal any wood shelves with a water-resistant finish (like linseed oil) to last three seasons or more. Some owners use repurposed plastic shelving from hardware stores, cutting them to length, but they caution that lightweight plastic shelves can bow under heavy soil bags. The consensus is that 1-inch thick solid wood or 3/4-inch marine plywood offers the best durability-to-cost ratio.
Frequently Asked Questions
Q1: Can I use wire shelving in the Suncast 8×6 Tremont?
A1: Yes, but wire shelving can allow light to pass through unevenly. Use it for storage of tools or empty pots rather than for light-sensitive seedlings.
Q2: How much weight can DIY wooden shelves hold?
A2: With 2×3 framing and 3/4-inch plywood, each shelf can safely support 50–70 pounds (23–32 kg) distributed evenly.
Q3: Do I need to treat the wood against humidity?
A3: Yes. Use outdoor-grade sealant or a marine varnish to prevent warping. Reapply annually after cleaning, especially after winter-proofing efforts.
Q4: How do I clean shelves without damaging plants?
A4: Wipe with a damp cloth and mild soap (like dish soap) monthly. For disinfection, use a 10% bleach solution but rinse thoroughly and let dry before plants return.
Q5: Will custom shelving block ventilation?
A5: Properly spaced shelves (at least 2 inches away from the wall) allow air to flow. Avoid covering the roof vents or side panels.
Q6: Can I add a second level of shelving later?
A6: Yes. For troubleshooting stability, add corner braces and ensure your vertical posts are anchored to the floor. Adjustable clamp brackets simplify future modifications.