Suncast 8×6 Tremont: Complete Assembly Setup Tips
Assembling the Suncast 8×6 Tremont greenhouse can feel like a major project, but with the right approach, most home gardeners can complete the build in a weekend. This guide walks through the entire assembly process, from site selection to final tensioning, helping you avoid common pitfalls.
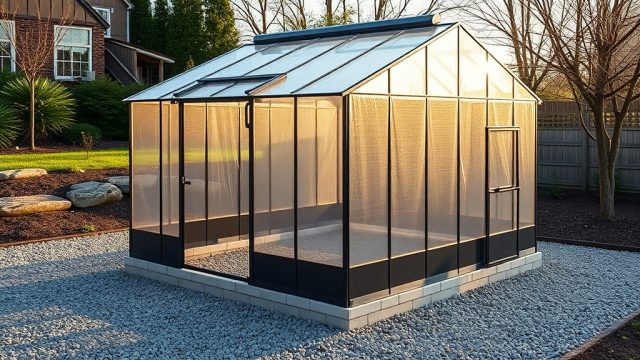
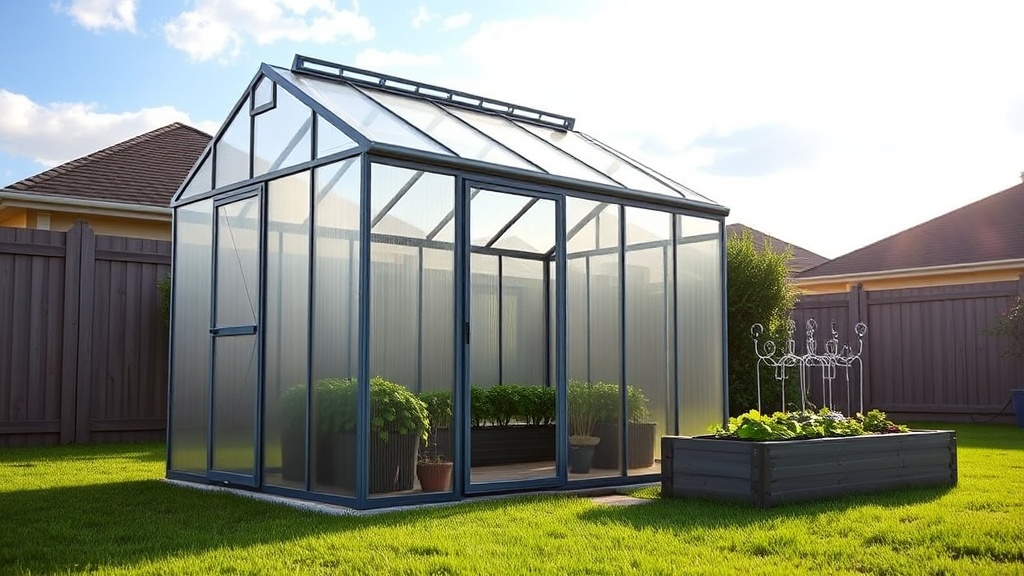
The 8×6 Tremont is a popular mid-sized polycarbonate greenhouse from Suncast, designed for backyard growing. It features a powder-coated aluminum frame, twin-wall Lexan panels, and a sliding door. Following these setup tips ensures a stable, weathertight structure that will serve your plants for years.
1. What tools and materials are needed for the Suncast 8×6 Tremont assembly?
Before unpacking the box, gather the following items to keep the assembly moving smoothly. The manufacturer recommends having a helper for the frame erection phase, especially when lifting the roof panels.
- Cordless drill with Phillips and hex bit attachments (set clutch to low torque)
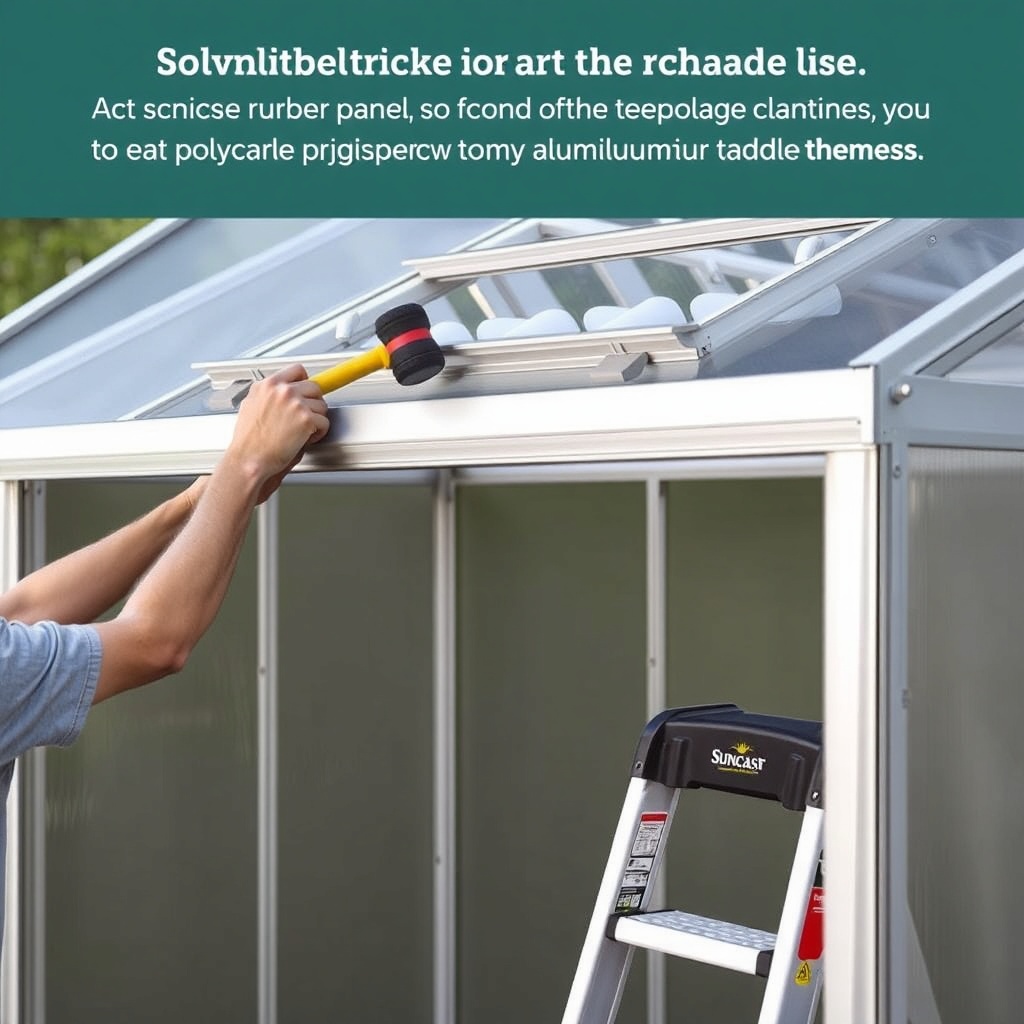
- Rubber mallet (for gently tapping panels into channels)
- Level (2-foot or longer)
- Tape measure
- Utility knife or sharp scissors (for trimming foam tape)
- Step ladder (for roof work)
- Socket set (8mm, 10mm, and 13mm sockets)
- Pencil and marker for marking anchor points
Most frame sections come pre-drilled, but you will need to drill a few pilot holes for the corner brackets and door track. The included hardware kit contains M6 and M8 bolts, washers, and self-tapping screws. It is recommended to have a spare 1/4-inch hex driver on hand, as the provided Allen key can be awkward in tight spaces.
If you are setting on a concrete base, have a hammer drill with a masonry bit ready. For ground-level installation, see the companion guide on ground preparation for a stable foundation.
2. How should the foundation and base frame be prepared?
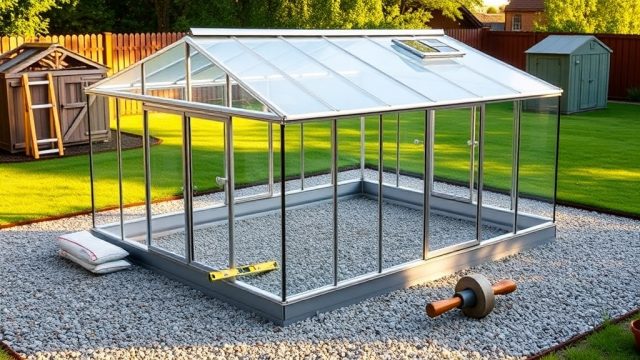
The Tremont 8×6 performs best on a level, compacted surface. Suncast recommends a concrete slab or paver base, but many owners successfully use a timber frame filled with crushed stone. The base frame measures 96 inches by 72 inches (8 ft by 6 ft) to the outside edges.
Begin by marking out the footprint with stakes and string. Check for square by measuring diagonals: they must be equal within 1/2 inch. If using a concrete slab, allow a 2-inch overhang on all sides for drainage. For a timber base, use pressure-treated 4×4 lumber, bolted together with galvanized corner brackets.
Anchor the base frame to the ground using 12-inch ground screws or concrete anchors. The Tremont’s aluminum base channel bolts directly onto this frame. A common mistake is skipping the foam sealing tape between the base channel and pavement, which leads to drafts and water seepage. Apply a continuous strip along the bottom of the aluminum channel before setting it on the slab.
Once the base is level, assemble the four corner posts and the door frame. The door opening is 60 inches high and 28 inches wide, so verify that the header bar is level before tightening. Any twist in the frame will make the sliding door difficult to operate.
3. What is the correct order for assembling the wall and roof panels?
The Tremont kit ships with polycarbonate panels labeled A through H. The assembly sequence follows a logical pattern: rear wall first, then side walls, then front wall, and finally the roof sections.
Start by attaching the rear wall panel (Panel A) to the rear frame extrusion. Slide the panel into the aluminum channel, ensuring the UV-protected side faces outward. The twin-wall panels have a slight texture on the UV side; this should face the sun. Use the rubber mallet to seat the panel fully into the lower channel, then secure the top clamp bar with the provided bolts. Do not overtighten—polycarbonate expands and contracts with temperature.
Next, install the two side panels (B and C). These are identical in size. Each side panel requires a horizontal mid-rail for rigidity. Insert the mid-rail before closing the panel, or you will have to loosen the top bar to slide it in. The mid-rail clips into the frame with snap-in tabs.
The front wall features the sliding door opening. Panel D (the fixed half) installs first, followed by the door track. The sliding door panel (E) has rollers that fit into the top and bottom tracks. Adjust the roller height so the door glides with light finger pressure.
Roof panels (F, G, and H) are the trickiest. Each roof ridge panel has a notch that fits over the ridge beam. It is much easier to install the ridge beam first, then slide the panels in from the side. Have a second person hold the panel while you secure the cap strip. The roof requires foam tape on every overlap joint to prevent leaks.
4. How do you attach the door, vents, and hardware correctly?
With the structure erected, focus on the moving parts. The sliding door assembly includes two rollers, a handle, and a latch. First, attach the top roller bracket to the door panel top edge. Then, lift the door into the top track and lower the bottom roller into the channel. Adjust the cam on the bottom roller to level the door. The door should operate without scraping the frame.
The Tremont comes with one roof vent (some kits include two). The vent frame hinges at the ridge and is opened by a manual prop rod. Align the vent panel so there is a 1/8-inch gap on each side. If the vent binds, loosen the hinge screws, reposition the panel, and retighten. For automated control, consider the automatic ventilation system that opens the vent when interior temperatures reach a set point.
Install the twist-lock handles on the front door and vent. These are simple quarter-turn mechanisms—do not force them. If the latch misaligns, shim the strike plate with the included plastic washers.
The last hardware items are the gutter sections. The Tremont includes a front gutter that attaches under the roof edge. Snap the gutter clips into the pre-drilled holes every 24 inches, then press the gutter section into the clips. Downspouts are not included but can be added. Route the downspout away from the foundation to prevent water pooling.
5. What common assembly mistakes lead to leaks or instability?
Several errors during setup can compromise the greenhouse’s performance. The most frequent issue is under-seating the polycarbonate panels. If the panel does not fully bottom out in the extrusion channel, it can vibrate in wind and eventually pop out. Always run a hand along the panel edge after installation to confirm it is seated.
Another problem is cross-threading bolts. The aluminum frame threads are soft, and using a drill at high torque can strip them. Set your drill clutch to 3 or 4, and finish tightening by hand with the supplied Allen key. If a bolt hole strips, use the next size up bolt or add a nylon lock nut from a hardware store.
Missing foam tape between panel overlaps is a primary cause of condensation dripping inside. Apply the double-sided foam tape along the entire length of each horizontal panel joint. Press firmly for 30 seconds per section. Do not substitute with silicone sealant, which can discolor the polycarbonate.
Instability often traces back to a non-level base. Even a 1/4-inch slope can twist the frame, causing the roof to sag or the door to jam. If your base has a slight slope, use shims under the base channel before bolting. Check level in both directions after every four bolts.
For a deeper dive into fixing these issues, the article on troubleshooting common frame and panel issues covers solutions for bent panels and loose connections.
| Assembly Step | Difficulty Level | Average Time (with helper) | Common Error |
|---|---|---|---|
| Base frame setup | Moderate | 1 hour | Base not square |
| Wall panel installation | Easy | 2 hours | Panels not fully seated |
| Roof panel installation | Difficult | 3 hours | Missing foam tape at ridge |
| Door & vent assembly | Moderate | 1.5 hours | Rollers not adjusted |
| Gutter & hardware | Easy | 1 hour | Gutter clips not aligned |
| Total build | Moderate | 8-10 hours | Overtightening bolts |
6. How do you finalize the setup for optimal growing conditions?
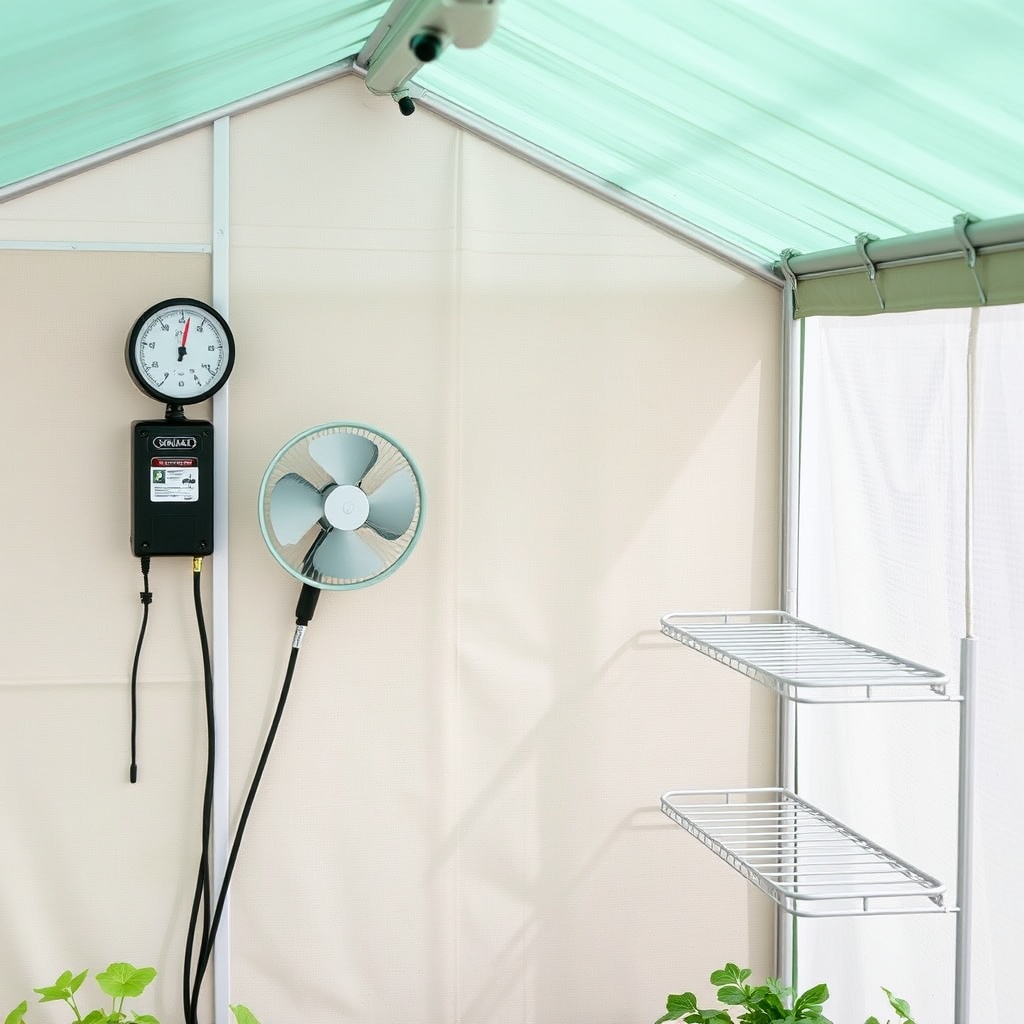
Once the structure is weathertight, turn attention to the interior environment. The Tremont’s aluminum frame retains heat during the day but can cool quickly at night. Adding a thermal mass, such as a water barrel or stone floor, helps moderate temperatures. For most climates, install a thermometer with a max/min reading to monitor conditions.
Air circulation is critical in a 8×6 space. Stagnant air leads to fungal diseases. A small oscillating fan placed near the roof line moves air without stressing seedlings. The guide on optimizing air circulation with fans explains placement and timing strategies for this size greenhouse.
Watering efficiency improves with an automatic drip system. The Tremont’s roof panels reduce light intensity by about 15%, so adjust watering schedules accordingly. For a setup that minimizes manual work, review the automatic irrigation system benefits tailored for this model.
Shelving and benching make the most of the 48 square feet of floor space. The Tremont can support lightweight shelves on the frame crossbars, but avoid hanging heavy pots from the aluminum extrusions. The article on space-savvy shelving and benching layouts offers dimension-specific plans for the 8×6 footprint.
What Owners Say
Owners of the Suncast 8×6 Tremont generally praise its ease of assembly relative to larger kits. One verified buyer on a gardening forum wrote, “I built it alone in nine hours, including a coffee break. The instructions are clear, but you need to read each step twice.” Another grower in a windy zone noted, “After adding extra anchor bolts and sealing every seam with silicone, it survived a 50-mph storm with no damage.”
Common complaints center on the polycarbonate panels developing small cracks at the corner screw holes after a year. Suncast offers a five-year limited warranty, and several owners reported receiving replacement panels within three weeks. The sliding door mechanism receives mixed feedback: some find it smooth, while others adjust the rollers annually to prevent sticking.
Temperature management inside the Tremont is good for a non-insulated structure. Owners in USDA Zones 7-8 report a 5-10°F heat gain over outside temperatures, enough to extend the growing season by a month. Those in colder zones add bubble wrap insulation in the winter months.
Frequently Asked Questions
Q1: Can the Suncast 8×6 Tremont be assembled on grass or dirt?
A: It is not recommended. The base must be level and stable. Grass or dirt will settle unevenly, leading to frame twist. A concrete slab, paver base, or compacted gravel with timber frame is essential.
Q2: How long does the assembly typically take?
A: With two people, the build takes 8 to 10 hours spread over one or two days. Alone, expect 12 to 14 hours. Pre-drilling anchor points and having all tools ready reduces time.
Q3: What is the weight capacity of the frame shelves?
A: The aluminum crossbars support up to 10 pounds per square foot when uniformly loaded. For heavier pots, use a floor-standing benching system. Overloading the upper bars can bend the roof gutter.
Q4: Does the greenhouse require a building permit?
A: Most municipalities exempt greenhouses under 120 square feet. The 8×6 Tremont is 48 square feet, so permits are typically not needed. Check local zoning for setback requirements from property lines (usually 3-5 feet).
Q5: How do I clean the polycarbonate panels?
A: Use a soft cloth with mild dish soap and warm water. Avoid abrasive cleaners or ammonia-based products, which can cloud the panels. Rinse thoroughly. Clean twice a year to maintain light transmission.
Q6: Can the door be locked?
A: The standard door latch accepts a small padlock (shackle diameter up to 5/16 inch). This provides basic security but is not intended to be theft-proof. Some owners add a hasp for additional locking options.