Palram Canopia Harmony 6×8: How to Set Up an Automatic Watering System
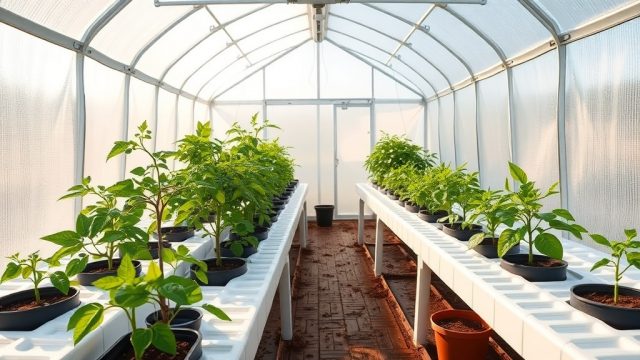
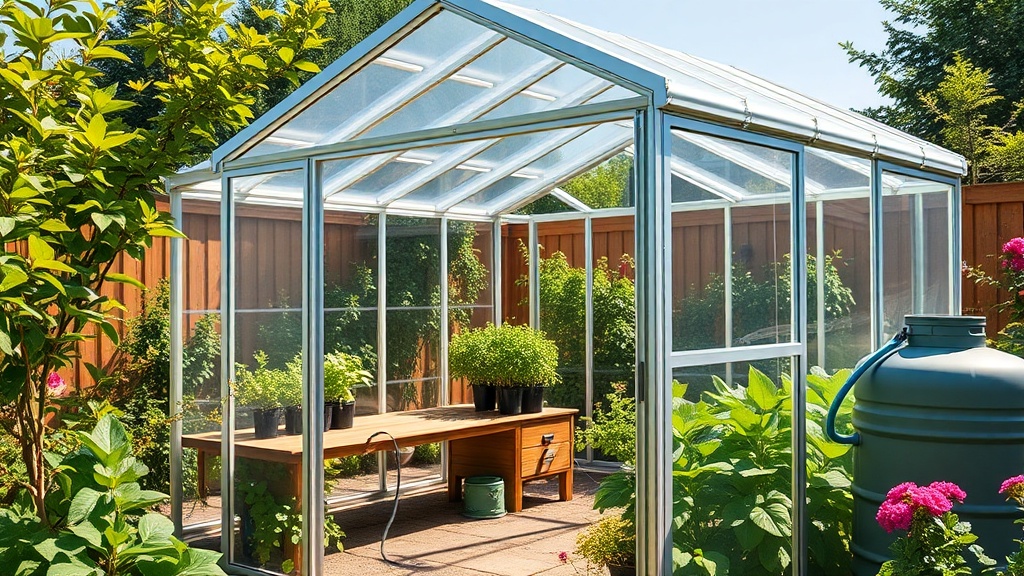
The Palram Canopia Harmony 6×8 greenhouse provides an excellent 48 sq. ft. growing space for hobbyists and serious gardeners alike. Its twin-wall polycarbonate panels and sturdy aluminum frame create a stable environment for plants, but consistent watering can be a challenge—especially during hot summer months or when you’re away. An automatic watering system ensures your crops receive the right amount of moisture without daily manual effort.
This guide explains how to design and install a drip irrigation or misting system tailored to the Harmony 6×8’s dimensions and structural features. We’ll cover water source options, timer types, tubing layout, and emitter selection so you can keep your plants thriving with minimal hands-on time.
What Are the Key Dimensions and Watering Considerations for the Harmony 6×8?
The Palram Canopia Harmony 6×8 measures 6 feet wide by 8 feet long, with a max eave height of approximately 5 feet 2 inches (64 inches). The internal usable floor area is about 48 sq. ft., but the sloped roof and side benches reduce available ground space. Most users install one or two 4-foot benches along the long walls, leaving a central walkway of about 18–24 inches.
When planning an automatic watering system, the primary factors are:
- Water source proximity: The greenhouse has no built-in water connection. You’ll need a garden hose or rainwater collection barrel placed within 10–15 feet of the unit.
- Number of plants: A typical configuration holds 30–60 pots (4-inch to 6-inch sizes) on benches plus 6–12 larger containers on the floor.
- Flow rate: Standard drip systems operate at 20–30 PSI, which matches most residential outdoor spigots. A pressure reducer may be required if your line pressure exceeds 50 PSI.
- Drainage: The polycarbonate floor (if installed) has no drainage holes. Use gravel or a slotted floor tray to prevent water pooling.
For detailed structural specs, see our Palram Canopia Harmony 6×8 Frame: How Strong Is the Aluminum Structure? article.
Which Automatic Watering System Type Works Best in the Harmony 6×8?
Three main system types are suitable for this greenhouse size. Each has pros and cons depending on your plant types and frequency of use.
| System Type | Best For | Flow Rate (per emitter) | Installation Complexity | Estimated Cost (USD) |
|---|---|---|---|---|
| Drip Irrigation | Potted plants, herbs, vegetables | 0.5–2 GPH | Low | $30–$60 |
| Misting/Fogging | Seedlings, cuttings, high-humidity crops | 1–3 GPH | Medium | $50–$90 |
| Soaker/Drip Tape | In-ground beds, row crops | 0.5–1 GPH per foot | Low | $20–$40 |
For most Harmony 6×8 owners, a simple drip irrigation system with adjustable emitters offers the best balance of cost and performance. Misting systems work well for propagation but require a fine filter to prevent nozzle clogging. Soaker hoses are inexpensive but less precise for potted plants.
If you plan to install a misting system, ensure your greenhouse has adequate ventilation—our Palram Canopia Harmony 6×8 Ventilation: Roof Sliding Windows Review article covers roof window options that help manage humidity.
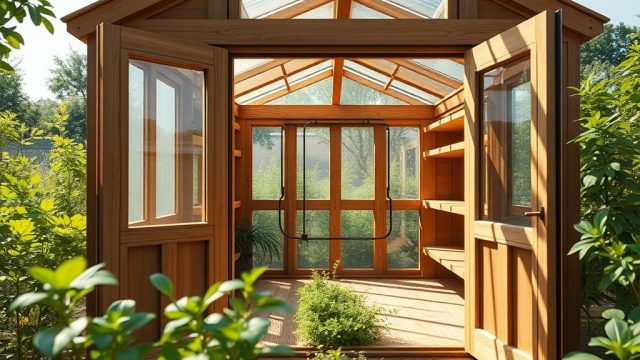
How Do You Mount the Drip Irrigation Tubing in the Harmony 6×8?
The aluminum frame of the Harmony 6×8 has horizontal crossbars at about 4-foot intervals along the walls and ridges. These provide convenient anchor points for drip tubing. Follow these steps:
- Attach tubing clips: Use 1/2-inch poly tubing clips that snap onto the aluminum frame. Space them every 2–3 feet along the bench edges.
- Run the main line: Install a 3/4-inch or 1/2-inch main line from the water source (hose bib or reservoir) into the greenhouse through a small notch in the base profile. Use a rubber grommet to seal the entry hole.
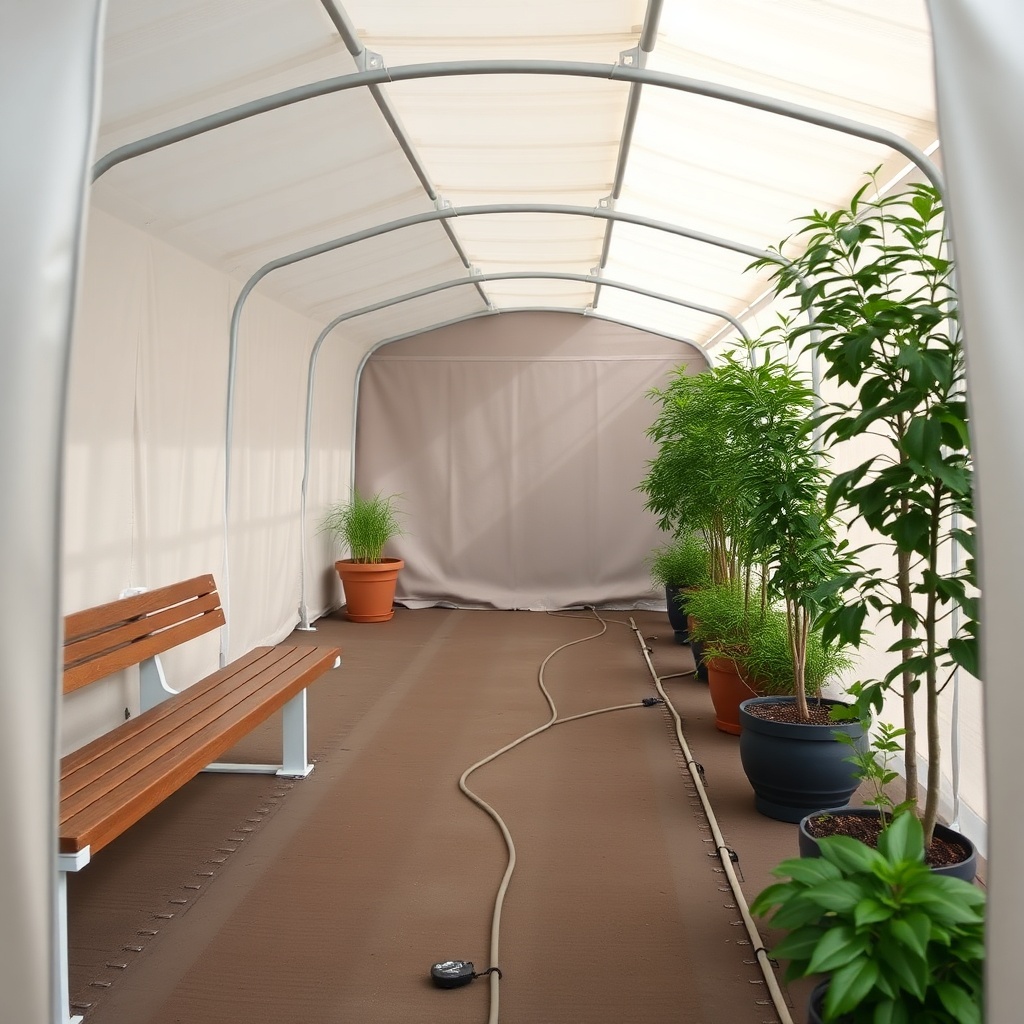
- Route to benches: From the main line, branch off with 1/4-inch distribution tubing to each bench. Secure the tubing under the bench lip or use adhesive cable clips on the polycarbonate panels.
- Install drip emitters: Insert adjustable drip emitters (0–10 GPH) into the distribution tubing at each pot location. For uniform watering, choose pressure-compensating emitters.
- Add end caps: Seal the ends of all tubing runs with flush caps to prevent debris entry.
The total tubing needed for a Harmony 6×8 ranges from 40 to 60 feet, depending on bench layout. A typical setup costs around $35–$55 for a basic kit plus $15–$20 for extra fittings and emitters.
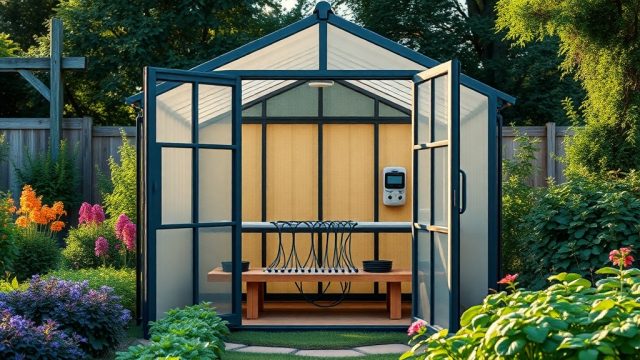
What Timer and Controller Options Are Available for This Greenhouse?
Automation is essential for a hands-off watering system. For the Harmony 6×8, the following timer types work well:
- Battery-operated hose timer: Mount directly on the outdoor spigot. Simple, under $25. Good for daily or twice-daily watering. Example: Orbit 62061.
- Digital Wi-Fi timer: Connects to your home network for remote scheduling and rain delay. Best if you travel frequently. Cost: $40–$70. Example: Rachio 3 (8-zone).
- Mechanical timer: Manual dial, runs on batteries. Very reliable. Cost: $15–$25.
- Inline solenoid valve + controller: For more complex systems (e.g., separate zones for benches and floor plants). Requires 24V AC transformer. Cost: $60–$120.
For most users, a single-zone battery timer with one to two watering cycles per day is sufficient. Connect the timer directly to the drip irrigation header. If you use a rain barrel, install a pump (e.g., 12V solar-powered) to maintain adequate pressure.
Note: The Harmony 6×8’s aluminum frame conducts electricity, so keep all electrical components (timers, pumps, transformers) outside the greenhouse or in a weatherproof box mounted to the frame. See our Greenhouse Buying Guide: Polycarbonate vs Glass – Which Glazing Is Best? for additional tips on electrical safety in polycarbonate structures.

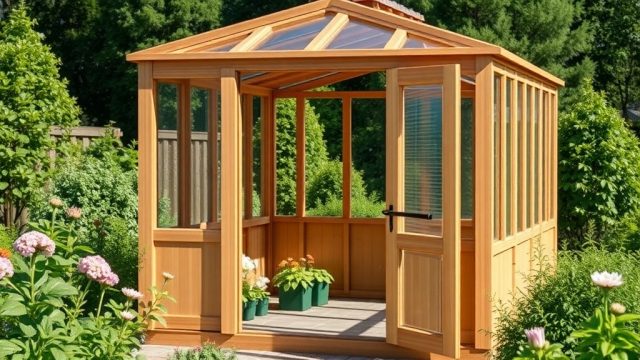
How Can You Integrate Rainwater Harvesting With the Harmony 6×8’s Automatic System?
The Harmony 6×8 has a sloped polycarbonate roof (4:12 pitch) that sheds rainwater efficiently. A 6×8 roof captures about 40 gallons per inch of rainfall. Adding a gutter kit and downspout (available from Palram as optional accessories) lets you collect this water.
To integrate rainwater with your automatic system:
- Install a 30–55 gallon rain barrel next to one of the greenhouse corners. Position it slightly above ground level to create gravity flow—elevate the barrel on cinder blocks or a wooden stand.
- Connect the barrel to the drip system using a 3/4-inch barbed fitting. Add a mesh filter at the barrel outlet to prevent debris from entering emitters.
- Use a float valve in the barrel to automatically refill from a municipal water line when rainwater runs low.
- Add a 12V submersible pump (e.g., Shurflo 2088-403-444) if pressure is insufficient for drip emitters—common with gravity-only setups below 4 feet of head.
A typical rainwater system for the Harmony 6×8 costs $80–$150 for barrel, pump, and fittings. Over a growing season, this can save 50–75% on watering costs and provides chemical-free water for sensitive crops.
What Do Owners Say About Automatic Watering in the Harmony 6×8?
Based on community forums and product reviews, most Harmony 6×8 owners find automatic watering systems highly beneficial. Common feedback includes:
- “Set-and-forget peace of mind” – Many users appreciate being able to leave the greenhouse for a weekend without worrying about watering. Several mention using Wi-Fi timers to adjust schedules remotely during heat waves.
- “Easy installation on the aluminum frame” – The frame’s crossbars provide secure mounting points for tubing. Owners report that the 1/2-inch poly tubing fits neatly under the bench edges.
- “Pressure-compensating emitters work well” – Those using pressure-compensating drip emitters note consistent water delivery even with varying bench heights. Standard emitters can produce drips that vary by 20% across the greenhouse.
- “Watch out for winter freeze” – Several northern gardeners recommend draining the system and disconnecting timers before freezing temperatures arrive. The polycarbonate greenhouse doesn’t provide freeze protection for the plumbing.
For assembly tips that affect tubing routing, see our Palram Canopia Harmony 6×8 Assembly: Step-by-Step Guide and Time Estimate article.
Frequently Asked Questions
1. Can I use a standard garden hose timer with my Harmony 6×8 drip system?
Yes. Most battery-operated garden hose timers with a single outlet work fine. Ensure the timer supports at least two cycles per day and has a manual override for test runs. Avoid mechanical timers that skip cycles in cold weather.
2. Do I need a pressure regulator for the drip system?
If your house water pressure exceeds 50 PSI, install a drip irrigation pressure regulator (typically 20–30 PSI). The Harmony 6×8’s poly tubing and small emitters can burst under high pressure. Most drip kits include a regulator.
3. How long should I run the drip system each day?
For 4-inch pots in summer, run 15–30 minutes per cycle. For 6-inch pots, 20–40 minutes. Test by checking soil moisture 1 hour after watering—adjust duration until the top 2 inches are moist but not saturated. Typically, one morning cycle is enough; add a second midday cycle for heat-sensitive crops.
4. Can I install a misting system for propagation in the Harmony 6×8?
Yes. Use 1/4-inch distribution tubing with 360-degree mist nozzles spaced every 18–24 inches. Mount them on the aluminum frame crossbars 12–18 inches above the bench surface. Ensure you have a fine filter (100–150 mesh) to prevent nozzle clogging. Run the mist cycle 3–5 seconds every 10–15 minutes during rooting.
5. Will the automatic watering system work with a rain barrel?
Yes, with a pump. Gravity flow alone from a standard 55-gallon barrel may not provide enough pressure for drip emitters if the barrel is less than 4 feet above the plants. Use a 12V submersible pump rated at 1–2 GPM at 30 PSI. Connect the pump to a float switch in the barrel to prevent dry running.
6. How do I protect the watering system during winter?
Before the first freeze, disconnect the timer and hose from the spigot. Drain all tubing by opening end caps and blowing out water with compressed air or gravity. Remove the pump from the rain barrel and store indoors. If using a heated line inside the greenhouse, ensure the water source is frost-proof. For winter growing tips, see our Palram Canopia Harmony 6×8: Best Heating Options for Winter article.